주요 콘텐츠로 건너뛰기

Lenovo Yoga 710-11ISK Trackpad Replacement

필요한 것

  1. Lenovo Yoga 710-11ISK Trackpad Replacement, Battery: 1 단계, 이미지 1/1
    • Flip the device having the bottom panel facing you.

    • Remove the eleven 5mm Torx T5 screws from the back panel.

  2. Lenovo Yoga 710-11ISK Trackpad Replacement, Removing back cover: 2 단계, 이미지 1/1
    • Remove the back panel carefully.

    • To remove the back cover, there are 5 plastic snap hooks that must be dislodged with a spudger or plastic pick tool.

    • Lay the device upside down with hinges away from you. Tilt it at 45 degree angle, leaving hinges down and open the screen slightly. Apply a little pressure on one corner to see where it separates. Then work from side to side to separate the back case from the top case. The back case is a shell with no components in it.

  3. Lenovo Yoga 710-11ISK Trackpad Replacement: 3 단계, 이미지 1/2 Lenovo Yoga 710-11ISK Trackpad Replacement: 3 단계, 이미지 2/2
    • Remove the two 3mm Phillips #1 screws that are holding the battery to the device.

    • Hold the bundled cable connector on each side and carefully pull the connector to release it from the motherboard.

  4. Lenovo Yoga 710-11ISK Trackpad Replacement: 4 단계, 이미지 1/1
    • Remove the battery carefully from the device by lifting up the edge nearest you and then gently pull toward you to disconnect the power wires.

  5. Lenovo Yoga 710-11ISK Trackpad Replacement, Trackpad: 5 단계, 이미지 1/1
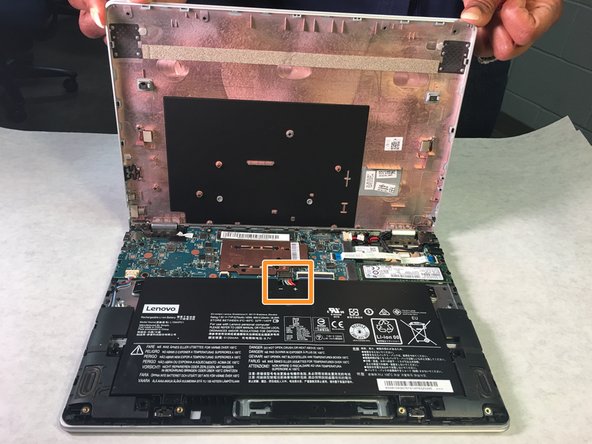
    • Using a Phillips #00 screwdriver, remove the three 3mm screws located at the top of the trackpad.

  6. Lenovo Yoga 710-11ISK Trackpad Replacement: 6 단계, 이미지 1/1
    • Remove the trackpad from the device.

결론

To reassemble your device, follow these instructions in reverse order.

Richard

회원 가입일: 02/18/21

241 평판

안내서 3개 작성하였습니다

댓글 0개

댓글 쓰기

조회 통계:

24 시간 전: 0

7일 전: 0

30일 전: 0

전체 시간: 119