소개
This guide will show you how to replace the display assembly in the Lenovo Yoga 900-13ISK. The display assembly contains the display, touch control board, digitizer, and webcam. If you are having issues with any of these components, such as a flickering, glitchy, or cracked display, a loss of touchscreen functionality, or a broken webcam, replacing the display assembly should alleviate any and all of these issues.
Note that the display assembly can be further disassembled to replace the display, screen, digitizer, and touch control board as a single unit. However, this does require dealing with adhesive and some very delicate webcam and microphone boards. If you’re up to the challenge, or if your display replacement unit did not include the back panel and hinge, you can see how to replace the display here.
Be sure to unplug and completely turn off your device before you start working.
필요한 것
-
-
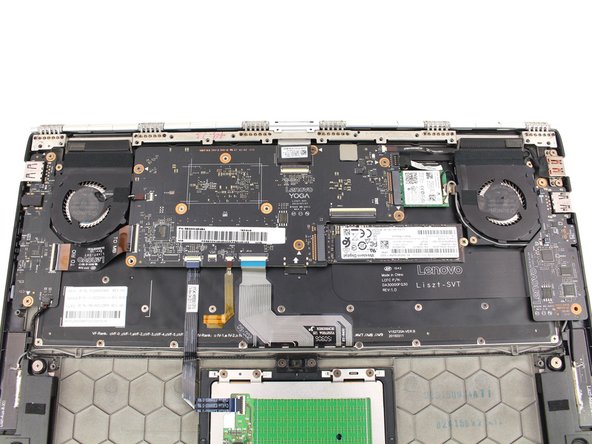
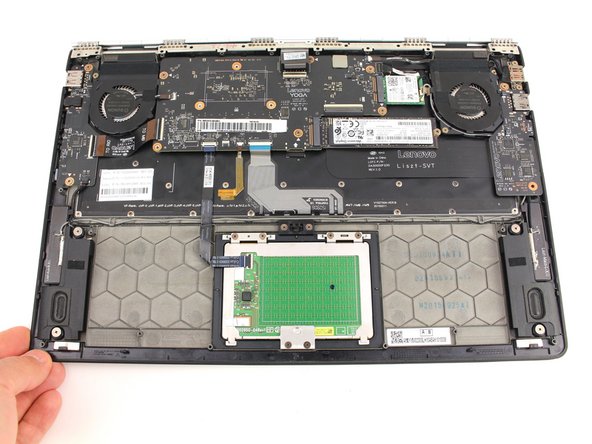
Using a T5 Torx screwdriver, remove the ten 5.5 mm screws from the back case of the laptop.
-
-
-
-
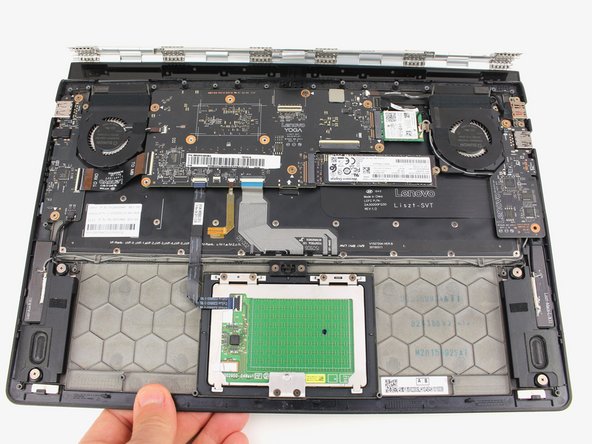
Remove the ten 3.6 mm screws from the hinge bracket with a Phillips #00 screwdriver.
-
-
-
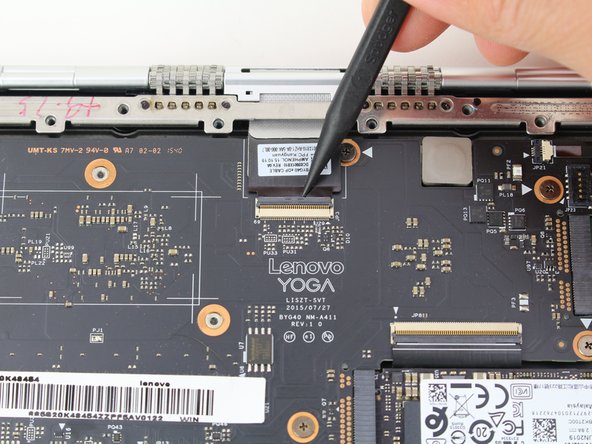
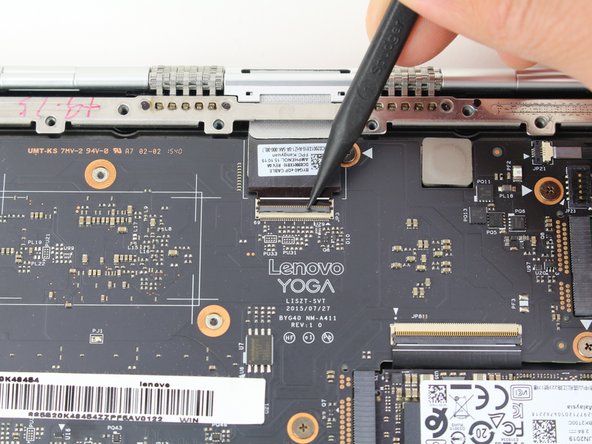
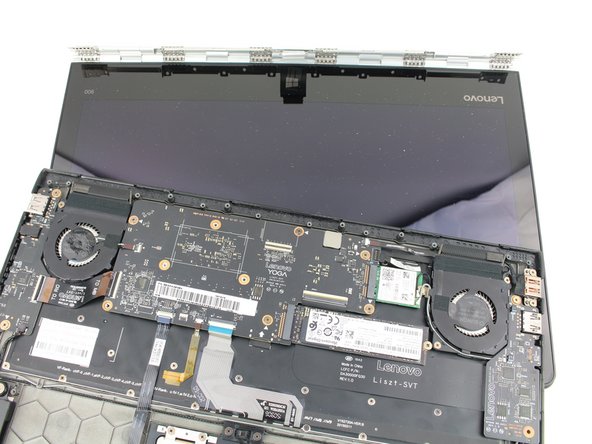
Use the pointed end of a spudger to lift the hinged locking flap of the display ZIF connector.
-


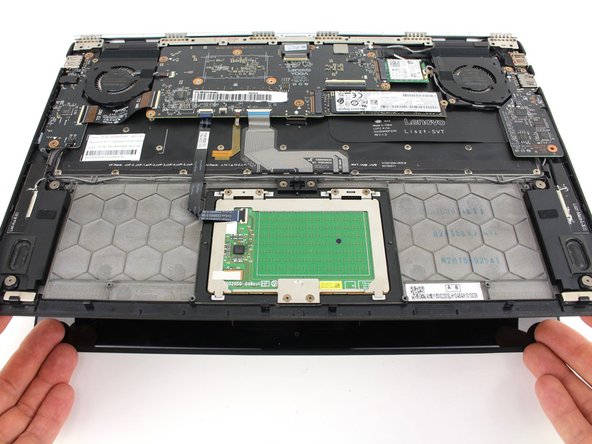

To reassemble your device, follow these instructions in reverse order.
To reassemble your device, follow these instructions in reverse order.
다른 한 분이 해당 안내서를 완성하였습니다.

