소개
Before you start get a correct replacement screen. Find the exact model name of your tablet. You can find it in "About the tablet", at the bottom of the Android settings app. Search online for the part and buy from a reputable seller.
필요한 것
-
-
Remove the sticker located directly under the the built-in kickstand to reveal two 0.75 mm screws.
-
Remove the microSD card slot cover. Remove any microSD card (if inserted).
-
Using a Phillips head screwdriver, remove the three 0.75 mm screws.
on the Tab 3 plus , the third screw is not under the sd card but a little further over under another sticker and is painted white
-
-
-
Orient the device so the screen is facing you.
-
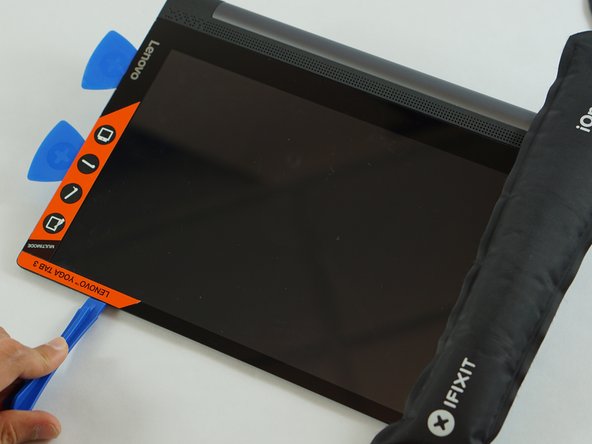
Carefully insert the spudger along the seam between the screen and back cover and gently separate the back cover from the device frame.
-
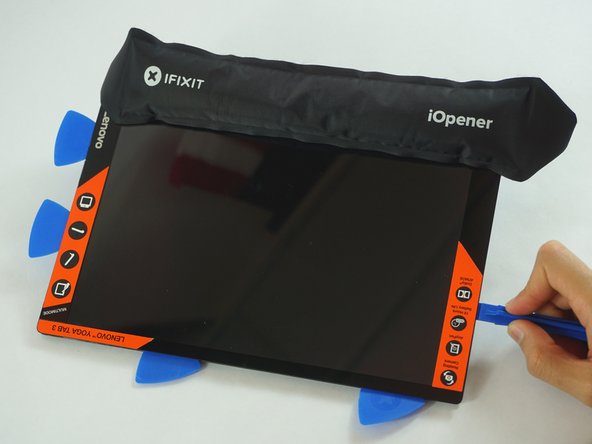
Continue to detach the backplate from the frame by moving the spudger around the perimeter.
On some models there is glue pad under the sim/sdcard tray.
Ein Hinweis auf den Federrahmen an der Kamera wäre nützlich. Er ist sehr empfindlich. Ich habe ihn beim Öffnen zerstört und jetzt stellt die Kamera nicht mehr scharf.
Hallo Thomas, tut mir leid, dass deine Kamera nicht mehr schart stellt. Aber die Anleitungen funktionieren wie Wikipedia: Wenn du mehr Infos hast, stelle sie gern allen anderen zur Verfügung!
(at least on the Plus model) the most difficult plastic clips are near the micro-SD/SIM. So it is easier to release the other side, where the camera not is. or pull the casing "down" towards the battery/stand.
Hans Wurst - 답글
-
-
-
-
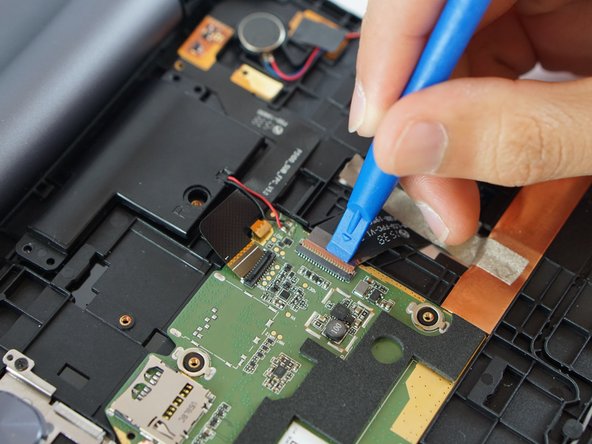
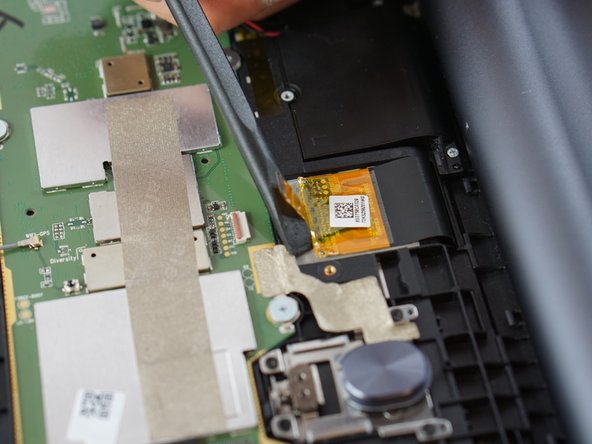
Before detaching the LCD and digitiser connectors, remove the two small screws at the top left (red bordered area in photo). Remove the metal shield and disconnect the battery wire.
-
-
-
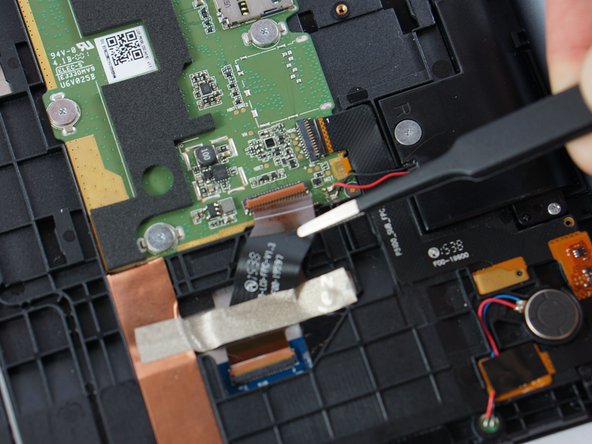
With tweezers, lift the locking flaps and detach the connected ribbon cables for both the LCD and digitizer (blue bordered areas in previous step photo)
-
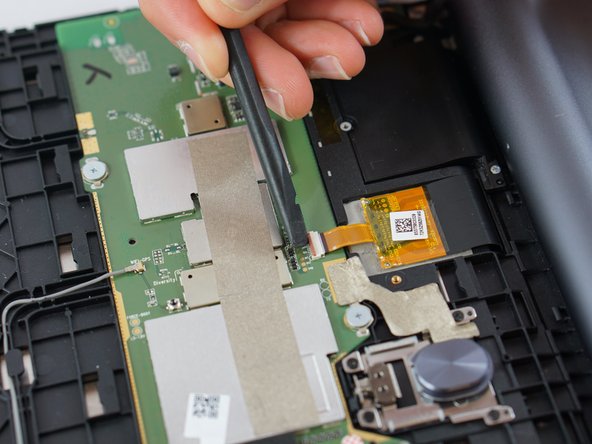
Using a spudger lift the gold- colored base up away from the adhesive.
The silver top left cover. And the digitizer ribbon is attached to a metal plate. Remove the metal plate as pealing the ribbin is impossible. I found it easier to peal from the back black section of the tape
Remove the two small screws at the top left.
What are they talking about picture would have been nice…
Sir we have to replace our screen
-
-
-
Lift the screen gently from the device.
-
Make sure the cable ribbon is pulled through safely.
Bonjour, avez vous facilement démonter et remonter l'écran de votre tablette ?
Bonjour. Je recherche à remplacer mon numériseur (verre cassé mais dalle LCD ok).
Où peut on acheter cette pièce ?
-


To reassemble your device, follow these instructions in reverse order.
To reassemble your device, follow these instructions in reverse order.
다른 18명이 해당 안내서를 완성하였습니다.
팀

USF Tampa, Team S3-G2, Sullivan Spring 2017 USF Tampa, Team S3-G2, Sullivan Spring 2017 회원
USFT-SULLIVAN-S17S3G2
4 회원들
안내서 18개 작성하였습니다
댓글 9개
Hello where can I find a replacement screen and digitizer please?
Hend Farid - 답글
how can i change digitizer only?
Isn’t this about changing the glass screen instead of the LCD as the title says?
The glass screen/digitizer and LCD are often sold as an assembled unit for this model. Keeping the existing LCD and just replacing the glass/digitizer (or vice versa) would require extra steps to separate them from each other, and possibly extra steps to recalibrate the screen when finished.
check this video for glass and digitizer replacement only.
hi
i forgot to disconnect the battery will my tablet still turn
Please now how much cost for replacement touch screen with power key (power key sometimes not power on the table) ?