이 버전에는 잘못된 편집 사항이 있을 수 있습니다. 최신 확인된 스냅샷으로 전환하십시오.
필요한 것
-
이 단계는 번역되지 않았습니다. 번역을 도와주십시오
-
Remove the sticker located directly under the the built-in kickstand to reveal two 0.75 mm screws.
-
Remove the microSD card slot cover. Remove any microSD card (if inserted).
-
Using a Phillips head screwdriver, remove the three 0.75 mm screws.
-
-
이 단계는 번역되지 않았습니다. 번역을 도와주십시오
-
Orient the device so the screen is facing you.
-
Carefully insert the spudger along the seam between the screen and back cover and gently separate the back cover from the device frame.
-
Continue to detach the backplate from the frame by moving the spudger around the perimeter.
-
-
-
이 단계는 번역되지 않았습니다. 번역을 도와주십시오
-
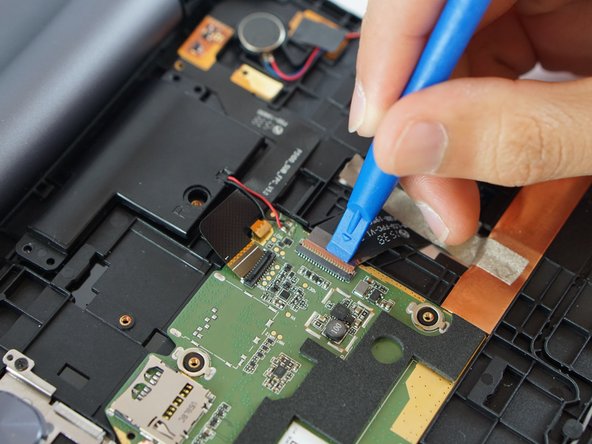
Before detaching the LCD and digitiser connectors, remove the two small screws at the top left (red bordered area in photo). Remove the metal shield and disconnect the battery wire.
-
-
이 단계는 번역되지 않았습니다. 번역을 도와주십시오
-
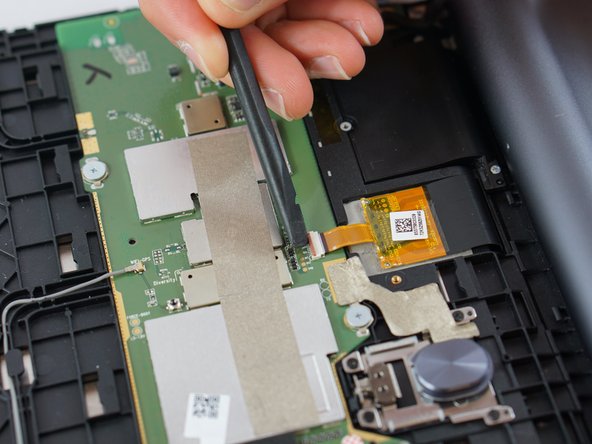
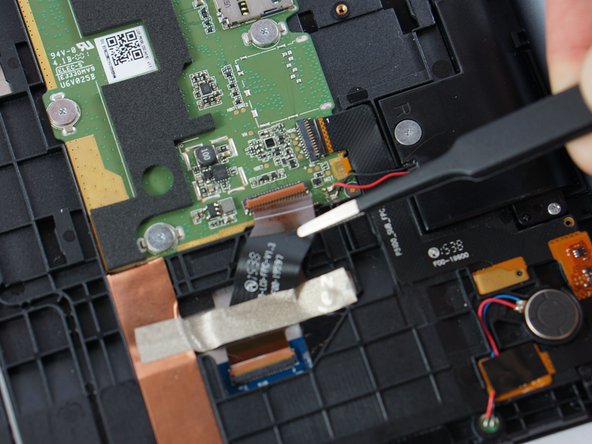
With tweezers, lift the locking flaps and detach the connected ribbon cables for both the LCD and digitizer (blue bordered areas in previous step photo)
-
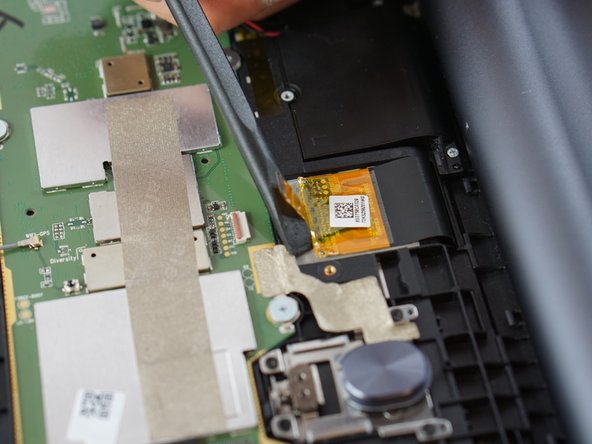
Using a spudger lift the gold- colored base up away from the adhesive.
-
-
이 단계는 번역되지 않았습니다. 번역을 도와주십시오
-
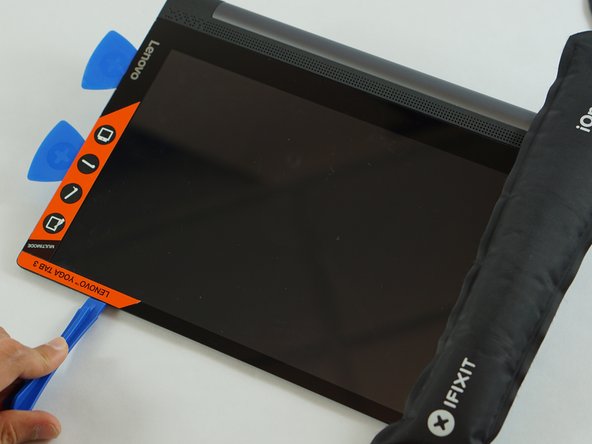
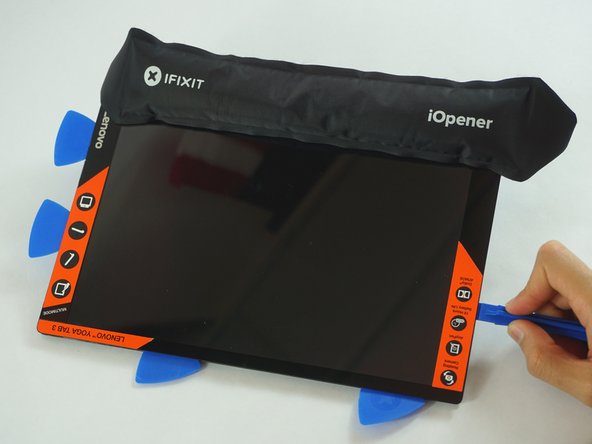
Using the iOpener place it along the edges of the device to weaken the adhesive.
-
-
이 단계는 번역되지 않았습니다. 번역을 도와주십시오
-
Lift the screen gently from the device.
-
Make sure the cable ribbon is pulled through safely.
-


다른 18명이 해당 안내서를 완성하였습니다.
팀

USF Tampa, Team S3-G2, Sullivan Spring 2017 USF Tampa, Team S3-G2, Sullivan Spring 2017 회원
USFT-SULLIVAN-S17S3G2
4 회원들
안내서 18개 작성하였습니다
댓글 9개
Hello where can I find a replacement screen and digitizer please?
Hend Farid - 답글
how can i change digitizer only?
Isn’t this about changing the glass screen instead of the LCD as the title says?