주요 콘텐츠로 건너뛰기

Lenovo Z70-80 Motherboard Replacement

필요한 것

  1. Lenovo Z70-80 Motherboard Replacement, Battery: 1 단계, 이미지 1/2 Lenovo Z70-80 Motherboard Replacement, Battery: 1 단계, 이미지 2/2
    • Use your fingers two push both latches away from each other to release the battery.

    • Pull the battery out.

  2. Lenovo Z70-80 Motherboard Replacement, Back Panel: 2 단계, 이미지 1/3 Lenovo Z70-80 Motherboard Replacement, Back Panel: 2 단계, 이미지 2/3 Lenovo Z70-80 Motherboard Replacement, Back Panel: 2 단계, 이미지 3/3
    • Remove the two Phillips #0 screws from the bottom panel.

    • Slide the panel down slightly, and then lift to pull it off.

  3. Lenovo Z70-80 Motherboard Replacement, Optical Drive: 3 단계, 이미지 1/3 Lenovo Z70-80 Motherboard Replacement, Optical Drive: 3 단계, 이미지 2/3 Lenovo Z70-80 Motherboard Replacement, Optical Drive: 3 단계, 이미지 3/3
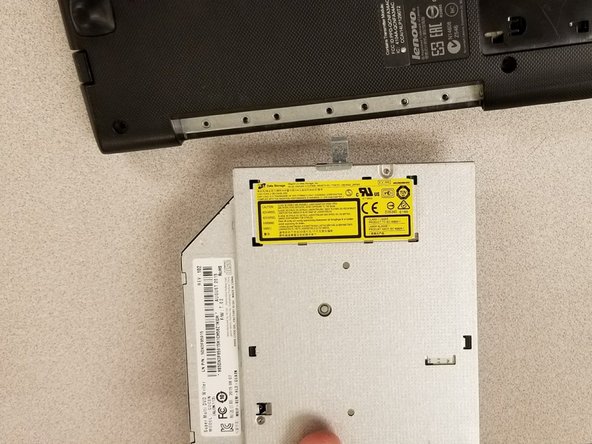
    • Remove the single 3mm Phillips #0 screw from the optical drive.

    • Pull the optical drive out of the side.

  4. Lenovo Z70-80 Motherboard Replacement, Electric Fan: 4 단계, 이미지 1/3 Lenovo Z70-80 Motherboard Replacement, Electric Fan: 4 단계, 이미지 2/3 Lenovo Z70-80 Motherboard Replacement, Electric Fan: 4 단계, 이미지 3/3
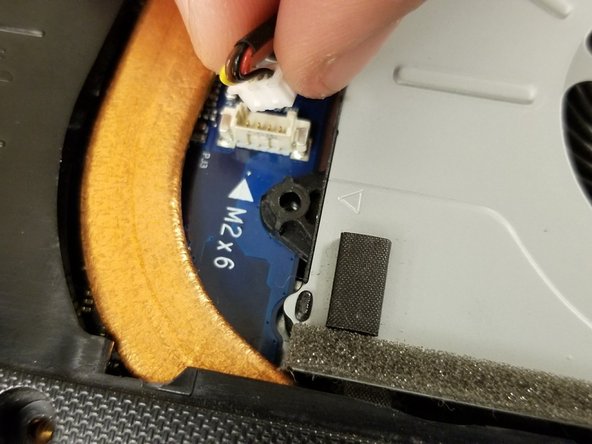
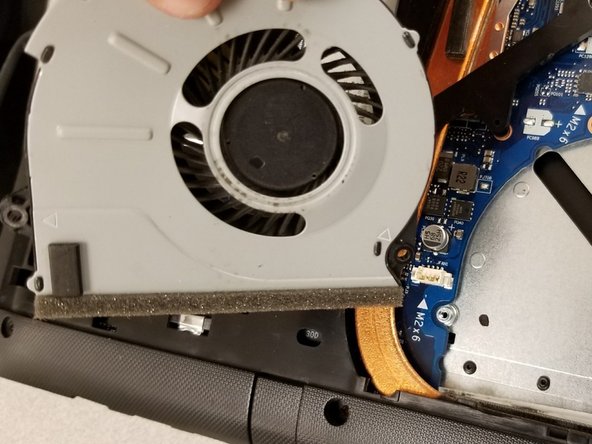
    • Remove the three 6mm Phillips #0 screws from the fan.

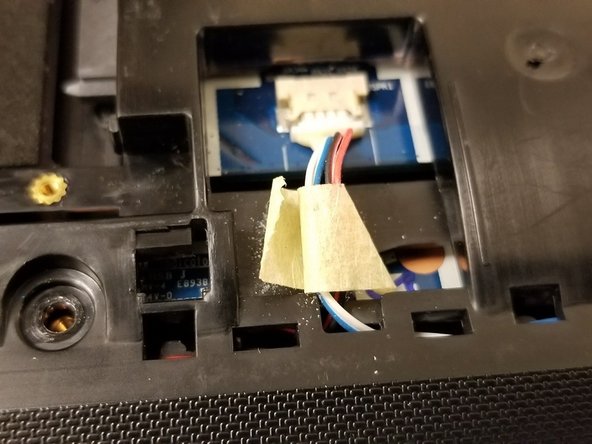
    • Disconnect the fan from the motherboard by pulling up on the plug.

  5. Lenovo Z70-80 Motherboard Replacement, Motherboard: 5 단계, 이미지 1/1
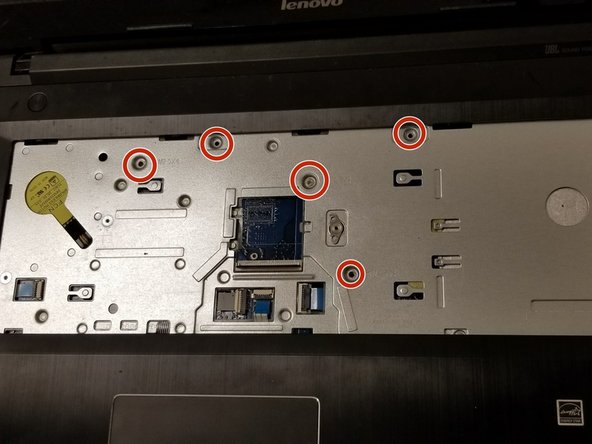
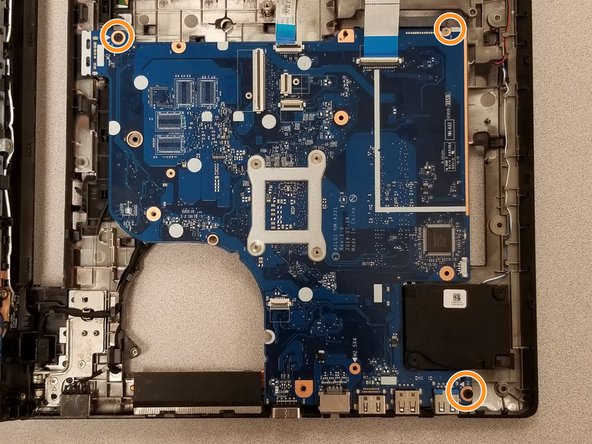
    • Remove all the 17 7mm Phillips #0 screws.

    • A sticker covers this screw. Remove this sticker to remove the screw.

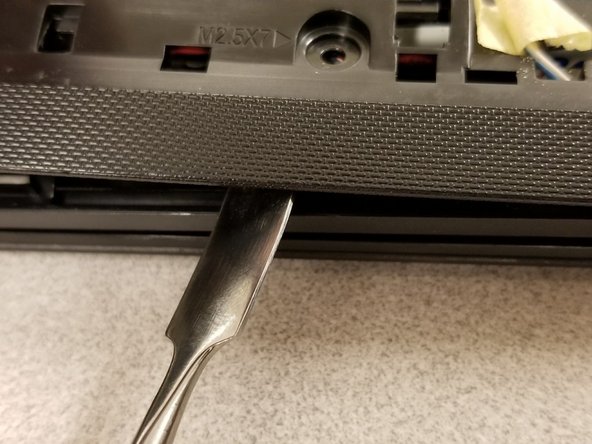
    • Remove the back cover.

  6. Lenovo Z70-80 Motherboard Replacement: 6 단계, 이미지 1/3 Lenovo Z70-80 Motherboard Replacement: 6 단계, 이미지 2/3 Lenovo Z70-80 Motherboard Replacement: 6 단계, 이미지 3/3
    • Pry the edges of the keyboard upwards using a spudger.

    • A cable with a ZIF connector is attached to the bottom of the keyboard. Flip the small black tab on the connector for safe removal.

    • Remove the five 3mm Phillips #0 screws.

  7. Lenovo Z70-80 Motherboard Replacement: 7 단계, 이미지 1/3 Lenovo Z70-80 Motherboard Replacement: 7 단계, 이미지 2/3 Lenovo Z70-80 Motherboard Replacement: 7 단계, 이미지 3/3
    • Remove all the ribbon cables and connectors from the front and back of the laptop.

    • Remember to flip the small black tabs on ZIF connectors for safe removal.

  8. Lenovo Z70-80 Motherboard Replacement: 8 단계, 이미지 1/2 Lenovo Z70-80 Motherboard Replacement: 8 단계, 이미지 2/2
    • Remove the 3mm screw and carefully pull out the cables from the hooks holding them in place.

  9. Lenovo Z70-80 Motherboard Replacement: 9 단계, 이미지 1/2 Lenovo Z70-80 Motherboard Replacement: 9 단계, 이미지 2/2
    • Use a spudger at the edges of the laptop cover to carefully pry upwards, removing the cover.

  10. Lenovo Z70-80 Motherboard Replacement: 10 단계, 이미지 1/3 Lenovo Z70-80 Motherboard Replacement: 10 단계, 이미지 2/3 Lenovo Z70-80 Motherboard Replacement: 10 단계, 이미지 3/3
    • Unplug the two black cables from the motherboard.

    • Remove the three 3mm screws from the motherboard.

    • Remove the motherboard.

    • Pick up the motherboard carefully by the edges.

결론

To reassemble your device, follow these instructions in reverse order.

다른 3명이 해당 안내서를 완성하였습니다.

Eduardo Delgado

회원 가입일: 01/24/18

412 평판

안내서 4개 작성하였습니다

Gateway, Team S1-G4, Johnson Spring 2018 Gateway, Team S1-G4, Johnson Spring 2018 회원

GCC-JOHNSON-S18S1G4

2 회원들

안내서 12개 작성하였습니다

댓글 0개

댓글 쓰기

조회 통계:

24 시간 전: 1

7일 전: 5

30일 전: 33

전체 시간: 4,005