이 버전에는 잘못된 편집 사항이 있을 수 있습니다. 최신 확인된 스냅샷으로 전환하십시오.
필요한 것
-
이 단계는 번역되지 않았습니다. 번역을 도와주십시오
-
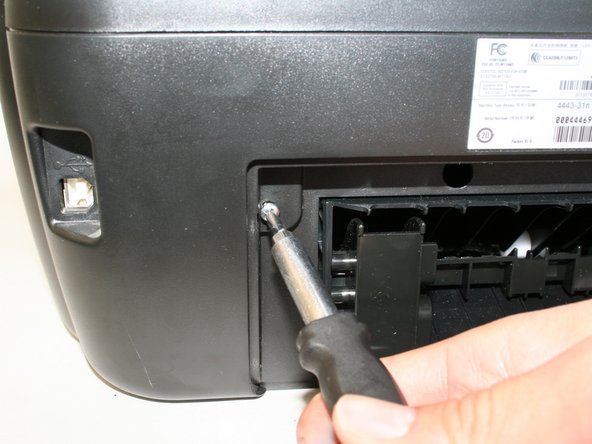
Hold the button down with the flat end away from the printer. When you hear a click, the duplex unit can be removed from the printer.
-
-
이 단계는 번역되지 않았습니다. 번역을 도와주십시오
-
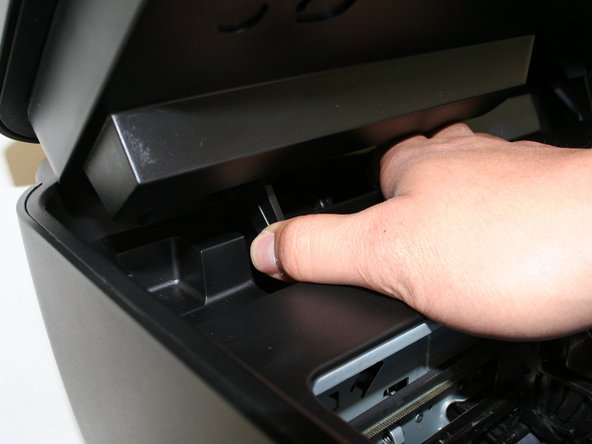
Remove the duplex unit from the back of the printer with the duplex unit facing up.
-
-
이 단계는 번역되지 않았습니다. 번역을 도와주십시오
-
Locate the two screw holes that connect the two cylindrical extensions from the top portion of the scanner unit to the printer.
-
-
이 단계는 번역되지 않았습니다. 번역을 도와주십시오
-
Unscrew the two size#6 (5-mm head) Phillips 1-mm screws connecting the scanner unit to the printer.
-
-
이 단계는 번역되지 않았습니다. 번역을 도와주십시오
-
Raise and close the scanner unit to observe that the hinges lock in place when lifted.
-
-
-
이 단계는 번역되지 않았습니다. 번역을 도와주십시오
-
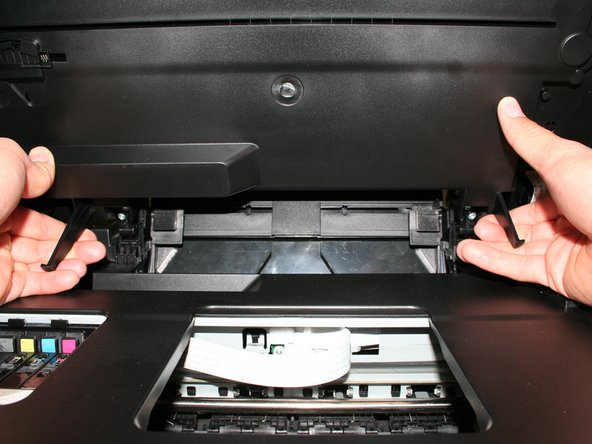
Firmly press the hinges inward toward the middle of the printer on both sides at the same time. The hinges should be easily lifted up and removed.
-
-
이 단계는 번역되지 않았습니다. 번역을 도와주십시오
-
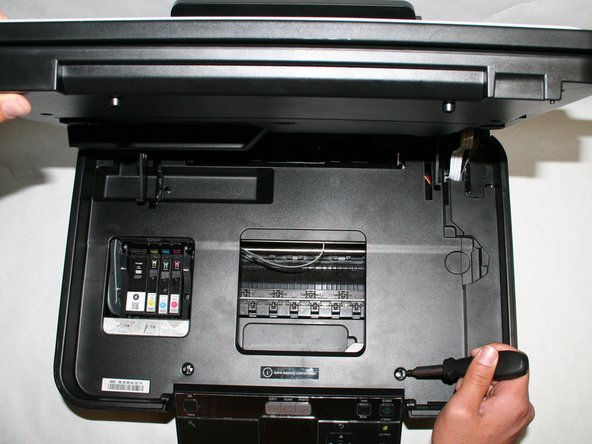
Remove the three size#6 (5-mm head) Phillips 1-mm screws connecting the scanner unit to the printer.
-
-
이 단계는 번역되지 않았습니다. 번역을 도와주십시오
-
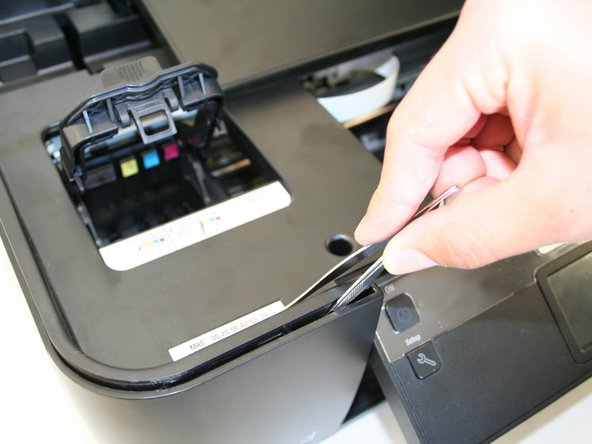
Remove the plastic cover by unlocking the plastic hinges at the inside edges of the printer. Use a plastic opening tool or a tweezer to slowly move in between the crease around the printer to unlock it.
-
-
이 단계는 번역되지 않았습니다. 번역을 도와주십시오
-
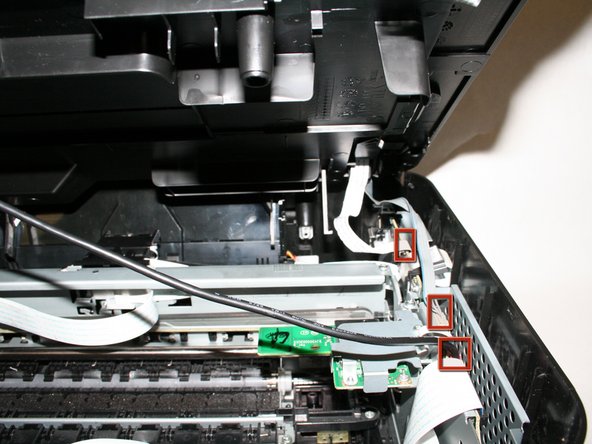
Slowly raise, but do not remove the plastic cover with the scanner unit so that it exposes the three cables connecting the scanner unit to the printer.
-
-
이 단계는 번역되지 않았습니다. 번역을 도와주십시오
-
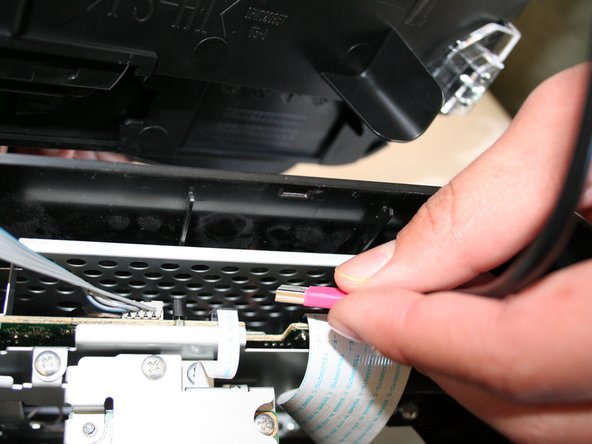
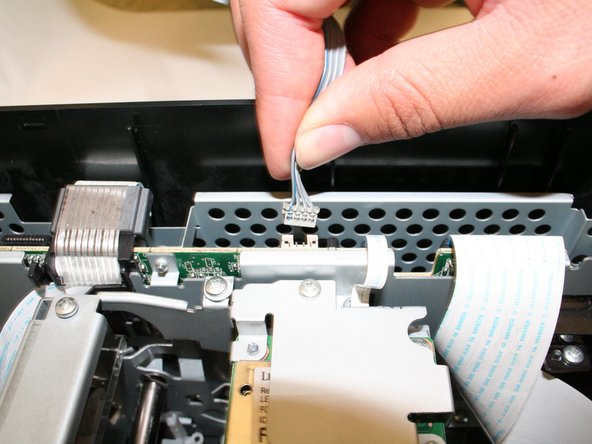
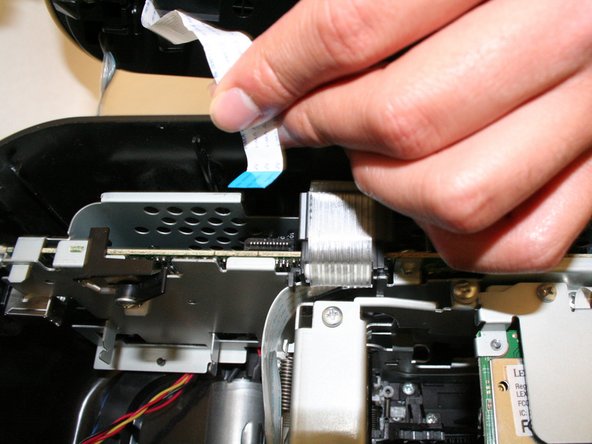
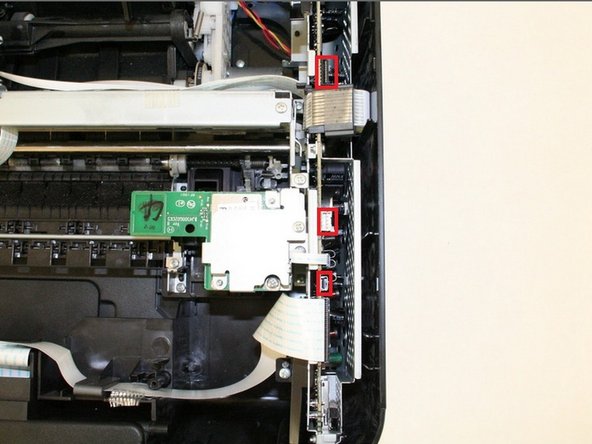
Locate the three ports for the cables from the scanner unit and make sure they are unplugged.
-
-
이 단계는 번역되지 않았습니다. 번역을 도와주십시오
-
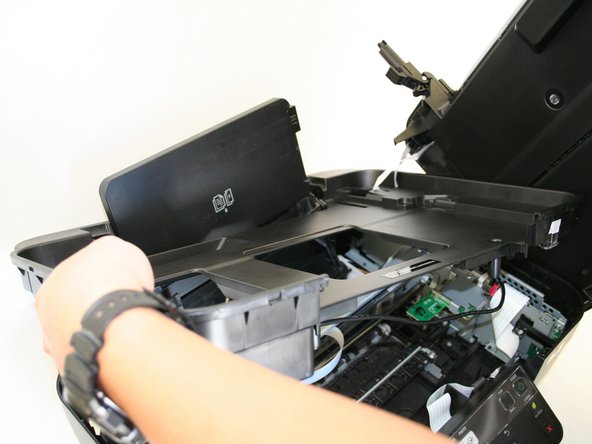
Remove the scanner unit with the plastic cover by lifting it up from the bottom portion of the printer.
-


다른 2명이 해당 안내서를 완성하였습니다.
팀

Cal Poly, Team 18-38, Regan Winter 2013 Cal Poly, Team 18-38, Regan Winter 2013 회원
CPSU-REGAN-W13S18G38
4 회원들
안내서 8개 작성하였습니다