이 버전에는 잘못된 편집 사항이 있을 수 있습니다. 최신 확인된 스냅샷으로 전환하십시오.
필요한 것
-
이 단계는 번역되지 않았습니다. 번역을 도와주십시오
-
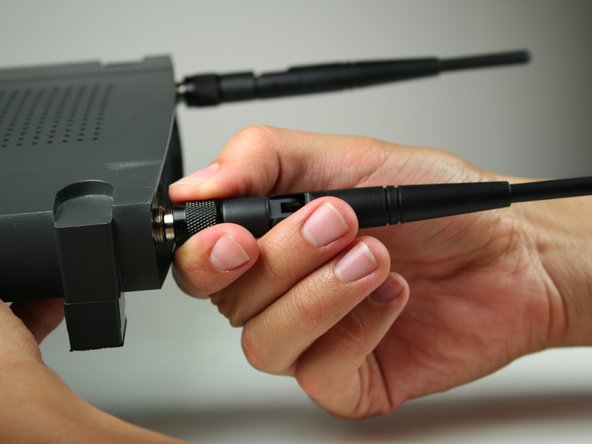
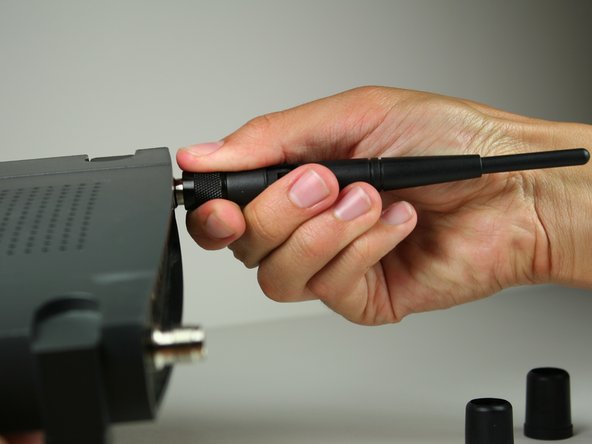
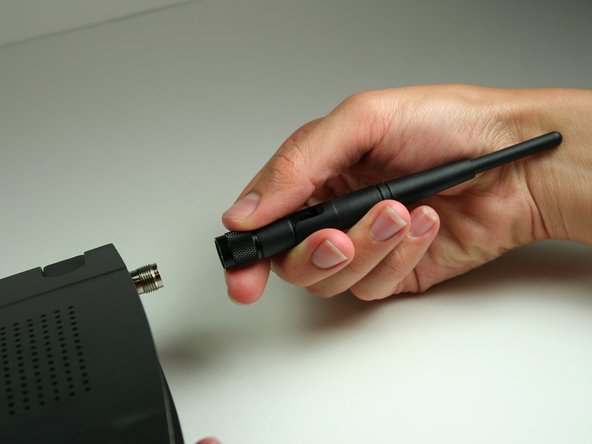
Remove the black caps from the antennas by pulling them away from the device.
-
-
-
이 단계는 번역되지 않았습니다. 번역을 도와주십시오
-
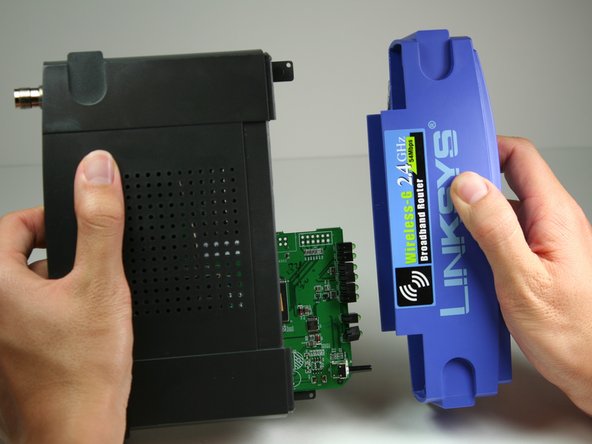
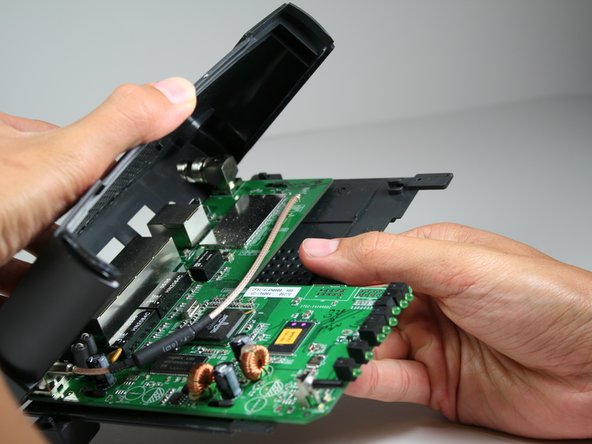
To remove the black casing that surrounds the green motherboard, slide the top half of the casing backwards. It only moves a very short distance.
-
Pull the top piece upwards and away from the bottom to remove.
-
-
이 단계는 번역되지 않았습니다. 번역을 도와주십시오
-
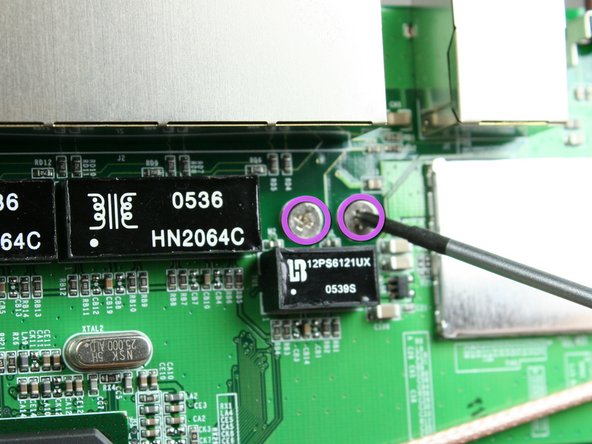
Locate the 2 M2.5x6mm screws that attach the motherboard to the back case.
-
Remove the two screws from the motherboard as indicated with the Phillips head screwdriver.
-
-
이 단계는 번역되지 않았습니다. 번역을 도와주십시오
-
Once screws have been removed, slide the motherboard in the direction of its LED lights.
-
Lift motherboard up and away from the black lower casing.
-


다른 3명이 해당 안내서를 완성하였습니다.
팀

Cal Poly, Team 17-7, Regan Fall 2011 Cal Poly, Team 17-7, Regan Fall 2011 회원
CPSU-REGAN-F11S17G7
4 회원들
안내서 4개 작성하였습니다