이 버전에는 잘못된 편집 사항이 있을 수 있습니다. 최신 확인된 스냅샷으로 전환하십시오.
필요한 것
-
이 단계는 번역되지 않았습니다. 번역을 도와주십시오
-
Insert an open paper clip into the small hole on the left side of the faceplate.
-
After the tray opens, extend it fully.
-
-
이 단계는 번역되지 않았습니다. 번역을 도와주십시오
-
Use an opening device to push in the black tabs on the left, right and bottom of the outer chassis to unhook the faceplate.
-
-
-
이 단계는 번역되지 않았습니다. 번역을 도와주십시오
-
Unscrew the four 8.5 mm screws on the bottom chassis using a Philips #2 screwdriver.
-
-
이 단계는 번역되지 않았습니다. 번역을 도와주십시오
-
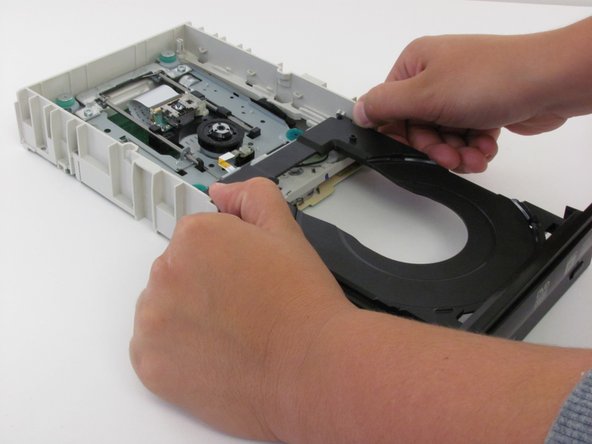
Extend the tray fully.
-
Push the tab on the right side to the left.
-
Push the tab on the left side to the left.
-
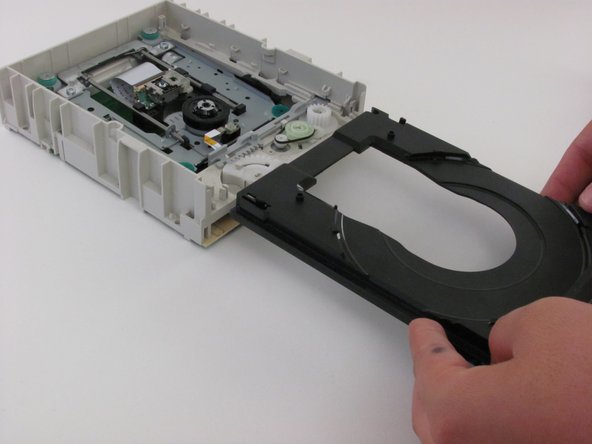
Remove the tray carefully.
-
-
이 단계는 번역되지 않았습니다. 번역을 도와주십시오
-
Guide the replacement tray under the beige tabs.
-
Make sure the grey piece is slid to the right, so the grey nob is under the right-hand groove of the tray.
-
Check to see that the tray extends and closes smoothly.
-


다른 한 분이 해당 안내서를 완성하였습니다.
팀

Cal Poly, Team 6-5, Regan Fall 2011 Cal Poly, Team 6-5, Regan Fall 2011 회원
CPSU-REGAN-F11S6G5
2 회원들
안내서 6개 작성하였습니다