주요 콘텐츠로 건너뛰기

Logitech Extreme 3D Pro Disassembly of the base

필요한 것

  1. Logitech Extreme 3D Pro Disassembly of the base, Disassembly of the handle: 1 단계, 이미지 1/1
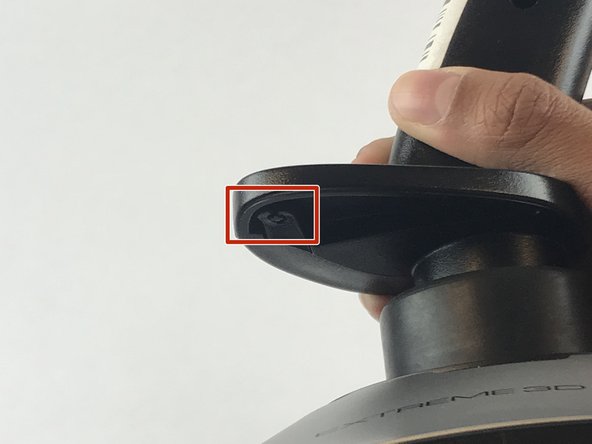
    • Remove these three Phillips #1 screws:

    • Two 10mm screws.

    • One 7mm screw.

  2. Logitech Extreme 3D Pro Disassembly of the base: 2 단계, 이미지 1/1
    • Using your fingers, lower the rubber boot to reveal two screws underneath the joystick.

    • Remove the two 10mm Phillips #1 screws.

  3. Logitech Extreme 3D Pro Disassembly of the base: 3 단계, 이미지 1/2 Logitech Extreme 3D Pro Disassembly of the base: 3 단계, 이미지 2/2
    • Pull apart the joystick chassis by hand.

    • Release this clip located underneath the hand rest

    • The circuit board will be loose and may fall down.

  4. Logitech Extreme 3D Pro Disassembly of the base, Disassembly of the base: 4 단계, 이미지 1/1
    • Remove the eight 10mm Phillips #1 screws from the bottom.

  5. Logitech Extreme 3D Pro Disassembly of the base: 5 단계, 이미지 1/3 Logitech Extreme 3D Pro Disassembly of the base: 5 단계, 이미지 2/3 Logitech Extreme 3D Pro Disassembly of the base: 5 단계, 이미지 3/3
    • Flip the joystick upright.

    • Lift up the sliver base cover and feed the loose circuit board through.

    • Careful with the wires still attached to the silver base cover from the bottom of the joystick.

결론

To reassemble your device, follow these instructions in reverse order.

다른 3명이 해당 안내서를 완성하였습니다.

Emanuel Canela

회원 가입일: 01/25/18

1,297 평판

안내서 7개 작성하였습니다

USF Tampa, Team S7-G1, Passmore Spring 2018 USF Tampa, Team S7-G1, Passmore Spring 2018 회원

USFT-PASSMORE-S18S7G1

4 회원들

안내서 7개 작성하였습니다

댓글 한 개

And you didn’t even finish the repair. Thanks for nothing. :(

Jesse James - 답글

댓글 쓰기

조회 통계:

24 시간 전: 1

7일 전: 11

30일 전: 61

전체 시간: 3,673