소개
This guide explains how to remove and replace the buttons on the Logitech G29 Driving Force wheel.
If the buttons are malfunctioning, disassembling the wheel may help identify the issue and allow for an effective repair—potentially saving the device from being discarded.
The procedure is straightforward and requires minimal disassembly.
필요한 것
-
-
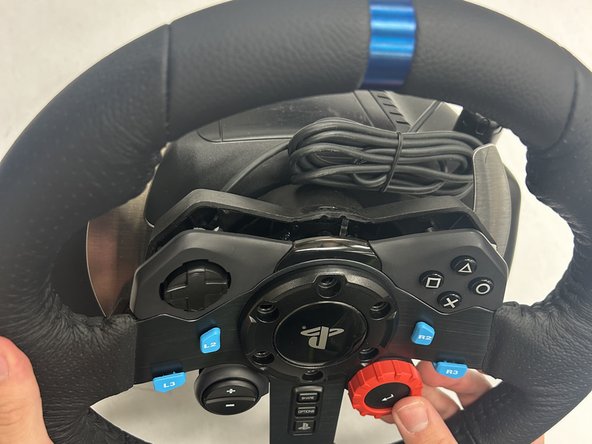
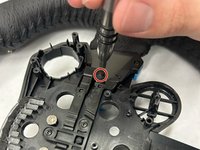
Remove the six black screws holding the Playstation center cap using the Hex 4.0 bit.
-
-
-
이 단계에 사용된 도구:Tweezers$3.99
-
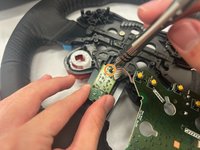
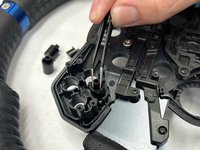
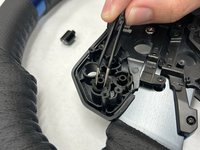
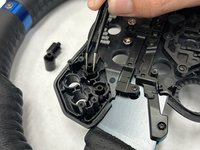
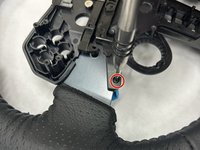
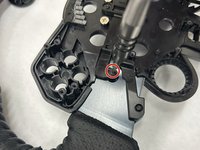
Once the PCB is out, the triangle, square, circle, x button will be exposed. Use the angled tweezers to remove all four buttons.
-


To reassemble your device, follow these instructions in reverse order.
팀

IUPUI, Team 1-3, Harley Fall 2023 IUPUI, Team 1-3, Harley Fall 2023 회원
IUPUI-HARLEY-F23S1G3
4 회원들
안내서 3개를 작성함