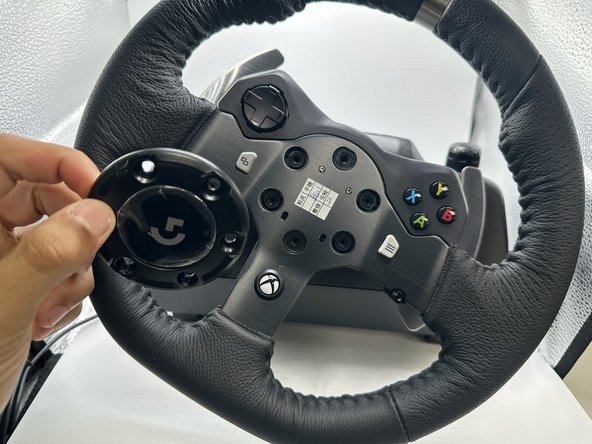
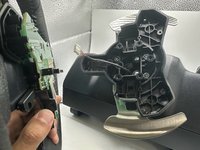
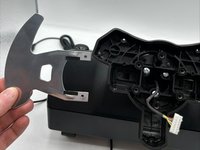
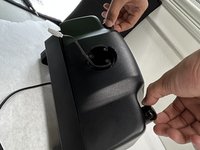
주요 콘텐츠로 건너뛰기

Logitech G920 Driving Force Motor Motherboard Replacement

필요한 것

  1. Logitech G920 Driving Force Motor Motherboard Replacement, Motor Motherboard: 1 단계, 이미지 1개 중 1개
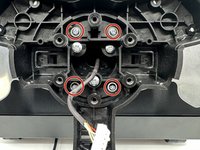
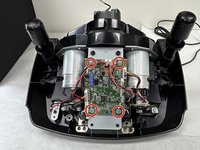
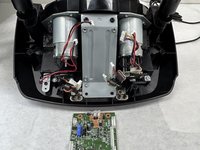
    • Use the Phillips #0 screwdriver to remove the five 9.5 mm external screws.

    • Only three of the five screws are visible from each side of the wheel due to the center unit.

  2. Logitech G920 Driving Force Motor Motherboard Replacement: 2 단계, 이미지 1개 중 1개
    • Using the Phillips #0 screwdriver, remove the 5 mm screws holding the bumpers in place.

  3. Logitech G920 Driving Force Motor Motherboard Replacement: 3 단계, 이미지 2개 중 1개 Logitech G920 Driving Force Motor Motherboard Replacement: 3 단계, 이미지 2개 중 2개
    • Using the TR25 Torx Security Screwdriver, remove the six 23.8 mm screws holding the face plate together.

    • Remove the face plate from the steering wheel.

  4. Logitech G920 Driving Force Motor Motherboard Replacement: 4 단계, 이미지 2개 중 1개 Logitech G920 Driving Force Motor Motherboard Replacement: 4 단계, 이미지 2개 중 2개
    • Remove the wheel from the main steering wheel console.

    • Ensure this is done carefully as to not damage the connection wire.

  5. Logitech G920 Driving Force Motor Motherboard Replacement: 5 단계, 이미지 2개 중 1개 Logitech G920 Driving Force Motor Motherboard Replacement: 5 단계, 이미지 2개 중 2개
    • Remove the four 13.5 mm screws with a Phillips #0 screwdriver.

  6. Logitech G920 Driving Force Motor Motherboard Replacement: 6 단계, 이미지 2개 중 1개 Logitech G920 Driving Force Motor Motherboard Replacement: 6 단계, 이미지 2개 중 2개
    • Remove the pedals from both sides of the wheel base.

  7. Logitech G920 Driving Force Motor Motherboard Replacement: 7 단계, 이미지 1개 중 1개
    • Remove the three 36 mm screws with a Phillips #2 screwdriver.

  8. Logitech G920 Driving Force Motor Motherboard Replacement: 8 단계, 이미지 3개 중 1개 Logitech G920 Driving Force Motor Motherboard Replacement: 8 단계, 이미지 3개 중 2개 Logitech G920 Driving Force Motor Motherboard Replacement: 8 단계, 이미지 3개 중 3개
    • Remove the wheel base from the motor box.

  9. Logitech G920 Driving Force Motor Motherboard Replacement: 9 단계, 이미지 1개 중 1개
    • Flip the motor box over.

    • Remove the twelve 12.2 mm screws with a Phillips #0 screwdriver.

    • Remove the two 11.5 mm screws with a Phillips #0 screwdriver.

  10. Logitech G920 Driving Force Motor Motherboard Replacement: 10 단계, 이미지 2개 중 1개 Logitech G920 Driving Force Motor Motherboard Replacement: 10 단계, 이미지 2개 중 2개
    • Flip over the motor box once more.

    • Remove the motor box cover.

  11. Logitech G920 Driving Force Motor Motherboard Replacement: 11 단계, 이미지 3개 중 1개 Logitech G920 Driving Force Motor Motherboard Replacement: 11 단계, 이미지 3개 중 2개 Logitech G920 Driving Force Motor Motherboard Replacement: 11 단계, 이미지 3개 중 3개
    • Remove the four 5 mm screws with a Phillips #0 screwdriver.

    • Detach the wires connected to the motherboard.

    • Remove the motherboard from the motor box.

결론

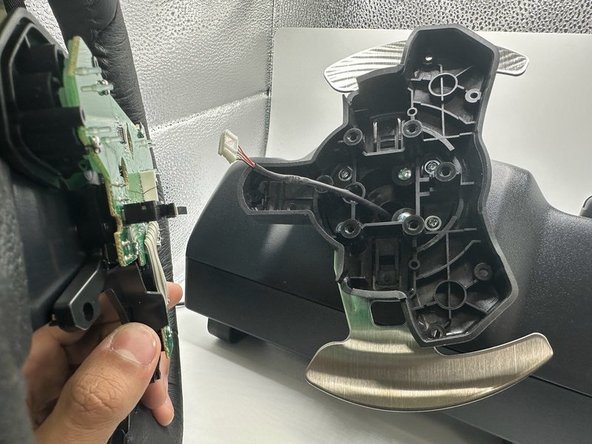
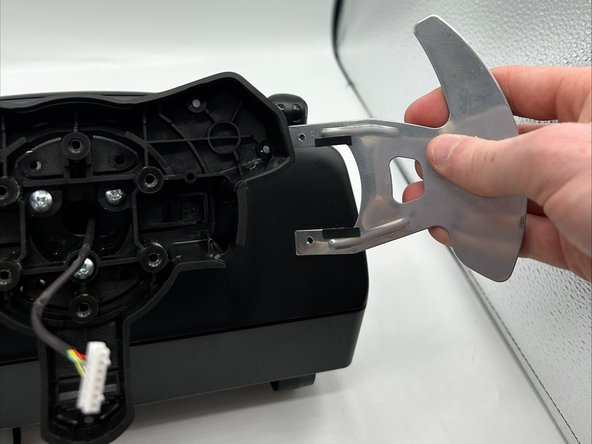
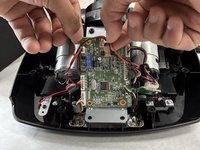
To reassemble your device, follow these instructions in reverse order.

다른 6명이 해당 안내서를 완성하였습니다.

작성자

5다른 기여자 명과 함께

Aiden Muse

회원 가입일: 09/12/23

594 평판

안내서 3개를 작성함

1가이드 댓글

Which wire is for the USB?

Davoyles lags - 답글

댓글 쓰기

조회 통계:

지난 24시간: 11

지난 7일: 69

지난 30일: 235

전체 시간: 5,733