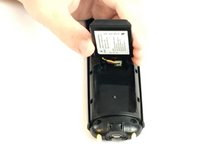
필요한 것
-
-
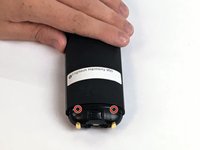
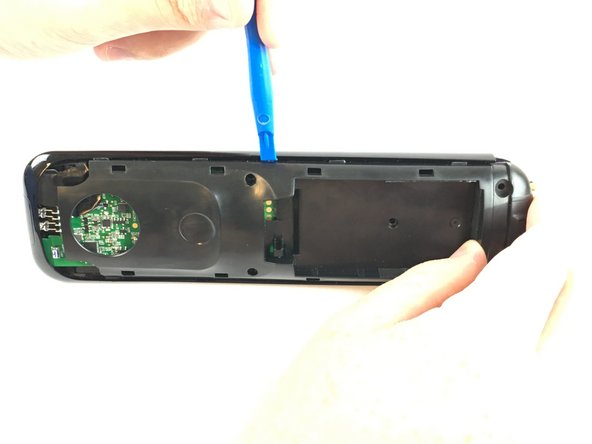
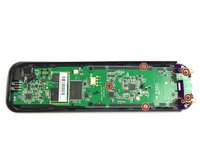
Use the Opening Tool to open the port cover at the bottom of the remote control.
-
Bend the cover back to gain easy access to the screws.
-
-
-
-
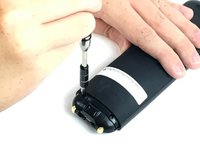
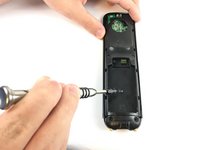
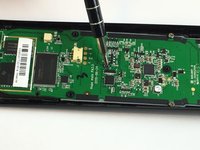
Use the Phillips #0 screwdriver to remove the (3) three 6mm screws.
-
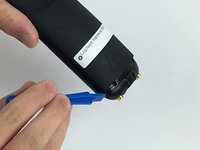
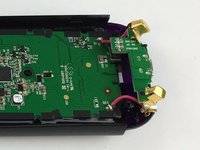
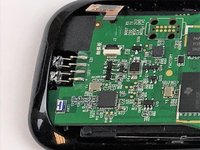
Push the opening tool into the gap along the side of the remote, then slide it across until you hear clicking sounds.
-
-
이 단계에 사용된 도구:Tweezers$3.99
-
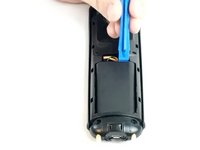
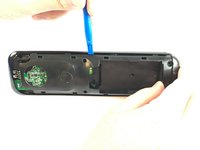
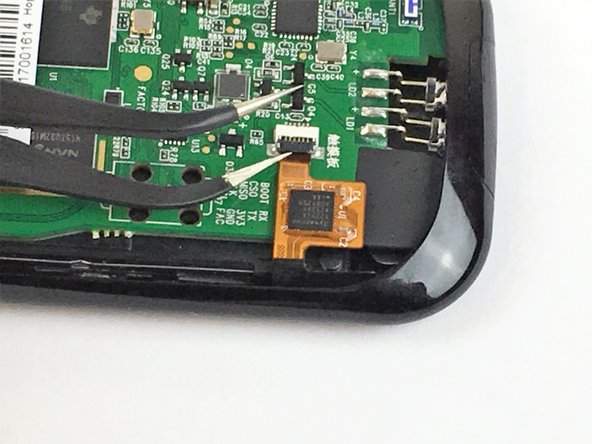
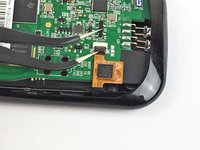
Use the angled Tweezers to carefully pull the white cable end off of the remote and disconnect it.
-


To reassemble your device, follow these instructions in reverse order.
다른 2명이 해당 안내서를 완성하였습니다.
팀

USF Tampa, Team S2-G2, Passmore Fall 2017 USF Tampa, Team S2-G2, Passmore Fall 2017 회원
USFT-PASSMORE-F17S2G2
4 회원들
안내서 7개를 작성함
3가이드 댓글
How replace A Mitsubishi Remote Control
How replace A Mitsubishi Remote Control ?
Thanks
Air conditioning