소개
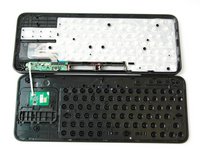
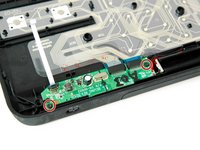
This is a replacement guide for the on/off switch on the Logitech Harmony Smart Keyboard.
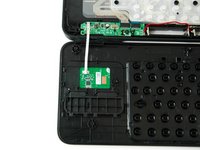
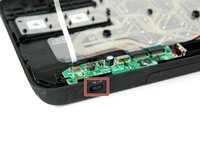
The on/off switch, or power switch, powers the keyboard on and off. The on/off switch appears green when powered on, and appears red when powered off.
필요한 것
-
-
-
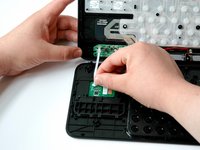
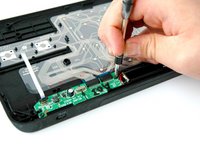
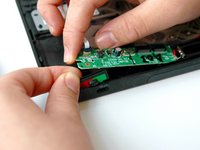
Grip the lower end of the ribbon flex cable (white band) using your thumb and index finger.
-
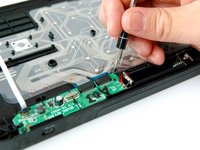
Then slide the strip out toward yourself in a scooping motion.
-


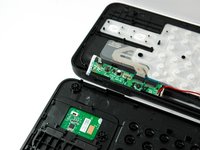


To reassemble your device, follow these instructions in reverse order.
다른 2명이 해당 안내서를 완성하였습니다.
팀

CSU Fullerton, Team S1-G2, Bruce Fall 2017 CSU Fullerton, Team S1-G2, Bruce Fall 2017 회원
CSUF-BRUCE-F17S1G2
3 회원들
안내서 10개를 작성함
1가이드 댓글
please share switch rear side.. and where could we buy this switch.. ?