소개
Follow this guide if you are preparing to replace or clean your Logitech Harmony Touch's buttons.
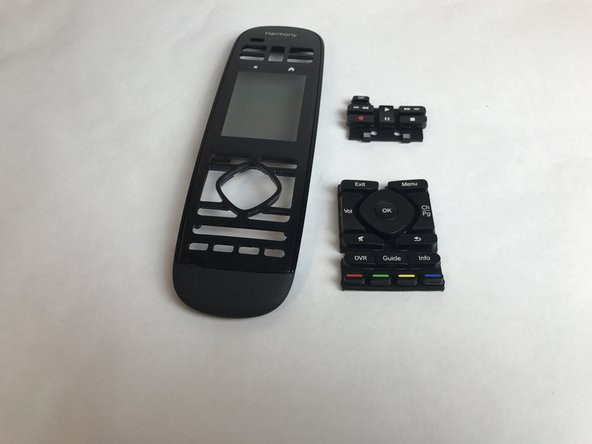
The buttons on the remote controller have essential functions to the user's entertainment system, including the on/off, volume control, menu, and more controls that need the buttons to function.
The Logitech Harmony Touch User Manual provides a full breakdown of each button and its location on the controller if a button goes missing or you want a clear image of the remote after the teardown.
필요한 것
-
-
Open the latch that accesses the charging port.
-
Remove the black sticker and the screw with the Phillips #0 Screwdriver.
-
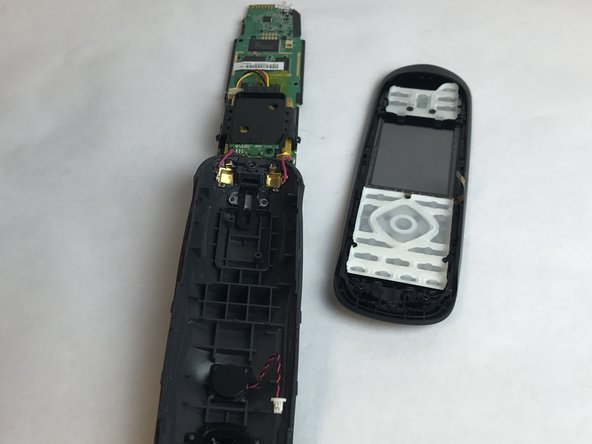
Take the plastic opening tool and run it down the side of the remote to open the case.
-
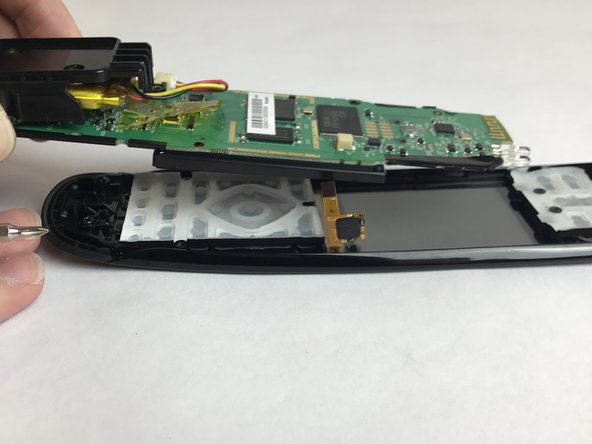
Detach the white clamp to disconnect the case from the motherboard partially.
-
-


To reassemble your device, follow these instructions in reverse order.
To reassemble your device, follow these instructions in reverse order.
다른 한 분이 해당 안내서를 완성하였습니다.
팀

USF Tampa, Team S4-G2, Eyestone Fall 2017 USF Tampa, Team S4-G2, Eyestone Fall 2017 회원
USFT-EYESTONE-F17S4G2
4 회원들
안내서 5개 작성하였습니다