주요 콘텐츠로 건너뛰기

Logitech K120 Keyboard USB Cable Replacement

필요한 것

  1. Logitech K120 Keyboard USB Cable Replacement, Removing Screws: 1 단계, 이미지 1/2 Logitech K120 Keyboard USB Cable Replacement, Removing Screws: 1 단계, 이미지 2/2
    • Remove the Phillips #000 screw. Turn the screwdriver counter-clockwise.

  2. Logitech K120 Keyboard USB Cable Replacement, Separating The Keyboard's Chassis: 2 단계, 이미지 1/3 Logitech K120 Keyboard USB Cable Replacement, Separating The Keyboard's Chassis: 2 단계, 이미지 2/3 Logitech K120 Keyboard USB Cable Replacement, Separating The Keyboard's Chassis: 2 단계, 이미지 3/3
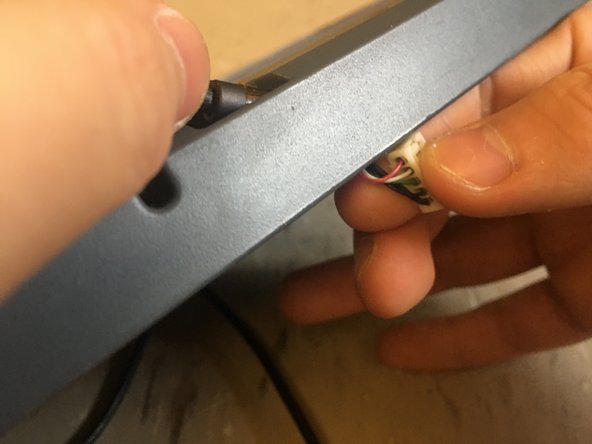
    • Use the spudger to separate the top of keyboard from the bottom of the keyboard.

  3. Logitech K120 Keyboard USB Cable Replacement, Removing The Top Of The Keyboard: 3 단계, 이미지 1/1
    • Remove the top of the keyboard and put it aside.

  4. Logitech K120 Keyboard USB Cable Replacement, Removing The Bracket: 4 단계, 이미지 1/3 Logitech K120 Keyboard USB Cable Replacement, Removing The Bracket: 4 단계, 이미지 2/3 Logitech K120 Keyboard USB Cable Replacement, Removing The Bracket: 4 단계, 이미지 3/3
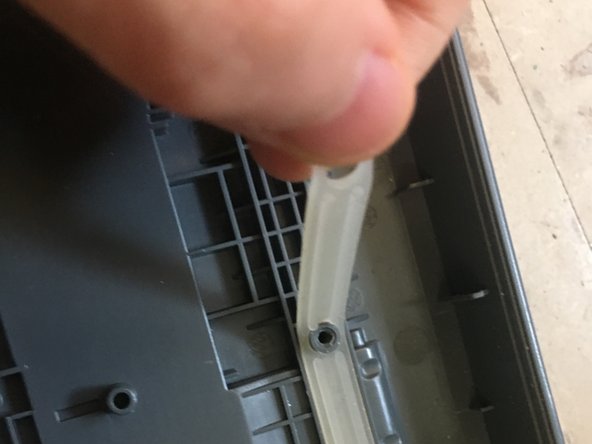
    • Unscrew the highlighted screws using a Phillips #000 Screwdriver. Turn the screwdriver counter-clockwise.

  5. Logitech K120 Keyboard USB Cable Replacement, Removing The Circuit Board: 5 단계, 이미지 1/3 Logitech K120 Keyboard USB Cable Replacement, Removing The Circuit Board: 5 단계, 이미지 2/3 Logitech K120 Keyboard USB Cable Replacement, Removing The Circuit Board: 5 단계, 이미지 3/3
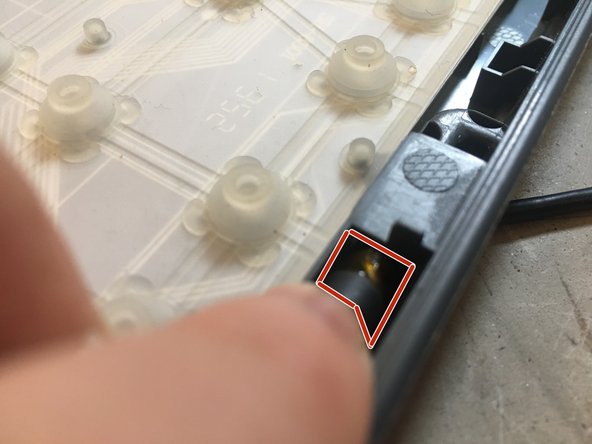
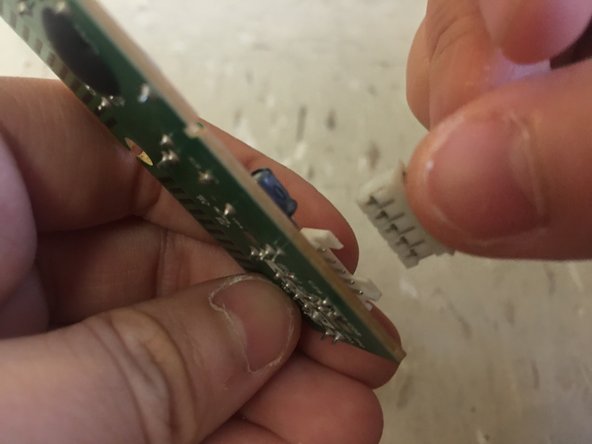
    • Use the spudger and carefully pry the connector out of its socket. (Highlighted in the pictures)

  6. Logitech K120 Keyboard USB Cable Replacement, Removing The Cable: 6 단계, 이미지 1/2 Logitech K120 Keyboard USB Cable Replacement, Removing The Cable: 6 단계, 이미지 2/2
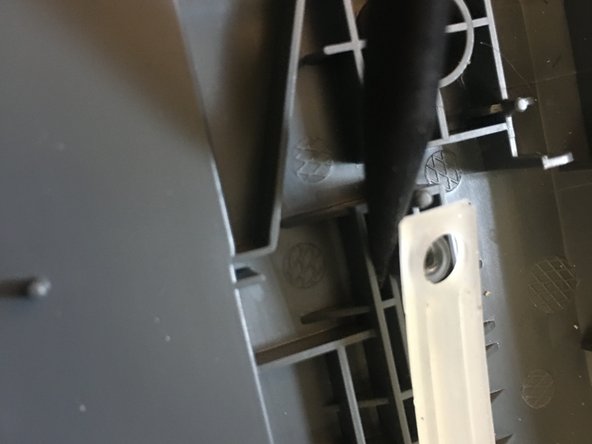
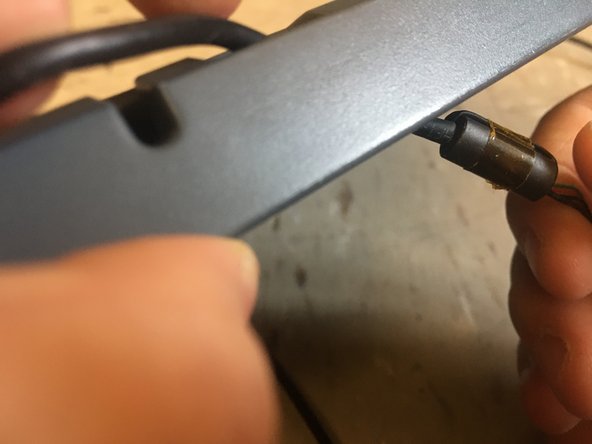
    • Carefully nudge the connector out of the hole in which the cable enters the keyboard's chassis.

  7. Logitech K120 Keyboard USB Cable Replacement, Removing The Membrane: 7 단계, 이미지 1/2 Logitech K120 Keyboard USB Cable Replacement, Removing The Membrane: 7 단계, 이미지 2/2
    • Peel the membrane off carefully so that the membrane doesn't rip.

  8. Logitech K120 Keyboard USB Cable Replacement, Remove The 2nd Membrane: 8 단계, 이미지 1/3 Logitech K120 Keyboard USB Cable Replacement, Remove The 2nd Membrane: 8 단계, 이미지 2/3 Logitech K120 Keyboard USB Cable Replacement, Remove The 2nd Membrane: 8 단계, 이미지 3/3
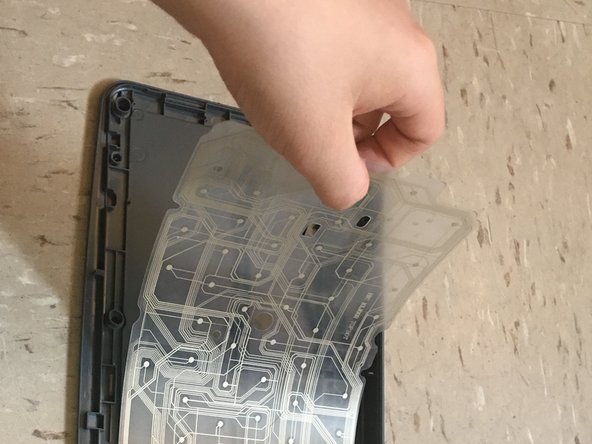
    • Stick the sharp end of the spudger into the corner of the second membrane and bring the spudger partly underneath the membrane.

    • Lift the membrane off of the first standoff.

    • Peel the rest of the membrane off carefully so the membrane doesn't rip.

  9. Logitech K120 Keyboard USB Cable Replacement, Install The New Cable: 9 단계, 이미지 1/3 Logitech K120 Keyboard USB Cable Replacement, Install The New Cable: 9 단계, 이미지 2/3 Logitech K120 Keyboard USB Cable Replacement, Install The New Cable: 9 단계, 이미지 3/3
    • Slide the new cable into the hole.

  10. Logitech K120 Keyboard USB Cable Replacement, Connect The New Cable: 10 단계, 이미지 1/3 Logitech K120 Keyboard USB Cable Replacement, Connect The New Cable: 10 단계, 이미지 2/3 Logitech K120 Keyboard USB Cable Replacement, Connect The New Cable: 10 단계, 이미지 3/3
    • Connect The Cable To The Circuit Board.

결론

To reassemble your device, follow the instructions on how to reassemble your device in the prerequisite guide.

다른 한 분이 해당 안내서를 완성하였습니다.

Marcus Jones

회원 가입일: 11/22/18

1,205 평판

안내서 6개 작성하였습니다

댓글 3개

Hi there,

Nice guide! Where do I get hold of a replacement USB wire / what’s the specific name of it?

Thanks,

Robin

Robin Lane - 답글

Great question. I found most of these replacement cables are on ebay or amazon as logitech mouse cable replacements.

Bri Gipson -

Search the web (or Amazon) for the following:

USB Line Wire Cable Replacement Repair Logitech

Bri Gipson - 답글

댓글 쓰기

조회 통계:

24 시간 전: 1

7일 전: 12

30일 전: 43

전체 시간: 3,043