소개
Use this guide to safely remove and replace the battery in a Logitech K750 Solar wireless keyboard.
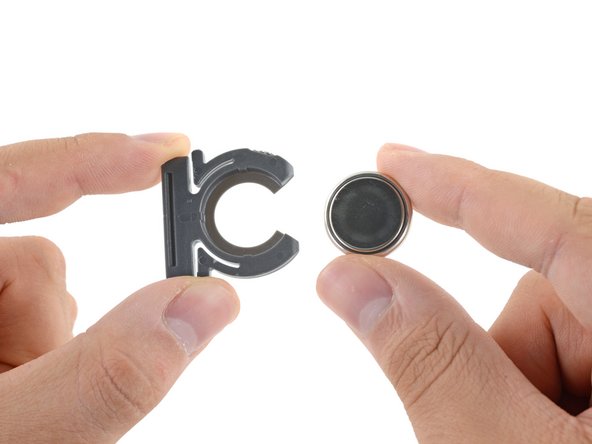
Note: The K750 Solar requires a rechargeable ML2032 coin cell battery as a replacement. Although it's the same size and shape as the more common CR2032, CR2032s are not rechargeable. You can also use a LIR2032 rechargeable battery as well.
필요한 것
-
-
Before you begin, flip the keyboard's power switch into the OFF position.
-
-
-
-
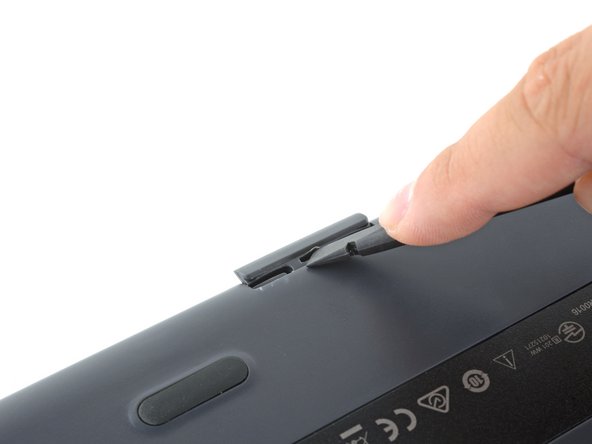
Insert the flat end of a spudger into the gap between the battery tray and the top surface of the keyboard.
-
Pivot the spudger down, towards the top of the keyboard, to begin to pry the tray out of its cavity.
-
-
-
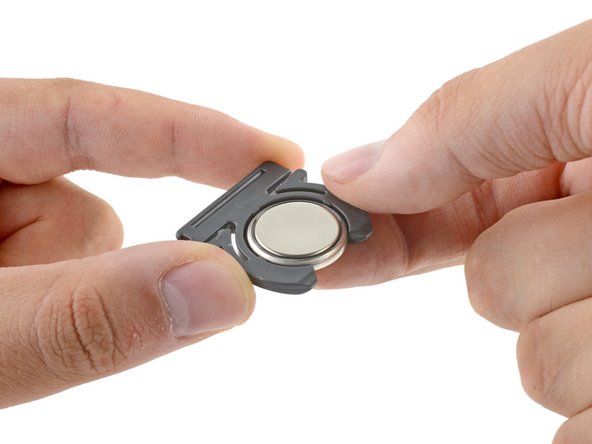
Use the flat end of the spudger to push the battery tray out and away from the keyboard.
-
Remove the battery tray.
-


To reassemble your device, follow the above steps in reverse order.
Take your e-waste to an R2 or e-Stewards certified recycler.
Repair didn’t go as planned? Check out our Answers community for troubleshooting help.
To reassemble your device, follow the above steps in reverse order.
Take your e-waste to an R2 or e-Stewards certified recycler.
Repair didn’t go as planned? Check out our Answers community for troubleshooting help.
다른 209명이 해당 안내서를 완성하였습니다.


댓글 94개
My sentiments, exactly!
There a better way to open it
put the knife or better a screwdriver on the other side (keys upside); worked for me without damage the keyboard :D
yannick NR - 답글
Thank You! That did work much better!
Here is an even better method.
You can also totally prevent damage by finding a laminated biz card and cutting it into 2 one inch strips and inserting both of them into the slot on the top side (solar side) of the battery compartment.
Then get your tool ( I like small pointed scissors) and pry it out between the cards.
Very easy!