주요 콘텐츠로 건너뛰기

Logitech UE Boombox Speaker Grille Replacement

필요한 것

  1. Logitech UE Boombox Speaker Grille Replacement, Speaker Grille: 1 단계, 이미지 1/2 Logitech UE Boombox Speaker Grille Replacement, Speaker Grille: 1 단계, 이미지 2/2
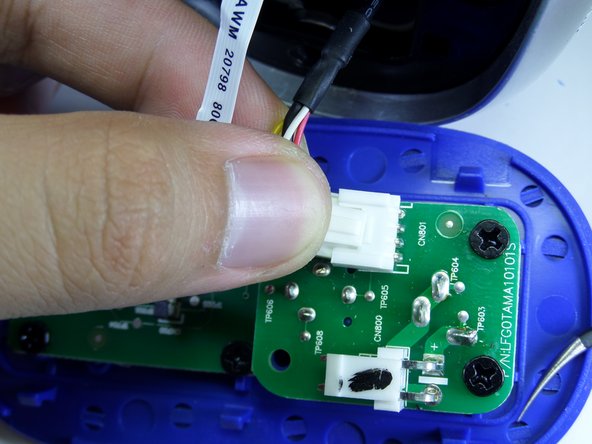
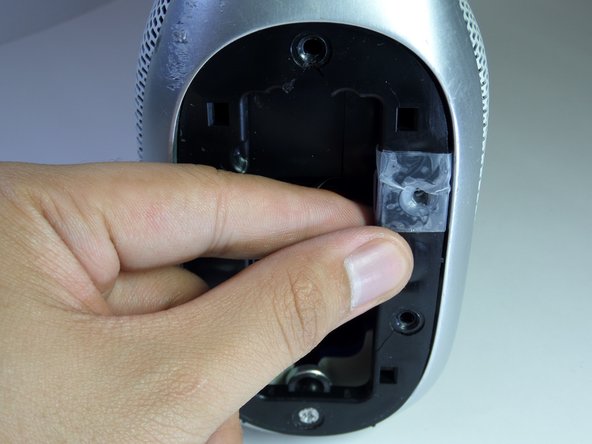
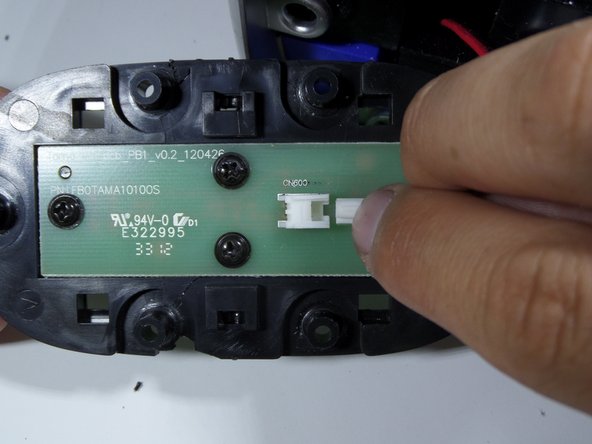
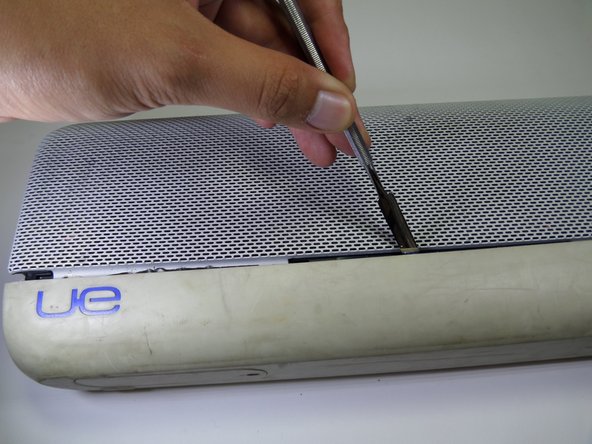
    • Use a metal spudger to pry open the power button cover.

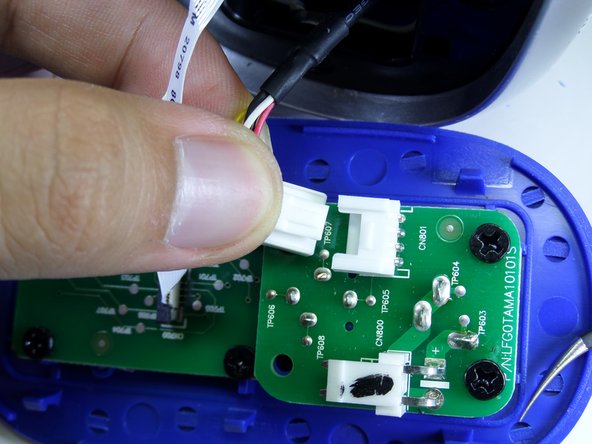
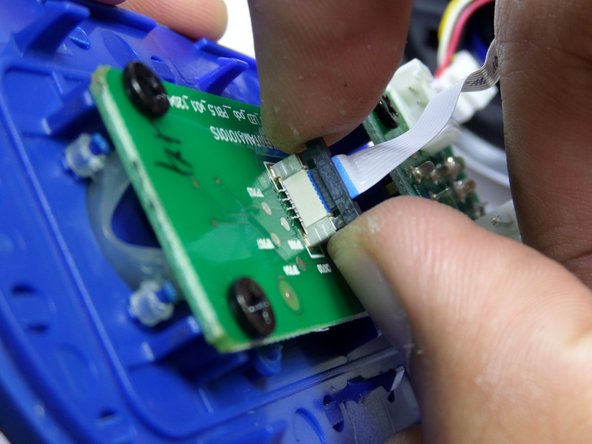
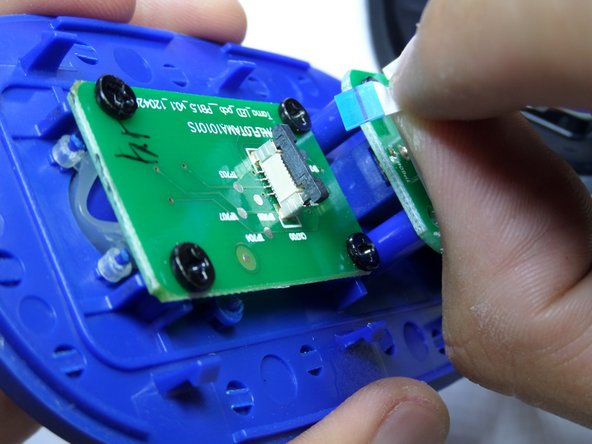
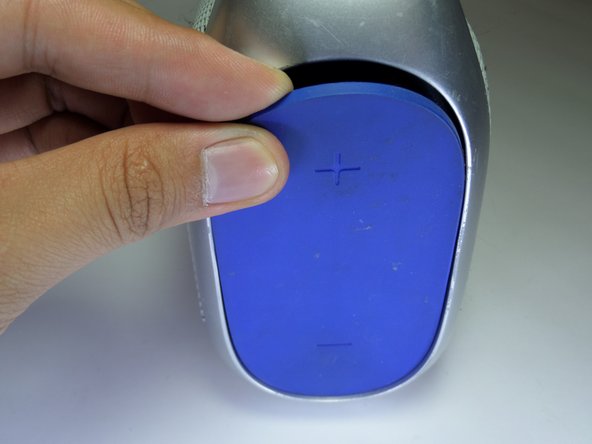
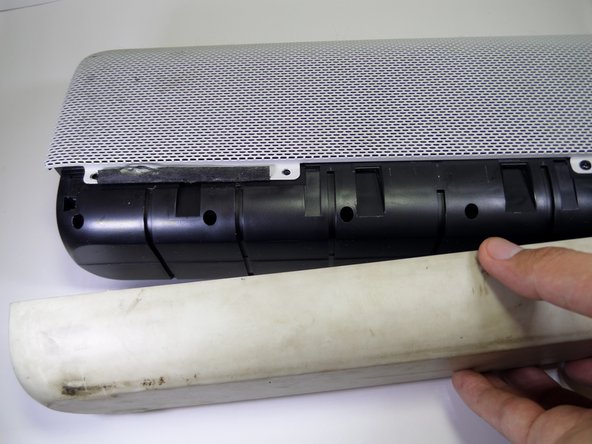
    • Once the power button cover is slightly opened, use your fingers to remove the power button cover.

  2. Logitech UE Boombox Speaker Grille Replacement: 2 단계, 이미지 1/3 Logitech UE Boombox Speaker Grille Replacement: 2 단계, 이미지 2/3 Logitech UE Boombox Speaker Grille Replacement: 2 단계, 이미지 3/3
    • Press firmly on the end of the latch and pull the two-wire connector away from the base to separate.

  3. Logitech UE Boombox Speaker Grille Replacement: 3 단계, 이미지 1/3 Logitech UE Boombox Speaker Grille Replacement: 3 단계, 이미지 2/3 Logitech UE Boombox Speaker Grille Replacement: 3 단계, 이미지 3/3
    • Firmly press on the end of the latch and pull the four-wire connector away from the base to separate.

  4. Logitech UE Boombox Speaker Grille Replacement: 4 단계, 이미지 1/3 Logitech UE Boombox Speaker Grille Replacement: 4 단계, 이미지 2/3 Logitech UE Boombox Speaker Grille Replacement: 4 단계, 이미지 3/3
    • Lightly, pry up on each side of the black band connector lock using your fingertips.

    • Once unlocked, pull straight up on the connector to remove.

  5. Logitech UE Boombox Speaker Grille Replacement: 5 단계, 이미지 1/2 Logitech UE Boombox Speaker Grille Replacement: 5 단계, 이미지 2/2
    • Remove the five black 14mm Phillips #2 screws from the black plastic side panel.

    • Remove the one silver 16mm Phillips #2 screws from the black plastic side panel.

    • Remove the black plastic screw panel from the boombox.

  6. Logitech UE Boombox Speaker Grille Replacement: 6 단계, 이미지 1/2 Logitech UE Boombox Speaker Grille Replacement: 6 단계, 이미지 2/2
    • On the opposite side of the device, pry open the volume rocker with a metal spudger.

    • Remove the panel with your fingers once the volume rocker is slightly opened.

  7. Logitech UE Boombox Speaker Grille Replacement: 7 단계, 이미지 1/3 Logitech UE Boombox Speaker Grille Replacement: 7 단계, 이미지 2/3 Logitech UE Boombox Speaker Grille Replacement: 7 단계, 이미지 3/3
    • Remove the five black 14mm Phillips #2 screws from the black plastic side panel.

    • Remove the one silver16 mm Phillips #2 screw from the black plastic side panel.

    • Once all screws are removed, take the screw panel out of the device to gain access to the back of the panel.

  8. Logitech UE Boombox Speaker Grille Replacement: 8 단계, 이미지 1/2 Logitech UE Boombox Speaker Grille Replacement: 8 단계, 이미지 2/2
    • Firmly press on the end of the latch and pull the two-wire connector away from the base.

  9. Logitech UE Boombox Speaker Grille Replacement: 9 단계, 이미지 1/2 Logitech UE Boombox Speaker Grille Replacement: 9 단계, 이미지 2/2
    • Pull up on the aluminum boombox handle to remove.

  10. Logitech UE Boombox Speaker Grille Replacement: 10 단계, 이미지 1/2 Logitech UE Boombox Speaker Grille Replacement: 10 단계, 이미지 2/2
    • Use a metal spudger to pry the rubber base apart from the aluminum grille.

  11. Logitech UE Boombox Speaker Grille Replacement: 11 단계, 이미지 1/2 Logitech UE Boombox Speaker Grille Replacement: 11 단계, 이미지 2/2
    • Pull the rubber base away from the boombox.

  12. Logitech UE Boombox Speaker Grille Replacement: 12 단계, 이미지 1/1
    • Remove the four black 7.5mm Phillips #2 screws on each side of the device.

    • There should be a total of eight screws removed in this step.

  13. Logitech UE Boombox Speaker Grille Replacement: 13 단계, 이미지 1/3 Logitech UE Boombox Speaker Grille Replacement: 13 단계, 이미지 2/3 Logitech UE Boombox Speaker Grille Replacement: 13 단계, 이미지 3/3
    • Pull vertically on the speaker grille to remove it from the boombox.

결론

To reassemble your device, follow these instructions in reverse order.

다른 한 분이 해당 안내서를 완성하였습니다.

tyler hua

회원 가입일: 09/15/16

253 평판

안내서 1개 작성함

CSU Fullerton, Team 1-1, Bruce Fall 2016 CSU Fullerton, Team 1-1, Bruce Fall 2016 회원

CSUF-BRUCE-F16S1G1

4 회원들

안내서 5개 작성하였습니다

댓글 한 개

Awesome guide thanks. Had to strip mine down as it stopped working, replugged it all and it’s good as new. Knowing how it’s down saves brute force and ignorance :)

matt - 답글

댓글 쓰기

조회 통계:

24 시간 전: 0

7일 전: 0

30일 전: 3

전체 시간: 901