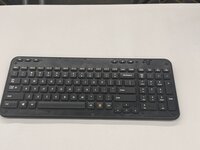
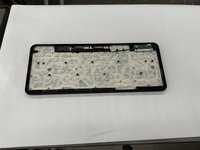
주요 콘텐츠로 건너뛰기

Logitech Wireless K360 Printed Circuit Board (PCB) Replacement

필요한 것

  1. Logitech Wireless K360 Printed Circuit Board (PCB) Replacement, Battery: 1 단계, 이미지 1개 중 1개
    • Turn the keyboard face down.

  2. Logitech Wireless K360 Printed Circuit Board (PCB) Replacement: 2 단계, 이미지 1개 중 1개
    • With your thumbs on both sides of the battery tab, push upwards.

    • You should feel it disconnect.

    • Remove the cover exposing the batteries.

  3. Logitech Wireless K360 Printed Circuit Board (PCB) Replacement: 3 단계, 이미지 1개 중 1개
    • Remove the old batteries.

    • Make sure the keyboard turns on and works.

    • Double check that the cover is back on correctly; you don't want it coming off and have the batteries fall out!

  4. Logitech Wireless K360 Printed Circuit Board (PCB) Replacement, Printed Circuit Board (PCB): 4 단계, 이미지 3개 중 1개 Logitech Wireless K360 Printed Circuit Board (PCB) Replacement, Printed Circuit Board (PCB): 4 단계, 이미지 3개 중 2개 Logitech Wireless K360 Printed Circuit Board (PCB) Replacement, Printed Circuit Board (PCB): 4 단계, 이미지 3개 중 3개
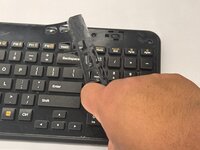
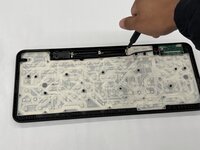
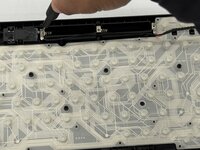
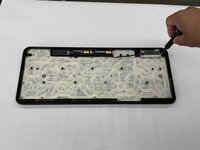
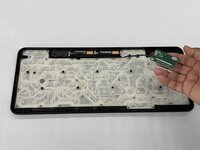
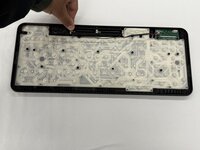
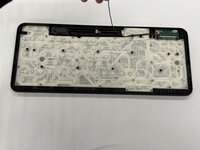
    • Remove the keyboard cover.

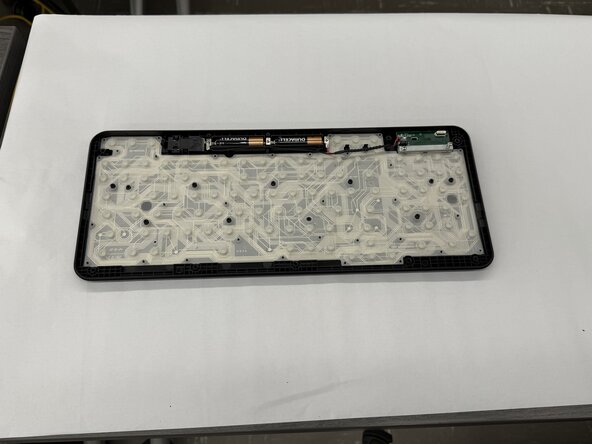
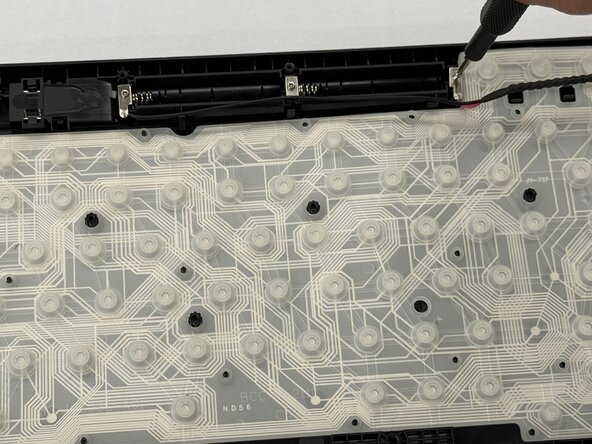
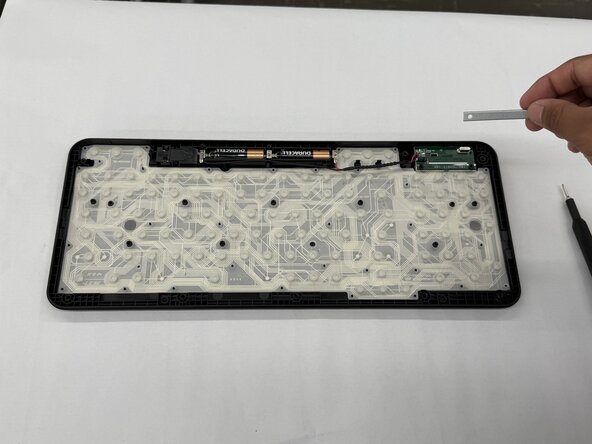
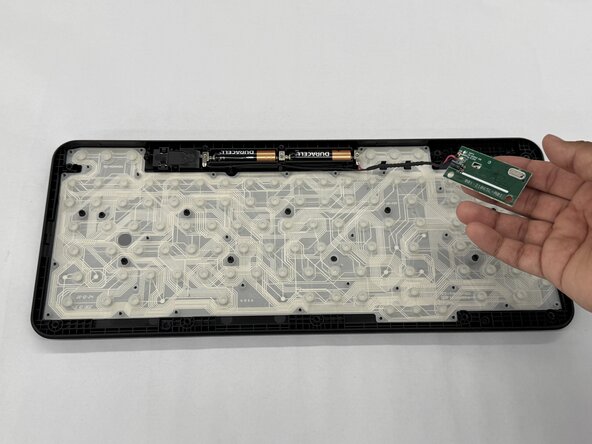
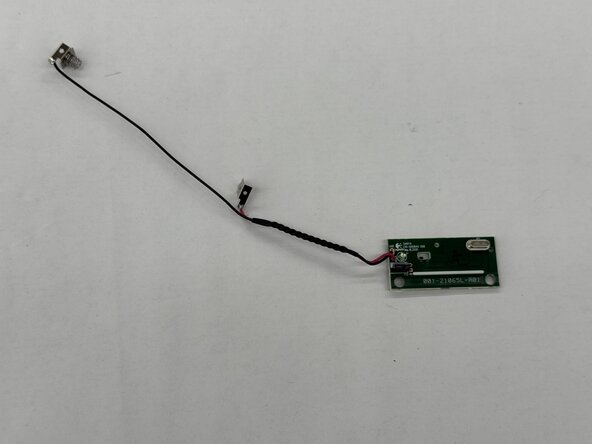
    • Remove the screws using a Phillips #0 screwdriver.

    • There are a total of eight 8mm screws and twelve 6mm screws.

  5. Logitech Wireless K360 Printed Circuit Board (PCB) Replacement: 5 단계, 이미지 2개 중 1개 Logitech Wireless K360 Printed Circuit Board (PCB) Replacement: 5 단계, 이미지 2개 중 2개
    • Remove the top half of the keyboard carefully.

    • If there are issues removing the top half of the keyboard, you can try using something thin to get into the crevices.

  6. Logitech Wireless K360 Printed Circuit Board (PCB) Replacement: 6 단계, 이미지 3개 중 1개 Logitech Wireless K360 Printed Circuit Board (PCB) Replacement: 6 단계, 이미지 3개 중 2개 Logitech Wireless K360 Printed Circuit Board (PCB) Replacement: 6 단계, 이미지 3개 중 3개
    • Unscrew the two 2.0 mm silver screws using a Phillips #0 screwdriver.

  7. Logitech Wireless K360 Printed Circuit Board (PCB) Replacement: 7 단계, 이미지 3개 중 1개 Logitech Wireless K360 Printed Circuit Board (PCB) Replacement: 7 단계, 이미지 3개 중 2개 Logitech Wireless K360 Printed Circuit Board (PCB) Replacement: 7 단계, 이미지 3개 중 3개
    • Unscrew the two 2.0 mm silver screws on either side of the printed circuit board (PCB) using a Phillips #0 screwdriver.

  8. Logitech Wireless K360 Printed Circuit Board (PCB) Replacement: 8 단계, 이미지 3개 중 1개 Logitech Wireless K360 Printed Circuit Board (PCB) Replacement: 8 단계, 이미지 3개 중 2개 Logitech Wireless K360 Printed Circuit Board (PCB) Replacement: 8 단계, 이미지 3개 중 3개
    • Lift the entire printed circuit board (PCB) out of the panel.

결론

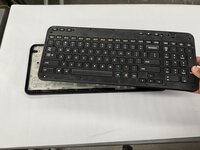
To reassemble your device, follow these instructions in reverse order.

다른 2명이 해당 안내서를 완성하였습니다.

작성자

2다른 기여자 명과 함께

Othon Sanchez

회원 가입일: 02/20/25

321 평판

안내서 2개를 작성함

CSU Los Angeles, Team 7-3, Kershman Spring 2025 CSU Los Angeles, Team 7-3, Kershman Spring 2025 회원

CSULA-KERSHMAN-S25S7G3

5 회원들

안내서 4개를 작성함

0가이드 댓글

댓글 쓰기

조회 통계:

지난 24시간: 2

지난 7일: 11

지난 30일: 36

전체 시간: 232