주요 콘텐츠로 건너뛰기

이 안내서에는 최근 변경 사항이 더 있습니다. 최신 비검증 버전으로 전환하십시오.

M3D Micro Motor Replacement

필요한 것

  1. M3D Micro Motor Replacement, M3D Micro Frame Removal: 1 단계, 이미지 1/1
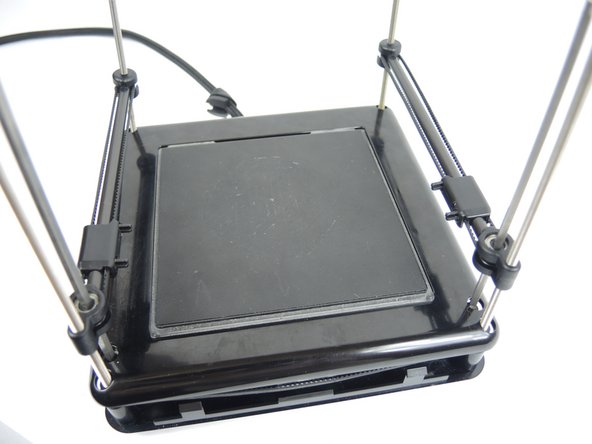
    • Removing the frame is necessary to access the z axis belt, motors and ports. Make sure the unit is unplugged and set on a hard level surface.

  2. M3D Micro Motor Replacement: 2 단계, 이미지 1/3 M3D Micro Motor Replacement: 2 단계, 이미지 2/3 M3D Micro Motor Replacement: 2 단계, 이미지 3/3
    • Pull the x-rods away from the plastic sliders on the y-rods, and flip the slider upwards to release the tracks. Lift the extruder assembly out of the way.

  3. M3D Micro Motor Replacement: 3 단계, 이미지 1/2 M3D Micro Motor Replacement: 3 단계, 이미지 2/2
    • No tools are required to remove the frame. Press down on the printing bed with your thumbs while lifting the frame with your fingers. The frame easily slides up.

  4. M3D Micro Motor Replacement, Motor: 4 단계, 이미지 1/1
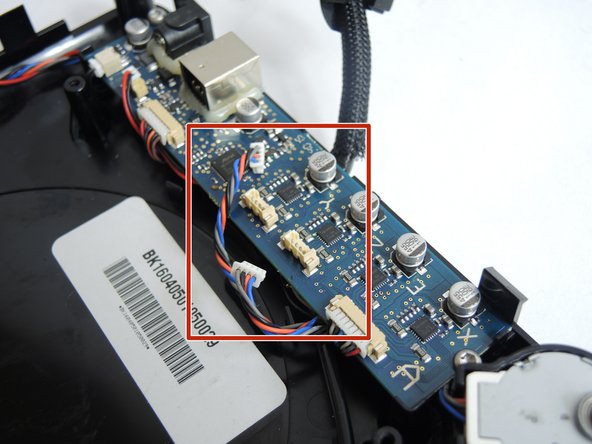
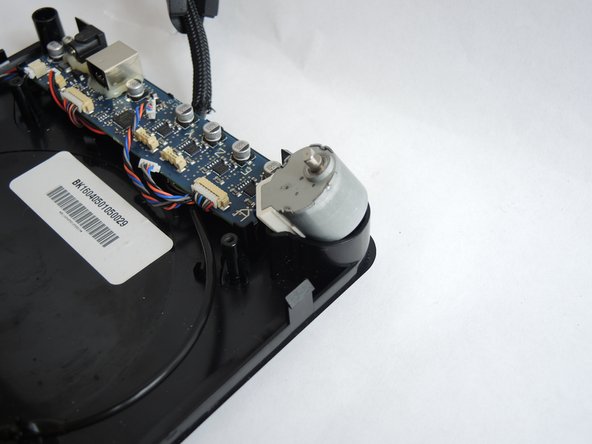
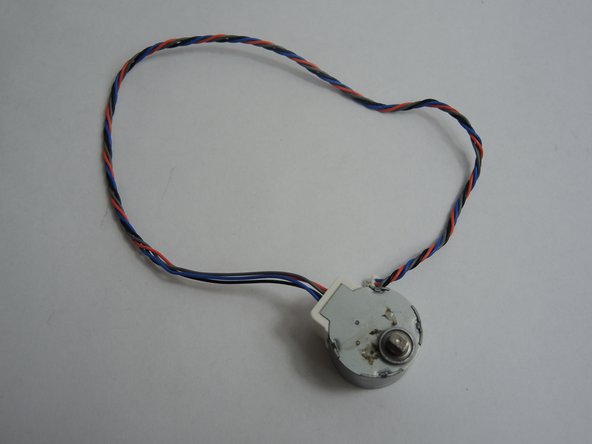
    • Once the base is opened you should find a circuit board and two motors like the one on the right, select the motor to be replaced.

  5. M3D Micro Motor Replacement: 5 단계, 이미지 1/2 M3D Micro Motor Replacement: 5 단계, 이미지 2/2
    • Unplug the connectors for the Orange, Blue, Gray and Black cables. These would be the motor cables.

  6. M3D Micro Motor Replacement: 6 단계, 이미지 1/2 M3D Micro Motor Replacement: 6 단계, 이미지 2/2
    • Once disconnected you will proceed to lift the motor using pliers.

  7. M3D Micro Motor Replacement: 7 단계, 이미지 1/2 M3D Micro Motor Replacement: 7 단계, 이미지 2/2
    • Now, remove the motor.

결론

To reassemble your device, follow these instructions in reverse order.

Miguel Pina

회원 가입일: 10/17/17

101 평판

안내서 1개 작성함

USF Tampa, Team S3-G2, Nance Fall 2017 USF Tampa, Team S3-G2, Nance Fall 2017 회원

USFT-NANCE-F17S3G2

4 회원들

안내서 10개 작성하였습니다

댓글 한 개

Hello, good work and explanation. Is there any possibility to replace MICRO+ X-AXIS MOTOR “gear” please. Thanks

robozeka - 답글

댓글 쓰기

조회 통계:

24 시간 전: 0

7일 전: 1

30일 전: 20

전체 시간: 1,583