이 버전에는 잘못된 편집 사항이 있을 수 있습니다. 최신 확인된 스냅샷으로 전환하십시오.
필요한 것
-
이 단계는 번역되지 않았습니다. 번역을 도와주십시오
-
Removing the frame is necessary to access the z axis belt, motors and ports. Make sure the unit is unplugged and set on a hard level surface.
-
-
이 단계는 번역되지 않았습니다. 번역을 도와주십시오
-
Pull the x-rods away from the plastic sliders on the y-rods, and flip the slider upwards to release the tracks. Lift the extruder assembly out of the way.
-
-
이 단계는 번역되지 않았습니다. 번역을 도와주십시오
-
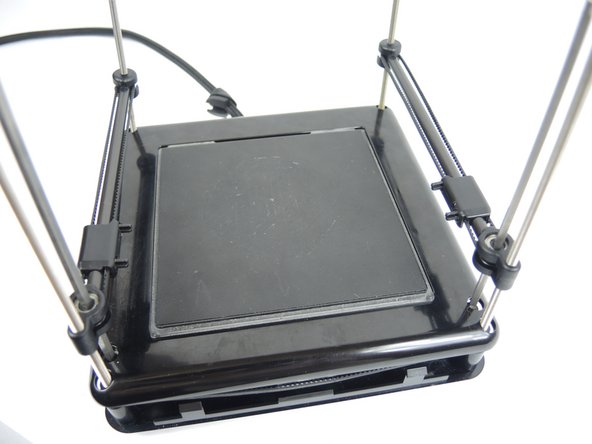
No tools are required to remove the frame. Press down on the printing bed with your thumbs while lifting the frame with your fingers. The frame easily slides up.
-
-
-
이 단계는 번역되지 않았습니다. 번역을 도와주십시오
-
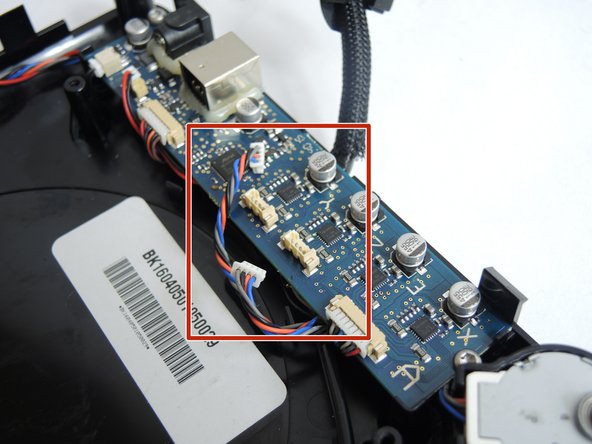
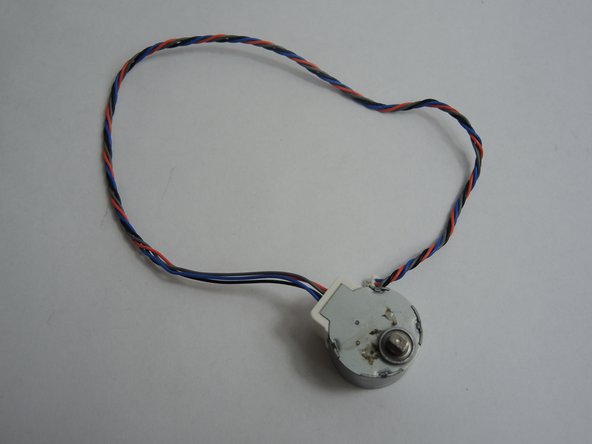
Once the base is opened you should find a circuit board and two motors like the one on the right, select the motor to be replaced.
-
-
이 단계는 번역되지 않았습니다. 번역을 도와주십시오
-
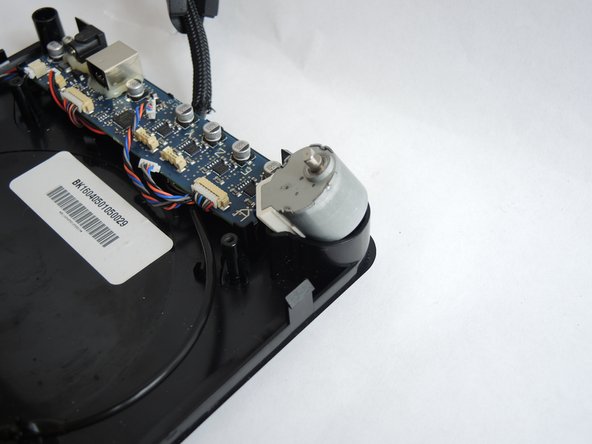
Unplug the connectors for the Orange, Blue, Gray and Black cables. These would be the motor cables.
-


팀

USF Tampa, Team S3-G2, Nance Fall 2017 USF Tampa, Team S3-G2, Nance Fall 2017 회원
USFT-NANCE-F17S3G2
4 회원들
안내서 10개 작성하였습니다