소개
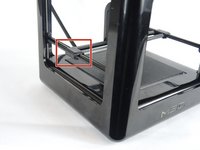
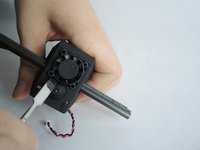
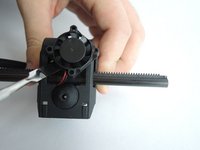
The nozzle is where the M3D's filament is extruded from, so it's a crucial component. If something is wrong with your nozzle, it's likely that your printer won't function properly. Luckily, the M3D Store sells a replacement nozzle that you can easily substitute for the faulty nozzle on your machine. The nozzle is easily accessible and as such, easy and quick to replace.
필요한 것
-
-
-
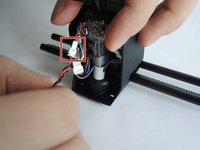
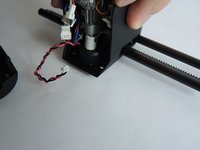
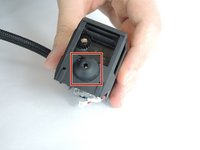
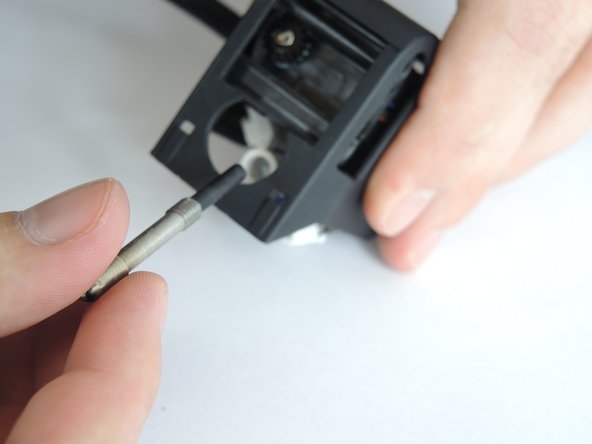
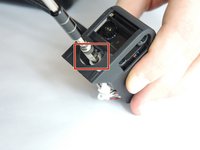
To remove the nozzle insulation, grip the insulation and pull it up off of the nozzle.
-


To reassemble your device, follow these instructions in reverse order.
다른 3명이 해당 안내서를 완성하였습니다.
팀

USF Tampa, Team S3-G2, Nance Fall 2017 USF Tampa, Team S3-G2, Nance Fall 2017 회원
USFT-NANCE-F17S3G2
4 회원들
안내서 10개를 작성함
1가이드 댓글
Do you know where I can source replacement nozzles for this? M3D doesn't have a store page anymore and none of the "standard" nozzles that I've found look like the longer piece that the m3d uses. The one I'm replacing is completely gummed up and stuck on the heating element, so I'm looking to replace both but can't find a source for parts specifically for this model
Omar Tariq - 답글