소개
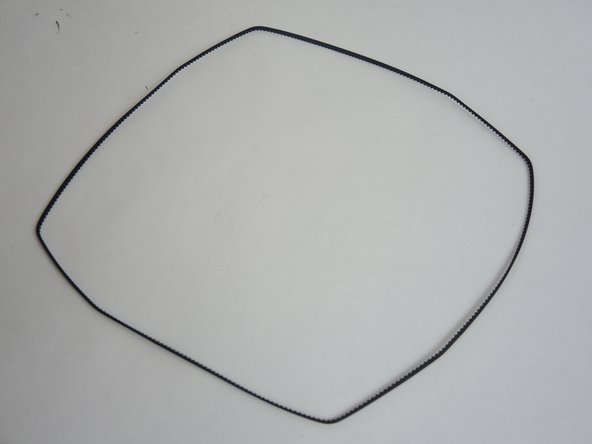
This guide will show how to open the device and remove the z-axis belt. This is the largest belt that goes around all 4 of the threaded z-axis rods at each corner of the printer. While no tools are required for this process, care needs to be taken in order to keep the Z rods vertical to ensure proper realignment of the belt and easy reassembly.
-
-
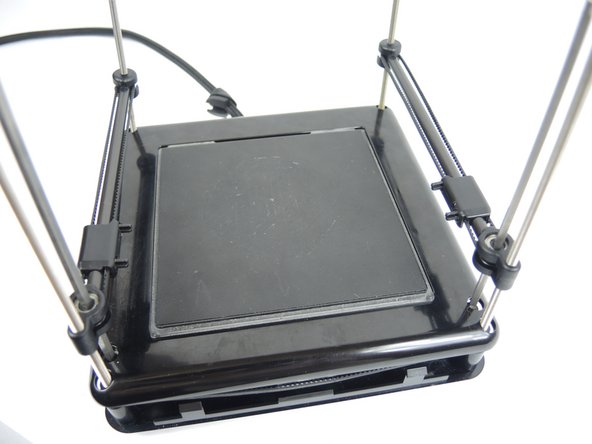
Removing the frame is necessary to access the z axis belt, motors and ports. Make sure the unit is unplugged and set on a hard level surface.
-
-
-
-
Remove the z axis belt from the device by simply lifting each corner of the belt off the corner gears and slide up over the z axis bars.
-


To reassemble your device, follow these instructions in reverse order.
To reassemble your device, follow these instructions in reverse order.
팀

USF Tampa, Team S3-G2, Nance Fall 2017 USF Tampa, Team S3-G2, Nance Fall 2017 회원
USFT-NANCE-F17S3G2
4 회원들
안내서 10개 작성하였습니다
댓글 한 개
Need a replacement z axis belt for my M3D micro printer don’t know where to go to get one