소개
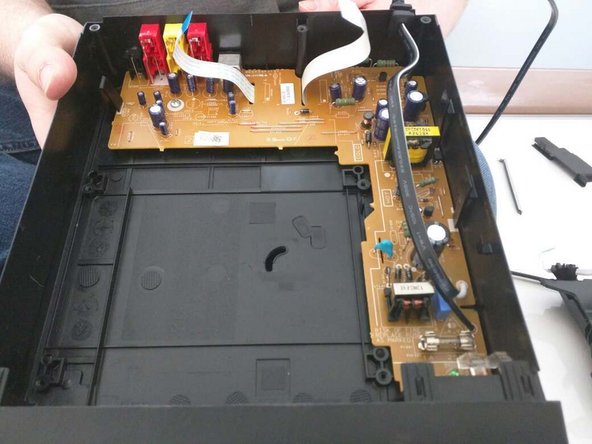
We will be showing you step by step how to access the power cord and replace it by soldering a new one in.
필요한 것


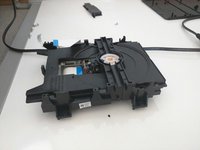


거의 끝나갑니다!
After soldering, let cool and then reassemble your device, follow these instructions in reverse order.
결론
After soldering, let cool and then reassemble your device, follow these instructions in reverse order.
다른 한 분이 해당 안내서를 완성하였습니다.
팀

Penn State, Team 1-41, Kaschak Winter 2015 Penn State, Team 1-41, Kaschak Winter 2015 회원
PSU-KASCHAK-W15S1G41
4 회원들
안내서 2개를 작성함