소개
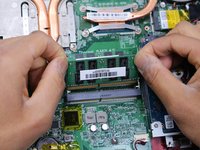
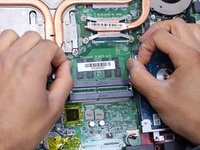
A step by step guide to show you how to replace the RAM in this laptop, and install new ones. Please make sure to remove the battery before accessing the components in the back.
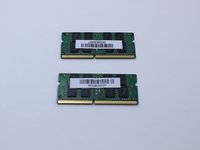
필요한 것
-
-
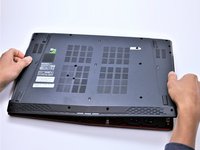
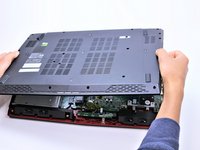
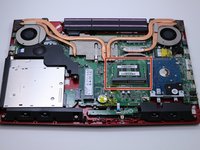
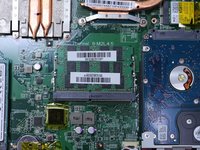
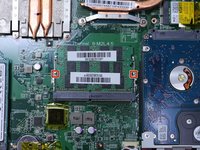
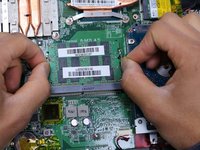
With the laptop closed and upside down, unscrew the nineteen 5.5mm Phillips #1 screws that keep the back cover in place.
-
-


To reassemble your device, follow these instructions in reverse order.
다른 한 분이 해당 안내서를 완성하였습니다.
팀

Cal Poly, Team S14-G4, Banghart Spring 2017 Cal Poly, Team S14-G4, Banghart Spring 2017 회원
CPSU-BANGHART-S17S14G4
4 회원들
안내서 8개를 작성함