이 버전에는 잘못된 편집 사항이 있을 수 있습니다. 최신 확인된 스냅샷으로 전환하십시오.
필요한 것
-
이 단계는 번역되지 않았습니다. 번역을 도와주십시오
-
Remove the six screws on the back plate of the laptop using a JIS #0 screwdriver.
-
-
-
이 단계는 번역되지 않았습니다. 번역을 도와주십시오
-
Insert a plastic opening tool into the seam of the back cover
-
Pry the cover up until clips release.
-
Slide the plastic opening tool around the laptop until cover is fully removed.
-
-
이 단계는 번역되지 않았습니다. 번역을 도와주십시오
-
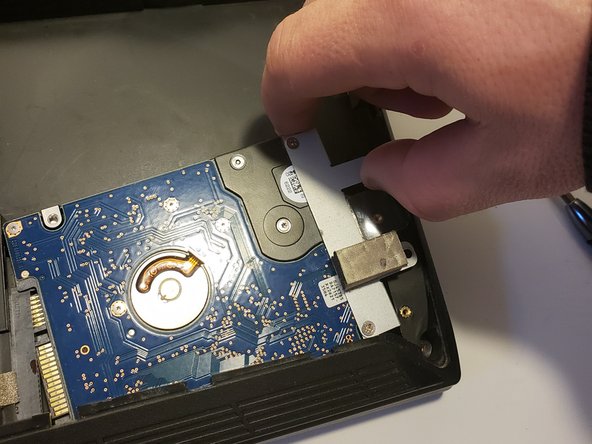
Remove the two screws securing the hard drive to the laptop.
-
Lightly lift the hard drive up by grasping the silver bracket that secures it to the laptop.
-
Wiggle it backwards slowly until it is unplugged.
-
Slide out from under the cover towards the battery.
-


팀

University of North Texas, Team S4-G1, Raign Fall 2018 University of North Texas, Team S4-G1, Raign Fall 2018 회원
UNT-RAIGN-F18S4G1
4 회원들
안내서 5개 작성하였습니다