소개
이 안내서를 사용하여 CMOS 배터리를 교체하세요.
Mac Pro에서 작업을 시작하기 전에: 컴퓨터 플러그를 뽑고, 전원 버튼을 10초 이상 눌러서 전원 공급 장치의 캐패시터를 방전하세요.
전원 공급 장치 후면에 노출된 납땜 접합부 또는 캐패시터 리드를 만지지 않도록 매우 조심하세요. 기판의 가장자리만 만지세요.
필요한 것
-
-
-
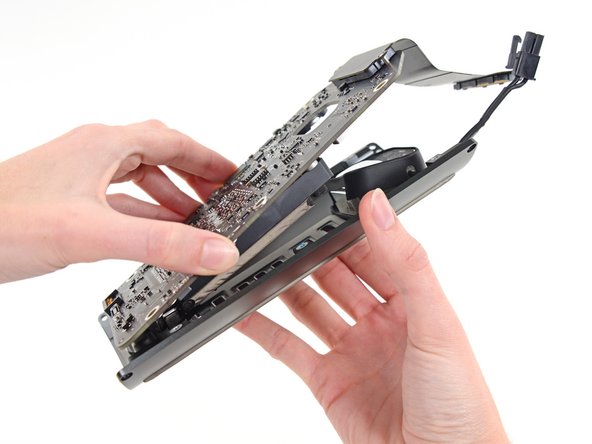
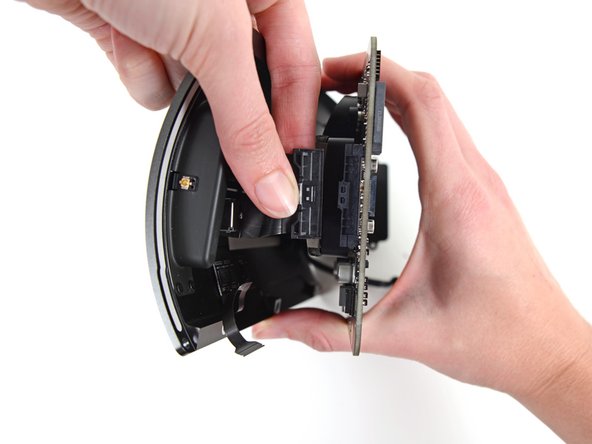
스퍼저의 평평한 끝으로 IO 보드의 소켓에서 전원 공급 장치의 DC 출력 커넥터를 연결 해제하세요.
-
스퍼저의 뾰족한 끝으로 IO 보드의 소켓에서 전원 공급 장치 데이터 케이블을 연결 해제하세요.
-


기기를 재조립하려면, 이 지침들을 역순으로 수행해주세요.
기기를 재조립하려면, 이 지침들을 역순으로 수행해주세요.
다른 26명이 해당 안내서를 완성하였습니다.
다음 번역가들에게 특별히 감사 드립니다:
100%


이 번역자 분들은 저희가 세상을 수리하는데 동참해 주시는 분입니다! 기여하시겠습니까?
번역 시작하기 ›

댓글 11개
A very good guide. I have a few notes from my experience replacing my battery.
In step 13 the torx screws securing the interconnect board to the heat sink were T-8 on my Mac but T-7 worked.
In step 23 a short arm Torx key would be helpful. Getting them out tore up the heads of the screws and getting back in was difficult without cross threading some of them. Bondhus (model no. 31832) sells a set that might help.
In step 29 if you don't reconnect the power supply data cable completely your Mac fan will run full speed and the processors will max out.
Yeah, could somebody please post the specifications for the replacement battery and maybe a source for it?
From the tear down, it's a Long-life BR-2032... I got mine at: https://www.amazon.com/PANASONIC-BATTERI.... Good luck! Great machine!
Yes, the BR2032.
The difference between it and the CR2032 medical battery is the wider heat tolerance range, both extreme heat and cold of the BR. As these are known to get quite hot, get the BR2032.
The batteries in most Macs are easy to replace so substituting the common CR2032 works fine. Electrically, they are identical. The Mac Pro and the late 2009-2010 iMac are a bit time consuming (2009–10 iMacs have the battery on the back of the motherboard) so use the same one that Apple uses.