소개
Use this guide to replace a cracked or faulty display assembly in your MacBook Air.
필요한 것
-
이 단계에 사용된 도구:P5 Pentalobe Screwdriver Retina MacBook Pro and Air$5.99
-
Remove the following ten screws:
-
Two 8 mm 5-point Pentalobe screws
-
Eight 2.5 mm 5-point Pentalobe screws
-
-
-
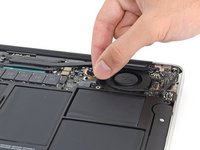
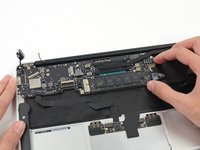
Use the flat end of a spudger to pry both short sides of the battery connector upward to disconnect it from its socket on the logic board.
-
Bend the battery cable slightly away from the logic board so the connector will not accidentally bend back and make contact with its socket.
-
-
-
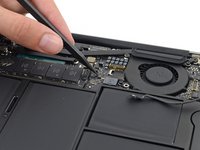
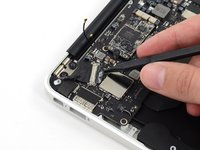
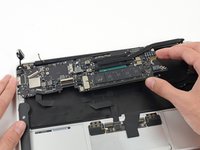
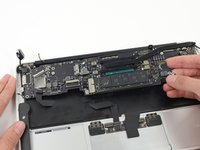
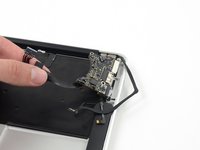
Use the flat end of a spudger to pry the left and right I/O board cable connectors up off their respective sockets on the I/O board.
-
-
-
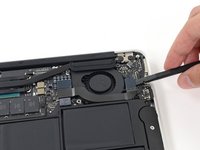
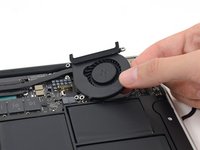
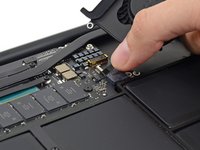
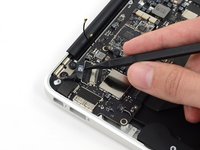
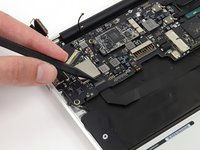
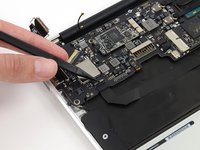
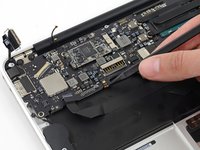
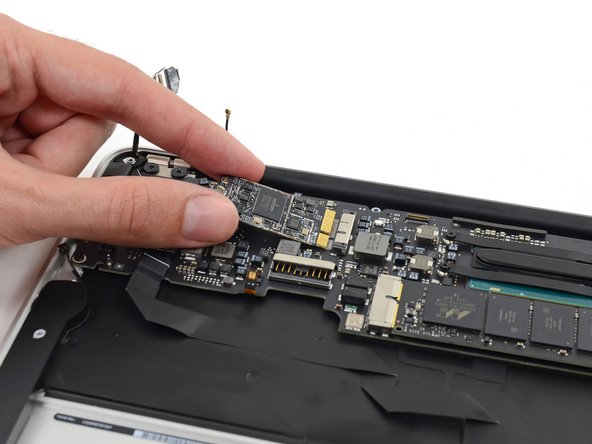
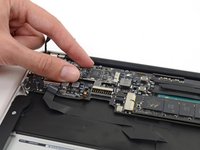
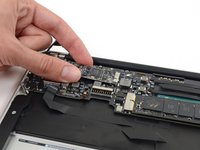
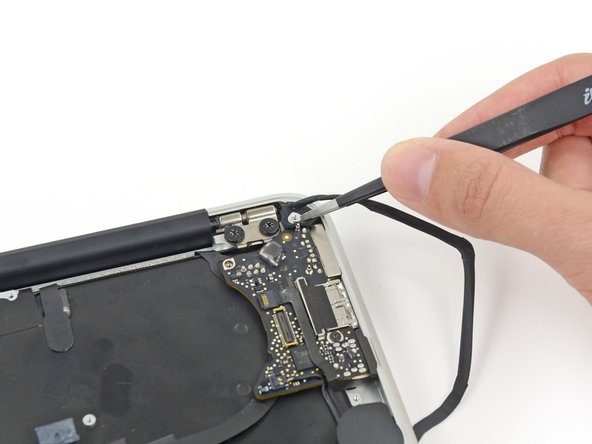
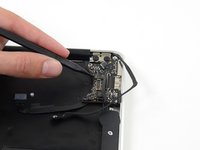
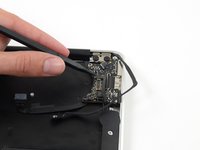
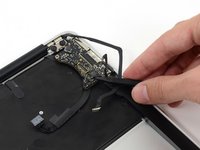
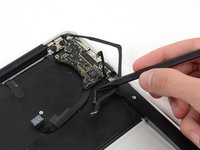
Use the flat end of a spudger to pry both antenna connectors up from their sockets on the AirPort/Bluetooth card, and move them out of the way.
-
-
-
-
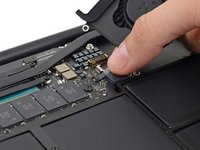
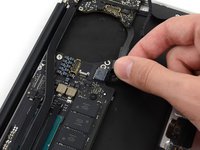
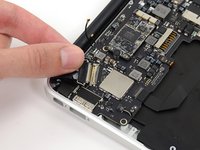
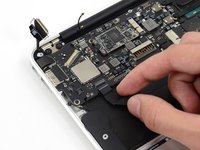
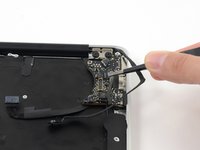
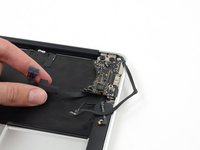
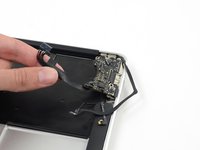
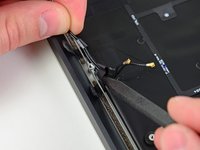
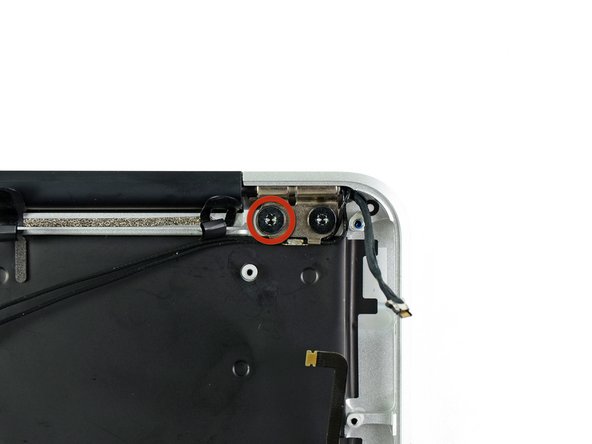
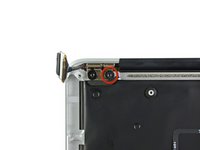
Remove the small rubber gasket from the corner of the upper case nearest the the I/O board.
-
Remove the gasket from the corner nearest display cable connector.
-
-
-
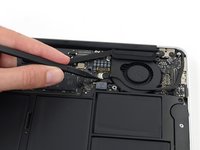
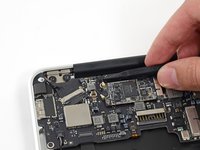
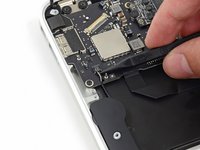
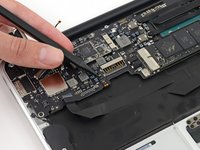
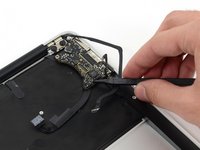
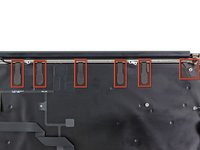
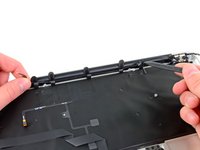
Peel up the six cable loops securing the antenna cables to the upper case.
-
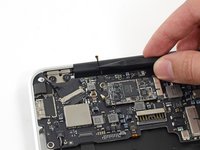
Gently pull the cable loops slightly out of the channel cut into the upper case one at a time.
-
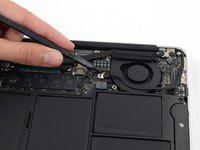
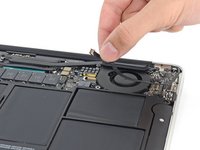
Use your spudger to open up the plastic loops as you de-route the antenna cables through them.
-


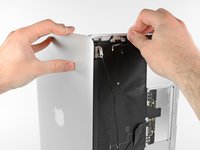
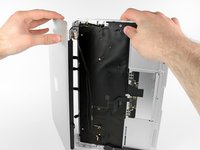
To reassemble your device, follow these instructions in reverse order.
다른 21명이 해당 안내서를 완성하였습니다.

4가이드 댓글
This is great, but how do I now replace the screen inside the display assembly?
The use of adhesive and backing materials would likely make this unattenable and cost prohibitive assuming you could even find the after-market subassembly parts. I removed my broken LCD and made a wall clock from the metal exterior. More power to you if you try. My suggestion, if you find all the parts, would be to run the edge with a utility knife - you will likely nick the antenna cables so those will need to be rerun. Then heat-gun the back aluminum case (avoid the logo) and pry out the LCD with a narrow (and SHARPENED) 2.5” or less putty knife being carful of the plastic backing. If the heat-gun worked the LCD may come out without shattering. Reverse the process if you have the parts. The cable routing will be a chore. Parts might include Antenna Cable, LVDS cable, LCD, propriety backing, adhesive, and something to replace the edging that ran between the LCD and aluminum frame.
Jeff -
Terrific guide, every step is explained and displayed with such clarity and precision. Thank you for this, saved my MacBook!