이 안내서에는 최근 변경 사항이 더 있습니다. 최신 비검증 버전으로 전환하십시오.
소개
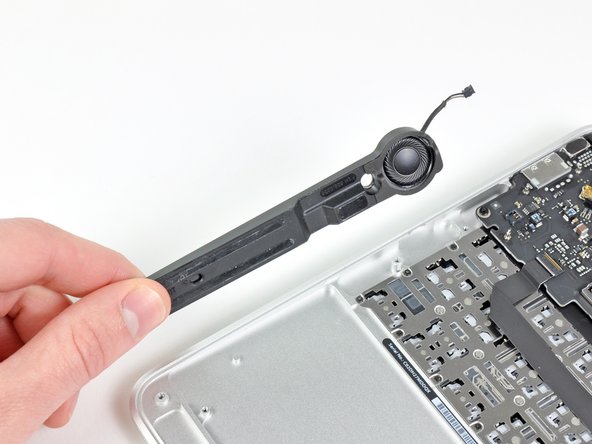
Use this guide to replace a blown speaker on the right side of your MacBook Air.
필요한 것
-
-
Remove the following ten screws:
-
Two 8 mm 5-point Pentalobe screws
-
Eight 2.5 mm 5-point Pentalobe screws
-
-
-
Use the flat end of a spudger to pry both short sides of the battery connector upward to disconnect it from its socket on the logic board.
-
Bend the battery cable slightly away from the logic board so the connector will not accidentally contact its socket.
-
-
-
-
Lift the battery from its edge nearest the logic board and remove it from the upper case.
-
Charge it to 100%, and then keep charging it for at least 2 more hours. Next, unplug and use it normally to drain the battery. When you see the low battery warning, save your work, and keep your laptop on until it goes to sleep due to low battery. Wait at least 5 hours, then charge your laptop uninterrupted to 100%.
-
If you notice any unusual behavior or problems after installing your new battery, you may need to reset your MacBook's SMC.
-
-
-
Use the tip of a spudger to de-route the right speaker cable from the channel cut into the logic board.
-


To reassemble your device, follow these instructions in reverse order.
To reassemble your device, follow these instructions in reverse order.
다른 11명이 해당 안내서를 완성하였습니다.

댓글 2개
Hi Andrew, thanks for the detailed steps but where does one find a replacement?
Cheers
Adam
Hello Adam, the replacement part MacBook Air 11" (Late 2010-Early 2015) Right Speaker is available in the US iFixit store. Other than that, you could try searching for used / defective models with working speakers on platforms like eBay to harvest for parts.