소개
이 안내서를 사용하여 트랙패드를 교체하세요. 이 절차는 접착제 제거제를 사용하여 배터리를 분리하는 과정을 포함합니다. 배터리를 분리한 후에는 재사용하지 마세요. 잠재적인 안전 위험이 있습니다. 새 배터리로 교체하세요.
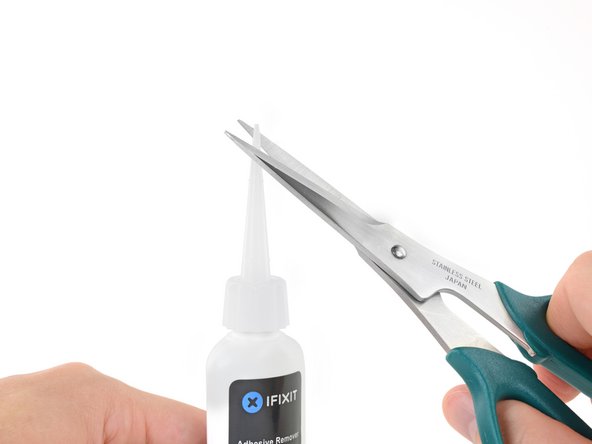
iFixit 접착제 제거제는 가연성이 높습니다. 환기가 잘되는 곳에서 이 절차를 수행하세요. 이 절차를 수행할 떄는 담배를 피우거나 화기 근처에서 작업하지 마세요.
손상 위험을 최소화하려면 이 절차를 시작하기 전에 MacBook을 켜고 배터리를 완전히 방전하세요. 충전된 리튬 이온 배터리는 실수로 구멍이 뚫리면 위험하고 통제할 수 없는 화재를 일으킬 수 있습니다. 배터리가 부풀어 오른 경우 추가 예방 조치를 취하세요.
필요한 것
-
-
하단 케이스를 상단 케이스에 고정하는 다음 나사 열 개를 풀어주세요:
-
2.3mm P5 Pentalobe/펜타로브/별나사 두 개
-
3.0mm P5 Pentalobe/펜타로브/별나사 여덟 개
-
-
-
-
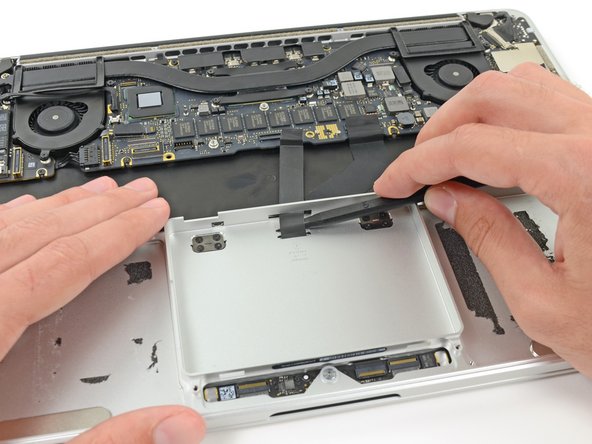
엄지 또는 손가락을 사용하여 SSD 트레이의 플라스틱 스프링 바를 구부려 기기 전면의 클립 두 개를 해제하세요.
-
스프링 바를 누르며 SSD 어셈블리를 기울여 공간에서 꺼내세요.
-
-
-
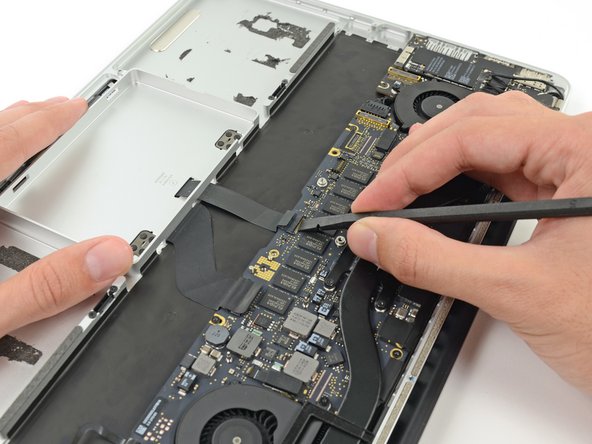
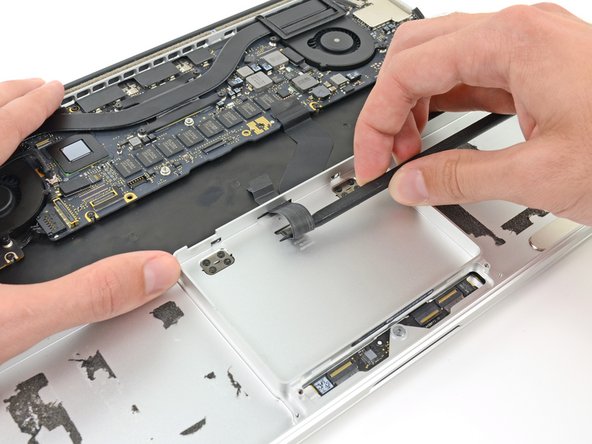
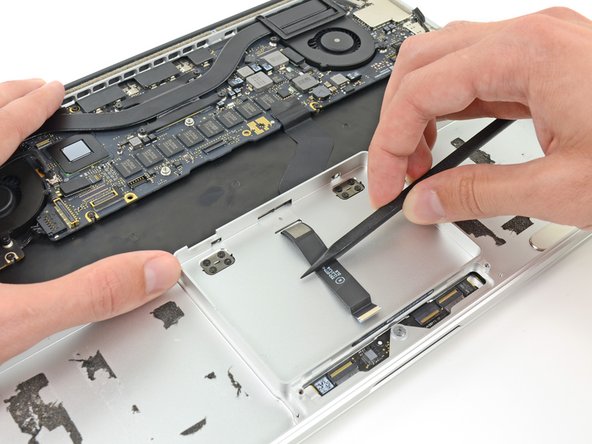
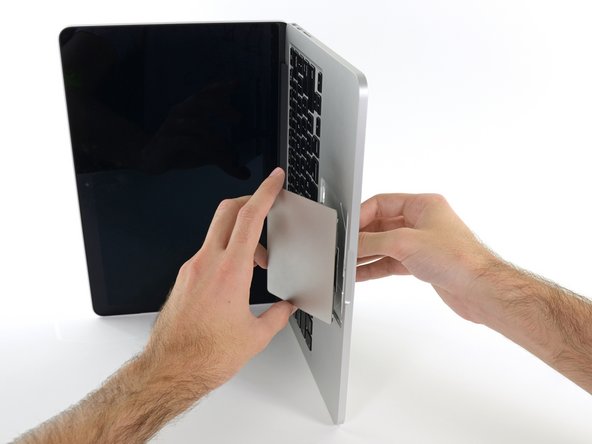
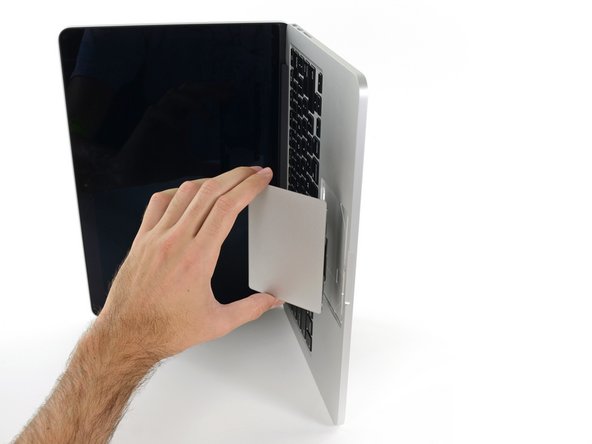
상단 케이스에서 배터리 전체를 들어 올리고 배터리를 분리하세요.
-
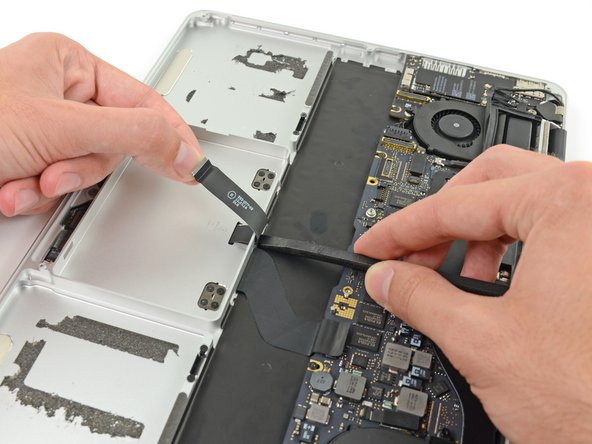
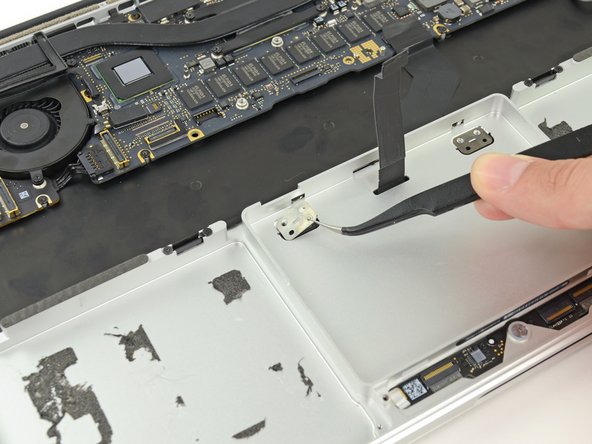
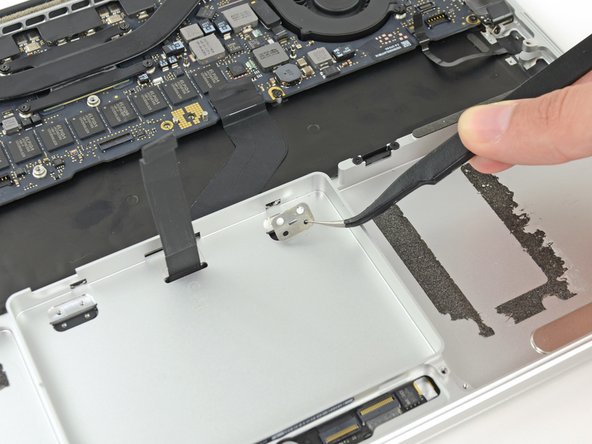
운이 좋으면 손가락으로 접착제 조각을 천천히 당겨 빼낼 수 있습니다.
-
그렇지 않으면 각 접착 부분을 약간의 접착제 제거제로 2-3분 동안 적신 다음 여는 픽 또는 키트의 다른 도구 중 하나로 긁어내야 합니다. 이는 꽤 많은 노력이 필요로 합니다. 인내심을 가지세요.
-
남아있는 모든 접착제 제거제를 닦아내고 MacBook Pro를 자연 건조할 때까지 몇 분 정도 기다리세요.
-
새로 설치한 배터리를 보정하세요: 배터리를 100% 충전한 다음 최소 두 시간 더 충전하세요. 그런 다음 플러그는 뽑고 정상적으로 사용하여 배터리를 방전하세요. 배터리 부족 경고가 나타나면 작업을 저장하고 배터리 부족으로 인해 절전 모드가 활성화될 때까지 노트북을 켜놓으세요. 최소한 5시간 이상을 기다리고 나서 노트북을 중단없이 100% 충전하세요.
-


기기를 재조립하려면, 이 지침을 역순으로 따르세요.
기기를 재조립하려면, 이 지침을 역순으로 따르세요.
다른 13명이 해당 안내서를 완성하였습니다.
다음 번역가들에게 특별히 감사 드립니다:
100%

Christian Kim님은 저희가 세상을 수리하는데 동참하신 분입니다! 기여하시겠습니까?
번역 시작하기 ›


댓글 12개
Hi!
I have a Macbook Pro Retina 15-Inch Early 2013. Is it a similar procedure for this laptop with a larger screen (15" versus yours 13")?
We've got guides for the 15" Early 2013, unfortunately, removing the battery in the 15" is significantly harder, you can follow the upper case guide to get most of the way and either replace the whole upper case (and get a new battery included), or use this guide to try to get the rest of the way. Best of luck!
I just wanted to say this worked for me, thank you for the walkthrough! My trackpad just suddenly died one day out of the blue. I thought it might be a lose cable, but ordered a replacement just in case. No loose cables, simple swap out did the trick. This walkthrough is very good. Only thing I'd warn the feint of heart is the removal of the batteries can be intense because they are glued in. You really need the right tool to work it free. I think the battery removal took at least 20 minutes alone!
Anyone, thanks again for your help!
Excellent write up. Three suggestions which i uncovered when i followed this procedure:
Step 5 - The silver shouldered screw was a T6 Torx, not a T7. On this basis, I didn't need a T7 Torx screwdriver for this procedure.
Step 15 & 19 - To remove the corner screws (the heads of which aren't immediately visible), you need to carefully remove the covering mesh with tweezers
Step 44 - Reposition of trackpad. I found that when putting the trackpad back in place during reassembly, it was tricky to get it in exactly the right position (perfectly centralised). I found that taking four small pieces of paper and folding them in half helped. I wedged a piece of folded paper in between the four sides of the trackpad and then tightened the screws. Once the screws are tightened, you can simply remove the paper.