이 안내서에는 최근 변경 사항이 더 있습니다. 최신 비검증 버전으로 전환하십시오.
소개
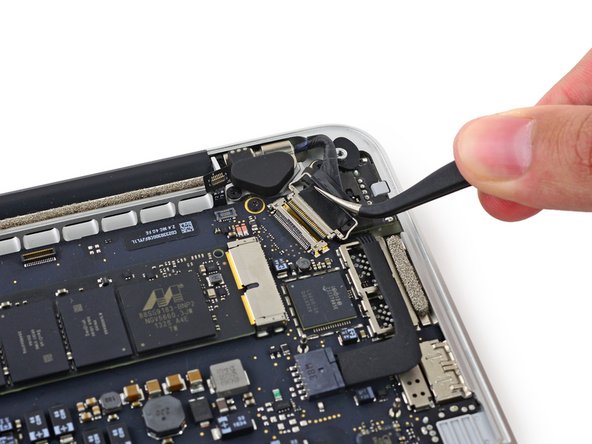
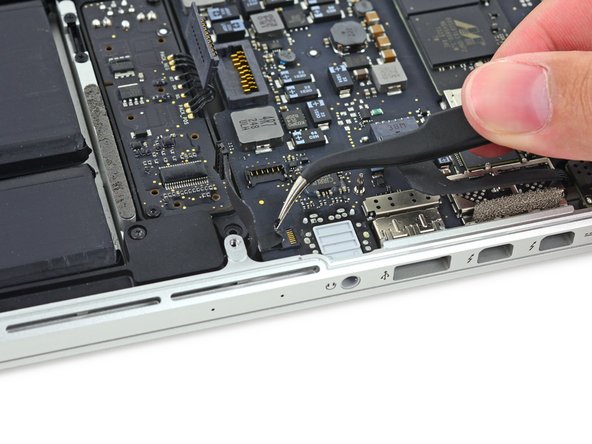
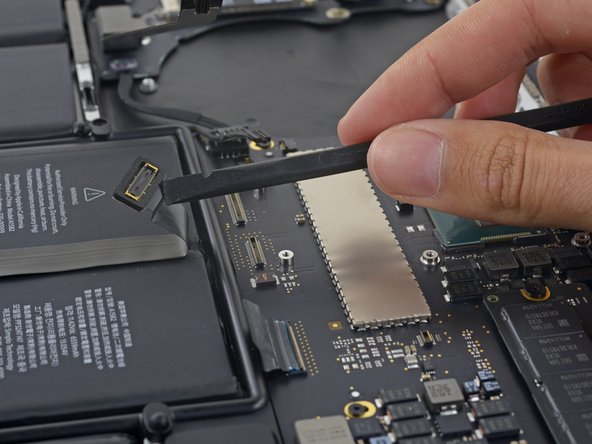
Use this guide to replace a faulty logic board.
Don't forget to follow our thermal paste application guide before you reinstall your heat sink.
필요한 것
-
-
Remove the following ten screws securing the lower case to the upper case:
-
Two 2.3 mm P5 Pentalobe screws
-
Eight 3.0 mm P5 Pentalobe screws
-
-
-
-
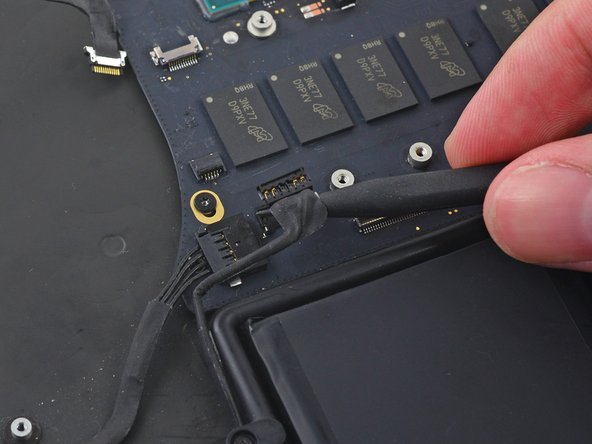
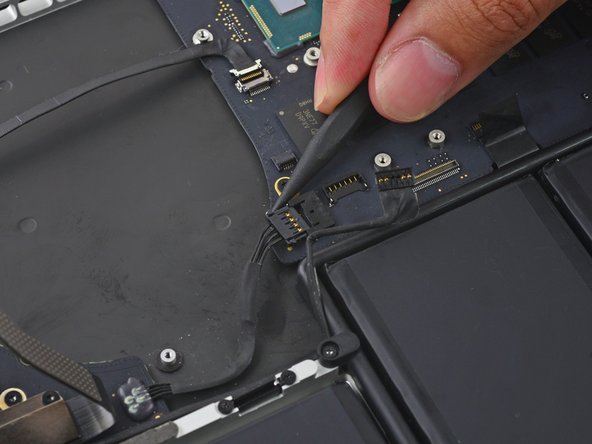
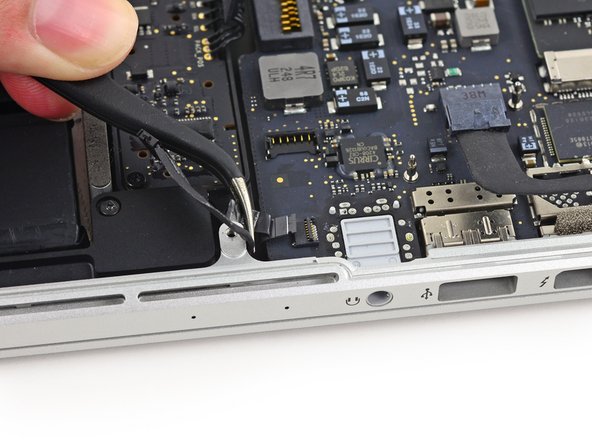
Remove the two 2.1 mm T5 Torx screws securing the I/O board cable bracket to the logic board.
-
Remove the I/O board cable bracket.
-


To reassemble your device, follow these instructions in reverse order.
To reassemble your device, follow these instructions in reverse order.
다른 133명이 해당 안내서를 완성하였습니다.

댓글 21개
I did not need to remove the heat sink. You can simply remove part of the fan assembly in about 1 minute and the heat sink and its associated arm with fins comes right out. Removing the heat sink introduces unnecessary complications that could destroy your logic board should you perform an incorrect repair on the thermal paste.
Any instructions and images demonstrating this?
Richard -
Only part i am missing is how to give the new board it's serial number
me too,me too,