소개
이 안내서를 사용하여 고장난 디스플레이 어셈블리를 교체하세요.
필요한 것
-
-
다음 나사 열 개를 풀어주세요:
-
14.4mm Phillips/십자 #00 나사 세 개
-
3.5mm Phillips/십자 #00 나사 세 개
-
3.5mm shouldered Phillips/어깨 십자 #00 나사 네 개
-
-
-
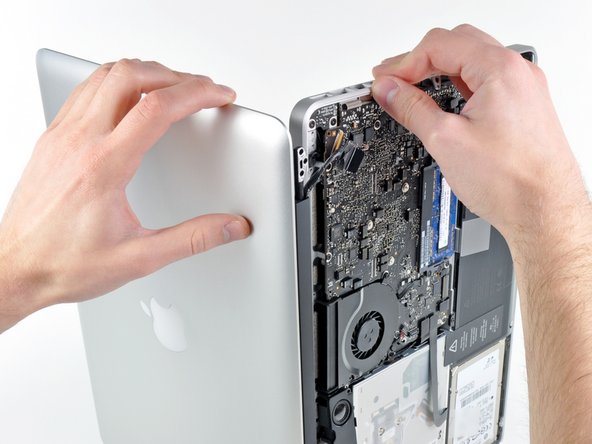
Spudger/스퍼저의 평평한 끝을 사용하여 AirPort/Bluetooth 리본 케이블 커넥터를 로직 보드 소켓에서 들어 올리세요.
-
-


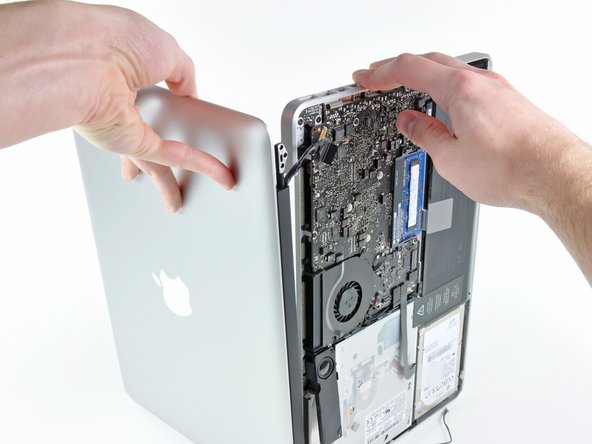
기기를 재조립하려면 이 지침을 역순으로 따르세요.
기기를 재조립하려면 이 지침을 역순으로 따르세요.
다른 146명이 해당 안내서를 완성하였습니다.
다음 번역가들에게 특별히 감사 드립니다:
100%

Christian Kim님은 저희가 세상을 수리하는데 동참하신 분입니다! 기여하시겠습니까?
번역 시작하기 ›

댓글 16개
Although this guide a difficulty rating I wasn't sure how long it would take a fairly adept novice to complete the R&R of the display. I took my time and did the tear down in 1 hour. I separated the fasteners by placing each section on a loop of tape above the work. The replacement of the new display took me about 2 hours. As the guide says it was just the tear down in reverse. Things that added to the replacement were getting the first 2 screws aligned and in place; re-routing the antenna and camera cables and making sure the camera cable socket connector was in correctly. The good news is it worked on the first power-up. Great guide.
Unfortunately no, they are not interchangeable.
Does the display come with the back cover included. I don't know the correct name for the part. I just mean the silver cover with the apple thingy in it.