소개
Use this guide to replace a broken display assembly.
필요한 것
-
-
Remove the following ten screws:
-
Three 14.4 mm Phillips #00 screws
-
Three 3.5 mm Phillips #00 screws
-
Four 3.5 mm shouldered Phillips #00 screws
-
-
-
Use the edge of a spudger to pry the battery connector upwards from its socket on the logic board.
-
-
-
Use the flat end of a spudger to pry the AirPort/Bluetooth ribbon cable connector up from its socket on the logic board.
-
-
-
-
Remove two of the three 6 mm T8 Torx screws securing the right side of the display to the upper case.
-
-
-
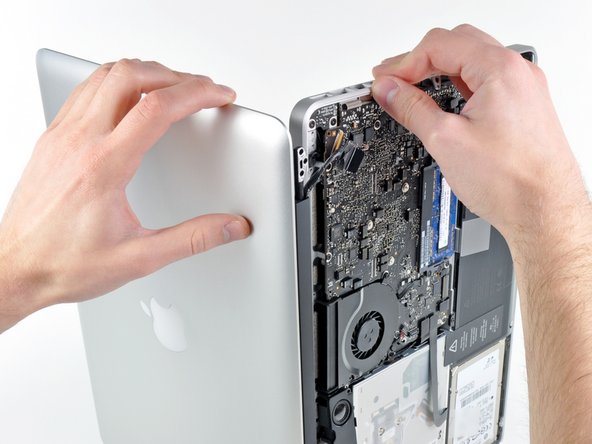
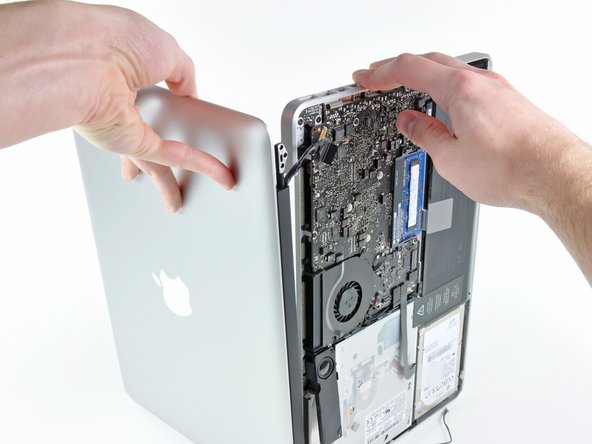
Grab the upper case with your right hand and rotate it slightly toward the top of the display so the upper display bracket clears the edge of the upper case.
-
Rotate the display slightly away from the upper case.
-
Lift the display up and away from the upper case, minding any brackets or cables that may get caught.
-
To reassemble your device, follow these instructions in reverse order.
To reassemble your device, follow these instructions in reverse order.
다른 260명이 해당 안내서를 완성하였습니다.
댓글 26개
No the connector in the logic board/video cable is slightly different.
Correct that the LVDS connectors are slightly different but you can modify them to fit using nail clippers if you are very careful!


