소개
이상한 소리가 들리나요? 소리가 안들리나요? 이 안내서를 사용하여 15" Mid 2015 MacBook Pro Retina의 왼쪽 스피커를 교체하세요.
오른쪽 스피커는 사용 중에는 기기의 오른쪽에, 작업 중에는 왼쪽에 있다는 점에 유의하세요.
필요한 것
-
-
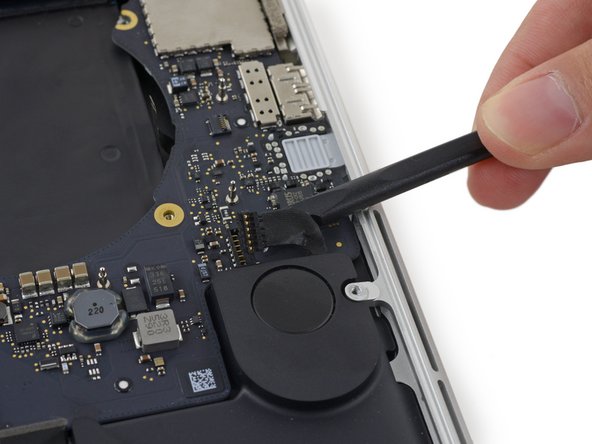
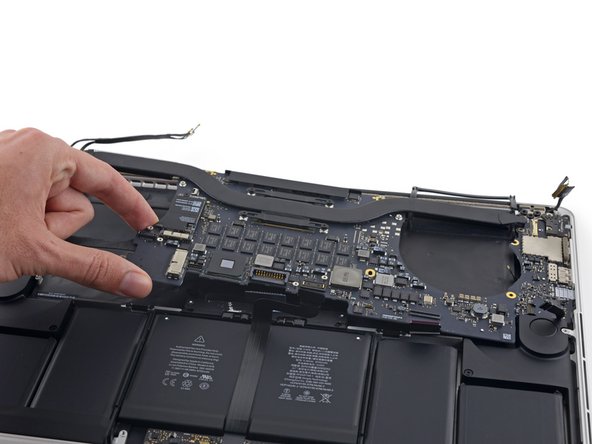
스퍼저 또는 핀셋을 사용하여 AirPort 안테나 케이블 세 개를 AirPort 보드의 소켓에서 똑바로 들어 올려 구부려서 방해가 되지 않도록 하세요.
-
-
-
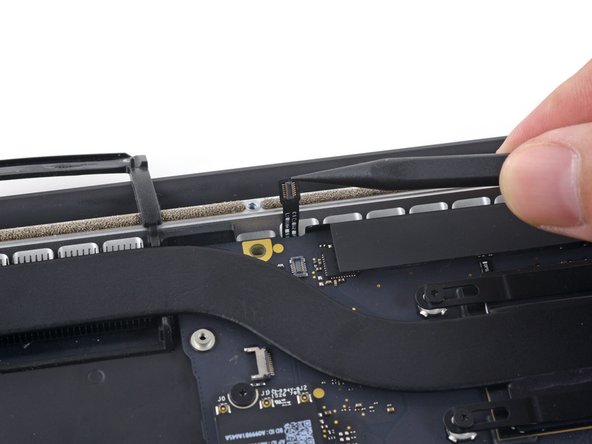
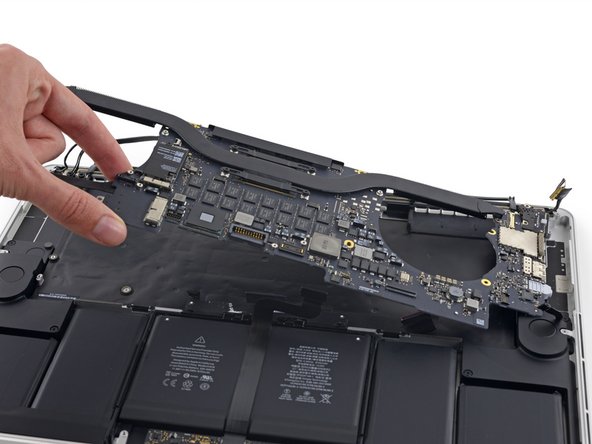
T5 Torx 드라이버를 사용하여 오른쪽 팬을 로직 보드에 고정하는 다음 나사 세 개를 풀어주세요:
-
숄더 길이가 2.0mm인 5.0mm 나사 한 개
-
머리가 넓은 4.0mm 나사 한 개
-
4.4mm 나사 한 개
-
-
-
-
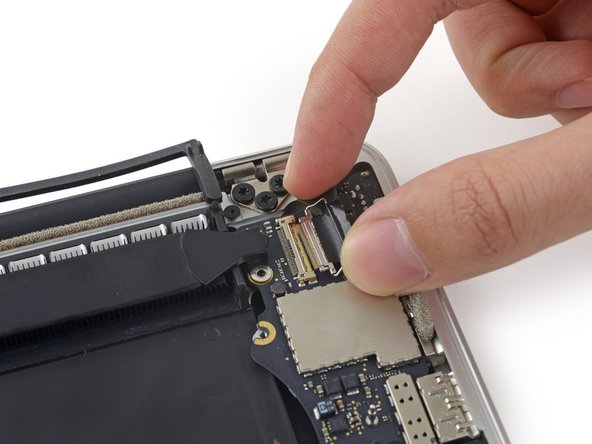
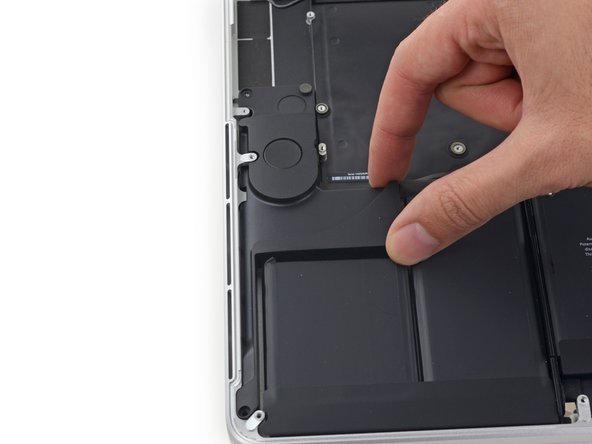
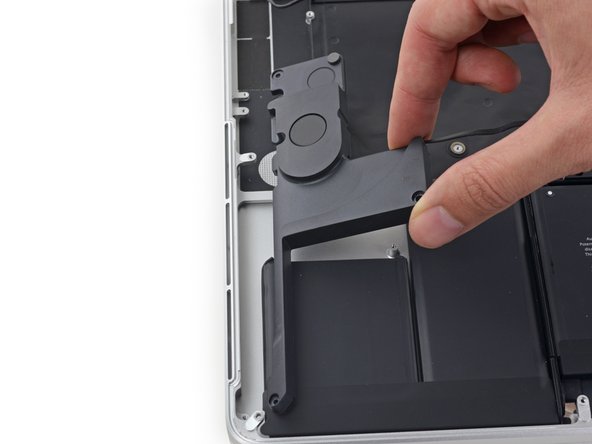
오른쪽 스피커를 상단 케이스에 고정하는 다음 나사를 풀어주세요:
-
2.7mm T5 Torx 나사
-
6.9mm T5 Torx 나사(4.5mm 숄더 포함)
-
5.6mm T5 Torx 나사
-


기기를 재조립하려면, 이 단계들을 역순으로 따르세요
기기를 재조립하려면, 이 단계들을 역순으로 따르세요
다른 116명이 해당 안내서를 완성하였습니다.
다음 번역가들에게 특별히 감사 드립니다:
100%

Christian Kim님은 저희가 세상을 수리하는데 동참하신 분입니다! 기여하시겠습니까?
번역 시작하기 ›

댓글 36개
My Mac book pro 15” Mid 2015 got the right side speaker issue. I have ordered the speaker from iFixit and I am able to replace the speaker by following the steps given above. Thanks to iFixit.
Is there any way replace right speaker without remove the mainboard? Can we cut off the cable socket of fail speaker to get speaker out without remove the mainboard, and then when reassembling, we put the cable wire lie on the mainboard?
Thank you!
Tai Le.
I know this is 2 years too late probably, but you can by removing just the IO board and a few screws from the right side of the motherboard. You should be able to flex it enough without damaging it to gently pull the speaker cable out from under the board.
Zach -
thanks zach. was super easy this way.
Chris J -
Excellent. Successfully replaced RH speaker in my 2015 retina MBP. Took about 3 hours.
Tricky bit: Before screwing main board back into case I forgot to first make sure the left speaker wire, keyboard light cable, etc were all poking above the board (rather than squidged underneath), so had to retrace some steps…. i.e., make sure that none of the connectors are stuck under the board.
My tips:
1. use correct screwdrivers which are also magnetic (to hold screws), and also to use a plastic spudger where shown in instructions.
2. Get a couple little bowls (like might hold sauce) and place screws for case in one, and some other bits in another.
3. Use couple of upturned post-it notes and stick the little screws on the tacky strip while noting with pen underneath what size, and what for.
4. For some bits (cable end cover plates, logic board, etc) rather than try to keep track of all these different screws I immediately loosely placed them back in the chassis mounting holes for safekeeping, after removing each part.