이 안내서에는 최근 변경 사항이 더 있습니다. 최신 비검증 버전으로 전환하십시오.
소개
The battery, keyboard, trackpad, and upper case are all stuck together. If you break one of these components, you will need to replace the entire assembly. Follow this guide to do so.
필요한 것
-
-
Remove the following P5 pentalobe screws securing the lower case to the MacBook Pro:
-
Eight 3.1 mm
-
Two 2.3 mm
-
-
-
Use a spudger or tweezers to pry the three AirPort antenna cables straight up off of their sockets on the AirPort board, and bend them up and out of the way.
-
-
-
Remove the four 2.2 mm T5 Torx screws securing the I/O board cable connector covers.
-
-
-
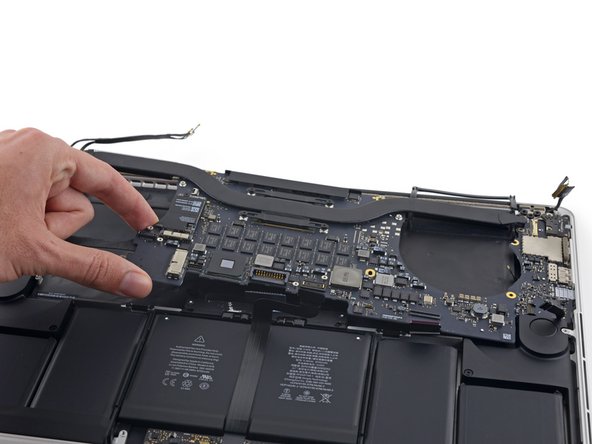
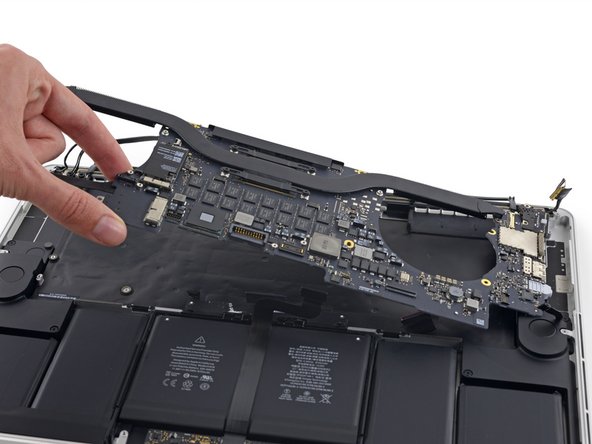
Use a T5 Torx driver to remove the following three screws securing the right fan to the logic board:
-
One 5.0 mm screw with a 2.0 mm long shoulder
-
One 4.0 mm screw with a wide head
-
One 4.4 mm screw
-
-
-
-
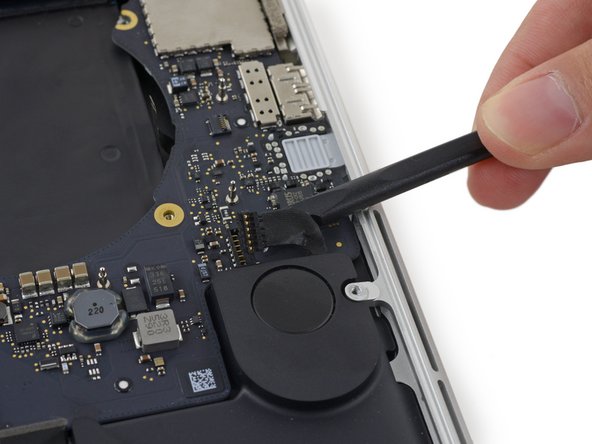
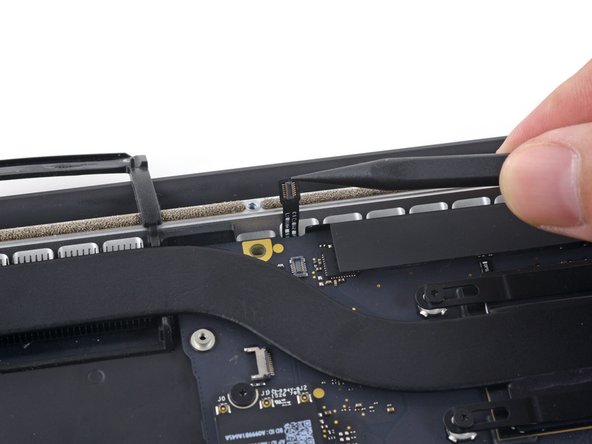
Remove the two 2.2 mm Torx T5 screws securing the touchpad cable connector cover to the logic board.
-
Remove the cover.
-
-
-
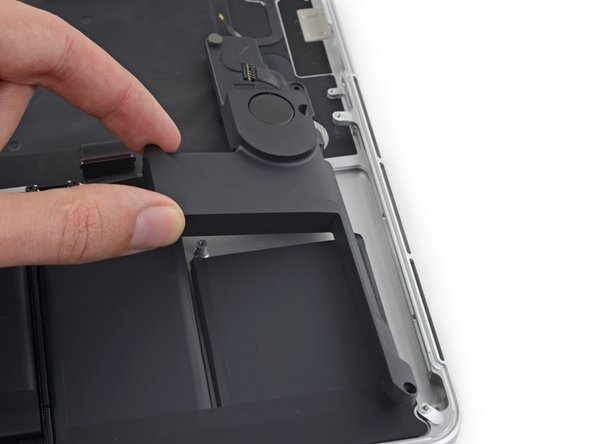
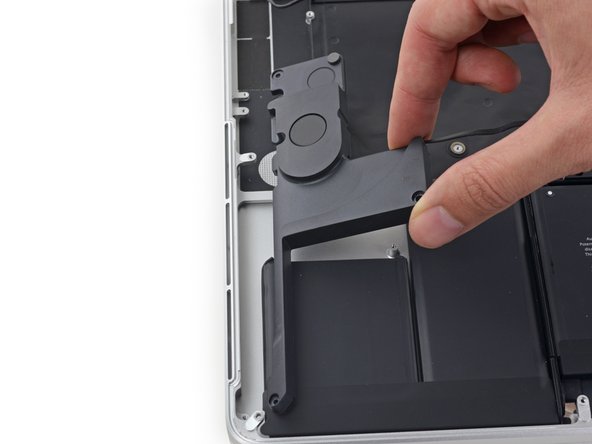
Remove the following screws securing the left speaker to the upper case:
-
2.7 mm T5 Torx screw
-
6.9 mm T5 Torx screw (with 4.5 mm shoulder)
-
5.6 mm T5 Torx screw
-
-
-
Remove the following screws securing the right speaker to the upper case:
-
2.7 mm T5 Torx screw
-
6.9 mm T5 Torx screw (with 4.5 mm shoulder)
-
5.6 mm T5 Torx screw
-
-
-
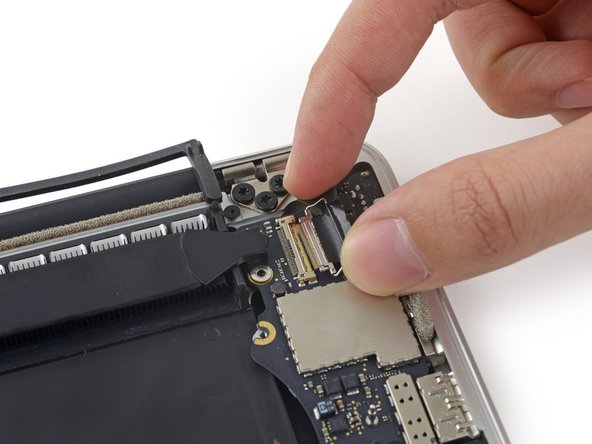
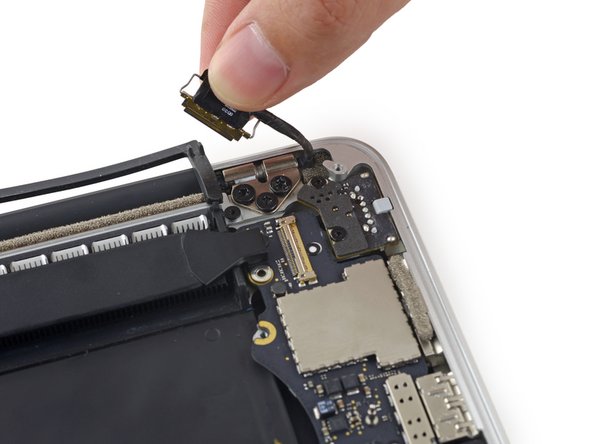
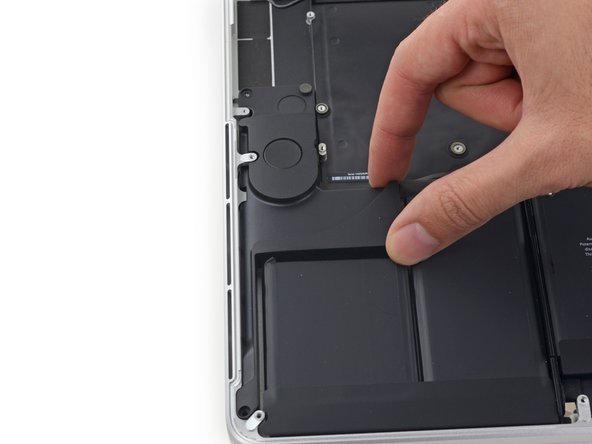
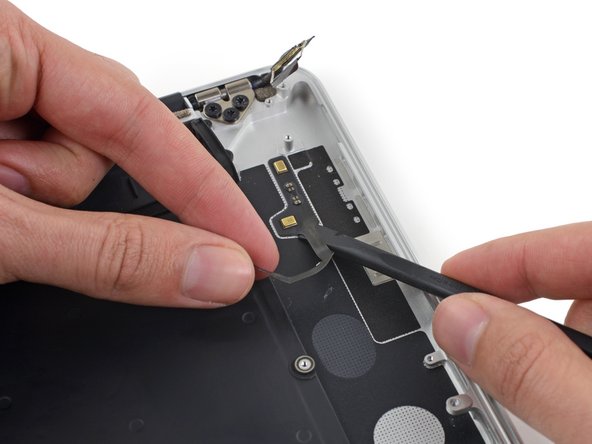
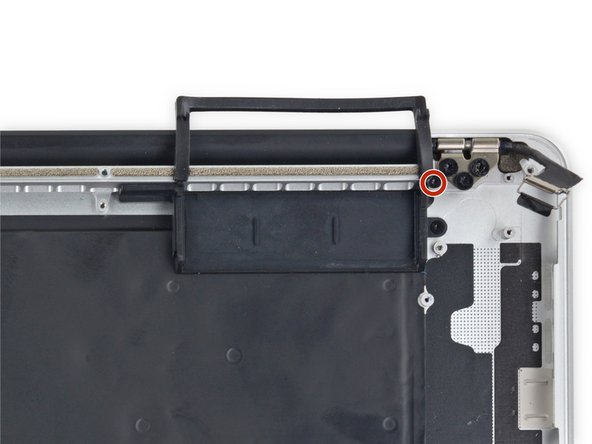
While gently pulling up on the microphone cable, push the flat end of a spudger underneath the cable, to cut the adhesive securing it to the upper case.
-
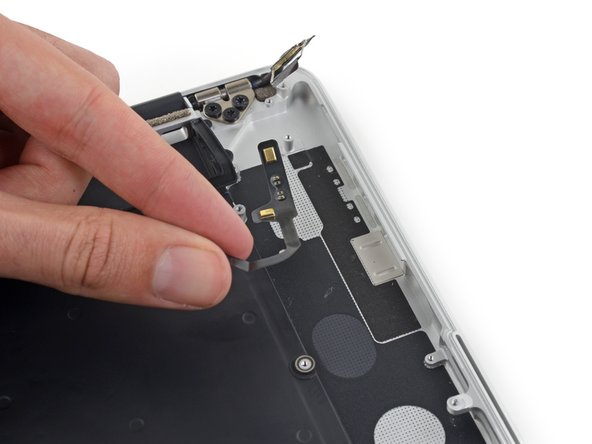
Remove the microphone cable.
-


To reassemble your device, follow these instructions in reverse order.
To reassemble your device, follow these instructions in reverse order.
다른 39명이 해당 안내서를 완성하였습니다.

댓글 2개
Excellent instructions with great photos. After damaging my keyboard with coca-cola, I didnt know should I get a new keyboard or complete upper case. I went ahead and got complete case. This tutorial was very handy, better than any youtube video. Took me 5 hours to do it and now I am typing using the new keyboard. Thanks a lot.
Nicely done. Warnings much appreciated!