이 버전에는 잘못된 편집 사항이 있을 수 있습니다. 최신 확인된 스냅샷으로 전환하십시오.
필요한 것
-
-
이 단계는 번역되지 않았습니다. 번역을 도와주십시오
-
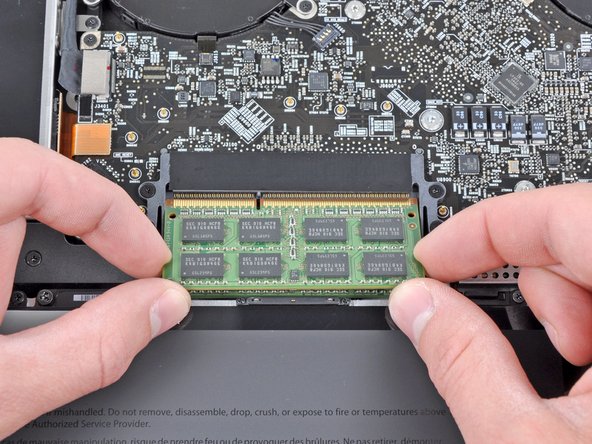
Release the tabs on each side of the RAM chip by simultaneously pushing each tab away from the RAM.
-
After the RAM chip has popped up, pull it straight out of its socket.
-
다른 132명이 해당 안내서를 완성하였습니다.
댓글 9개
Thank you iFixIt. Your tutorial gave me confidence to move forward and get inside my computer. I agree with bhodges2, a great opportunity to clean. I'd keep a can of compressed air handy next time. I would also use a separate compartment for each screw. I treated the case like a wheel, lightly tightening each first. Still, the 3mm screws do not seem not entirely interchangeable. Mixing them around, not forcing anything, eventually worked out.
Folded masking tape to make two sided.Made rectangle like shape of Mac.Put the screws on the tape in order, so I would not mix screws or loose them.That process took longer than installation. Done in 10 mins..No need to remove battery.Put finger on metal stated by Apple.Now going to add 16gigs more in my IMac.Thanks for the illustrations Andrew !!!!
Late 2011 Macbook Pro 17" A1297 2.5GHz i7-2860QM supports 1600MHz DDR3 RAM according to Intel's Ark (http://ark.intel.com/products/53476/Inte...), faster than what Apple suggests. I tried 2x8GB 1600MHz SODIMMs (opposite 2x16GB maximum as supported by Intel, yet cannot find the modules anywhere) and it works. The machine is a lot faster compared to the default 1333MHz RAM.


