소개
Typically, screens last thirty years
Sadly, they often go to waste. While the rest of your old computer may be totally obsolete, that screen is still in its adolescence and has decades of potential service-life remaining.
In this guide, You’ll learn how to reclaim the use of your laptop’s screen, so it can continue to serve you for decades to come.
Important Notes:
• This guide assumes you have a competent understand of computer building/repair, use of power tools, shop safety, etc. Wear safety gloves when cutting metal. Wear eye protection. Don’t be stupid.
• This guide requires you to be competent in wood-shop and/or metal working. (Any highshool graduate who took at least a year of ‘Shop classes will do fine!).
• This guide’s author has done this build a half dozen times, with a half-dozen different recycled screens. The photos in this guide were taken at various times from different instances. Thus, some photos may have “plot holes” or minor inconsistencies with the ‘continuity’.
• This guide is a work in progress! It’s “done enough” that an seasoned DIY-er could follow it, but it’s not necessarily ready for regular folks yet.
필요한 것
-
-
Your end result will look something like this.
-
We'll be building a fully functional screen, usable by any PC or Mac, built from a recycled MacBook Pro screen.
-
These steps can be followed, more or less identically, with any Unibody Macbook Pro, 13", 15" and 17".
-
-
-
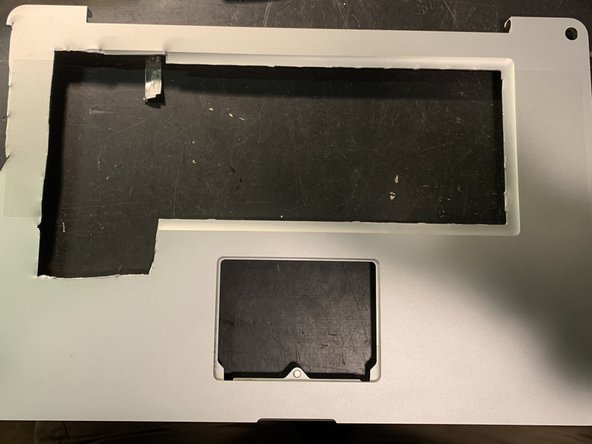
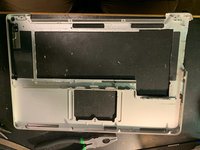
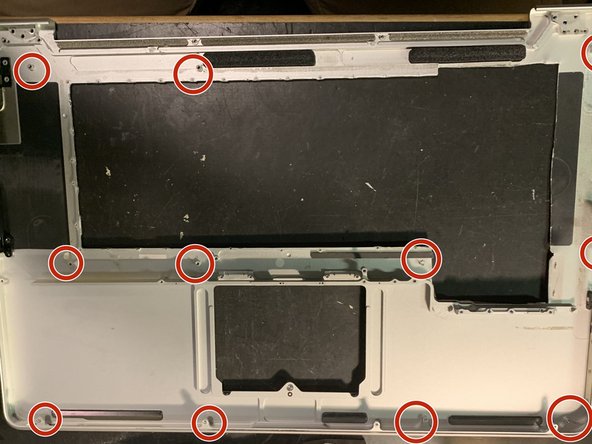
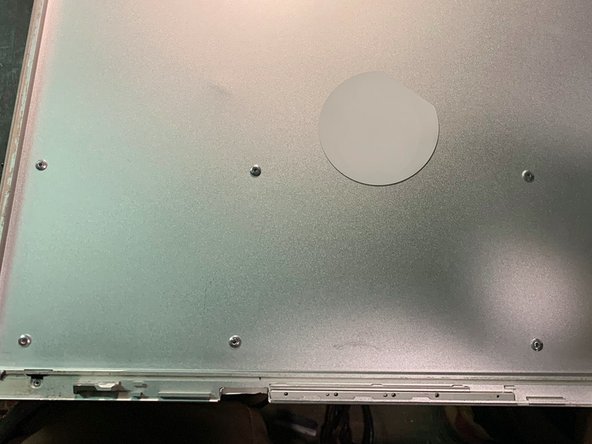
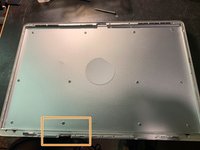
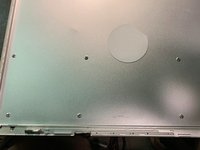
Begin this project with a fully disassembled unit. Nothing but bare metal.
-
This teardown covers disassembly of the Macbook's main body.
-
-
-
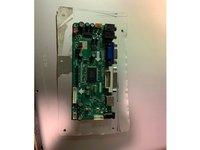
Acquire a Video Control Board for your model's LCD.
-
Check out this guide, which explains how to do this for an iMac! The steps are essentially the same on a laptop: Simply disassemble the Screen Assembly**, look at the model number on the back of the LCD, then purchase the correct Video Control Board online.
-
** This guide covers how to take apart the Display using a heat gun, so you can safely remove the glass & LCD from the aluminum back-panel.
-
Video Control Boards should consist of 3 circuit boards: (1) The main control board; (2) the inverter board; (3) the menu button board.
-
-
-
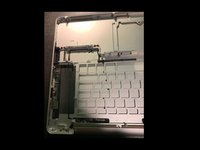
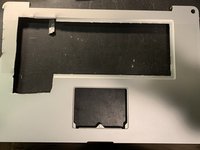
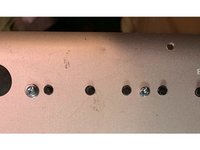
You'll be mounting the 3 components to the bottom-access-panel of the old Mac's housing. Before this can be done, you'll need to identify what metal needs to be removed to allow for the 3 components to physically fit.
-
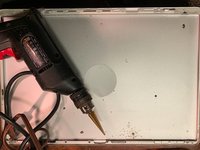
Using your Tin Snips, or a saw: Cut out space for the video control board to be mounted.
-
-
-
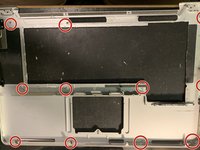
Identify good places for your rivets
-
Drill the holes, then rivet the topcase to the back of the metal LCD panel
-
We're using aluminum pop-rivets because of their low profile. There is only a tiny bit of clearance between the back of the LCD, and the surface of the metal housing.
-
-
-
-
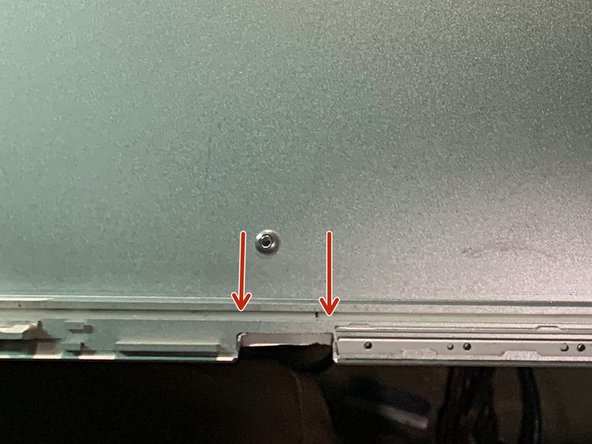
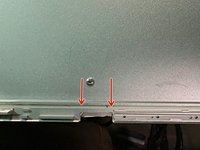
Cut a notch in the LCD housing, wide enough for the LCD to plug into the video cable.
-
Protip: Make the initial cuts with a saw (red arrows) then clean it up with a metal-file.
-
-
-
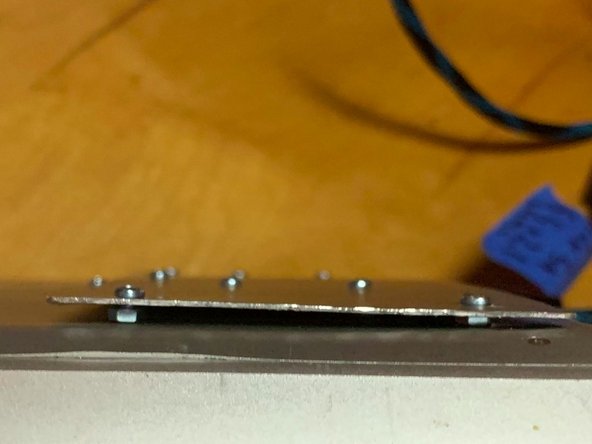
The video control board is usually too thick to be enclosed wholly within the recycled laptop topcase
-
Therefore, you must recess it back from the back-panel
-
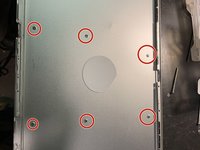
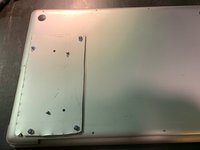
Mark-off and cut a hole in the bottom-case panel that's a few mm wider than the dimensions of your Video Control Board
-
-
-
Cut a piece of scrap metal so it's large enough to overlap over the edges of the hole you cut in the previous step. (as a rule of thumb: the edges of the scrap metal should extend at least 25mm past each edge of your video control board)
-
Mount your Video Control Board to the scrap metal, using your choice of nuts+bolts or pop rivets.
-
Protip: Stick 2 layers of EVA sticky-backed craft foam onto the back of the circuit board prior to riveting the board to the metal. This prevents the board from shorting out against the metal.
-
-
-
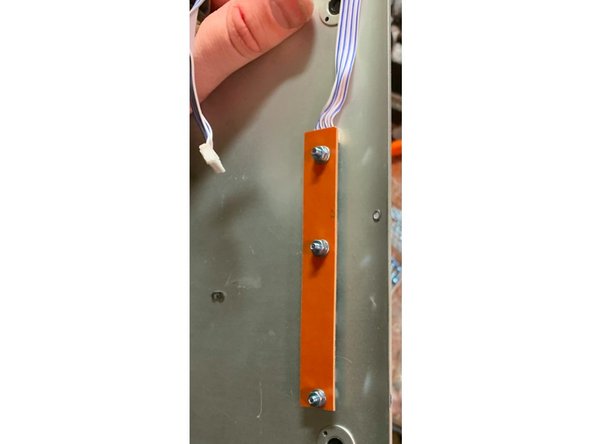
Using nuts and bolts, mount the video control board onto the main laptop's back panel.
-
The 2nd image shows nuts being used as washers, to hold the scrap metal piece farther out from the main panel, thus guaranteeing the video board will have enough space.
-
-
-
Identify where you'd like your menu buttons to be. I've placed mine so they'll be along the left-edge once the project is completed.
-
Drill small holes for your nuts and bolts, and larger holes for the buttons
-
Mount the menu board using nuts and bolts.
-
Protip: Make a note of which button is the POWER button. May come in handy in Step 12. These boards typically have little function labels printed on them.
-
-
-
Protip: layer 2 layers of EVA craft foam on the underside of the board prior to bolting it onto the back panel. Prevents any possibility of shorting
-
Drill holes, then mount the board in a good spot, using your choice of either nuts+bolts, or pop rivets
-
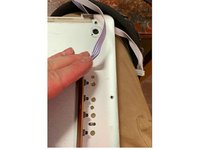
Plug in all the cables, then use a bit of duct tape to hold the cables in place.
-
-
-
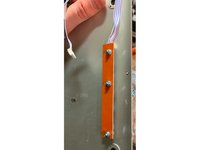
All 3 parts of the Video Control Board are mounted to the macbook's Back Panel. To assemble, simply screw the back panel in place using the Mac's original outer-case screws. Screw in the screen. Replace the self-adhesive glass over the screen.
-
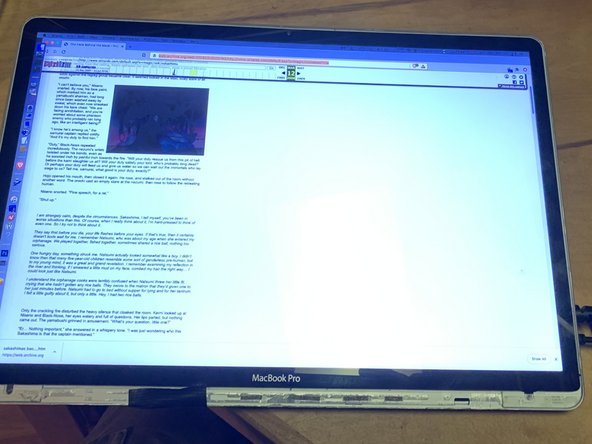
Plug it into any Mac or PC, plug in a power supply, and test to make sure it works
-
No video? You may need to turn it on! Look at that menu button panel from Step 10. Figure out which button is the power button, and press it ONCE. You may need to wait up to 10 seconds for it to come to life for the first time, so don't go repeatedly rapidly pressing buttons.
-
-
-
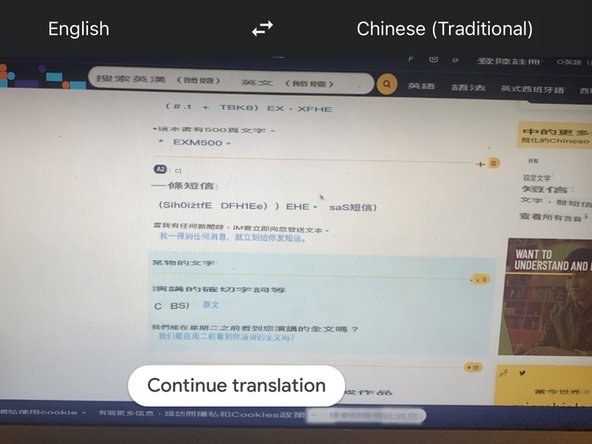
These things typically come with menus that are in Chinese
-
Download the Google Translate app onto your phone or tablet.
-
Google Translate has a feature where you can point your phone camera at any foreign language text, and it will use text-recognition to identify and translate anything it sees, then superimpose english text over the image, all live in real time. (Pictured: an example of this)
-
Holding your phone over your monitor, navigate the chinese-language menu until you find the language setting. Change your new screen to English! (or whatever your native language is)
-
-
-
This build was designed to be relatively easy to wall-mount. To wall-mount: unscrew the original Mac screws, and remove the back panel. Drill into the back panel and bolt it to any VESA mount or arm, then screw the back panel back onto the screen.
-
Pictured: three such 17" Macbook Pro screens, made using the techniques described in this guide, wall-mounted around a larger monitor, in a corner desk.
-


In conclusion: The vast majority of laptop Video Control Boards are about $18-$25 including shipping. Thus, For a relatively tiny out-of-pocket expense, you can reclaim and re-use the screen from your dead/obsolete MacBook Pro.
Have fun!
Other Notes:
• I had provided documentation regarding the exact sizes of nuts, bolts, and washers I had used for this build, including links to H*rbor Fre*ght so anyone could purchase the correct sizes. However, I got an notification that the “iFixit spambot” deleted that information from this guide. I find it frustrating that despite the fact that iFixit does not sell these items, I nonetheless am prevented from linking off-site to where you can buy the needed parts from another vendor. Sorry, but you’ll have to figure out the nut/bolt/rivet situation yourself. I tried.
• The iFixit image-uploader thingy is absolutely infuriating to deal with. It auto-crops the edges of things, won’t let you resize anything, and is a total headache. Thus, quite a few images have funky borders. Fixing the images is on my to-do list. For the time being, some steps look weird.

팀

2가이드 댓글
Hi,
I'm looking to do the exact same thing with my macbook pro 15" 2016. Only the cable that hangs on my screen doesn't look like a normal screen cable. It has a little unit attached that connects 4 ribbon cables that goes into the screen unit. is this what you had as well? because I can't find a number on the unit to look for a driver board online.
thanks for your guide. its really helpful!
Ramon