주요 콘텐츠로 건너뛰기

Mad Catz FightPad PRO Joystick Replacement

필요한 것

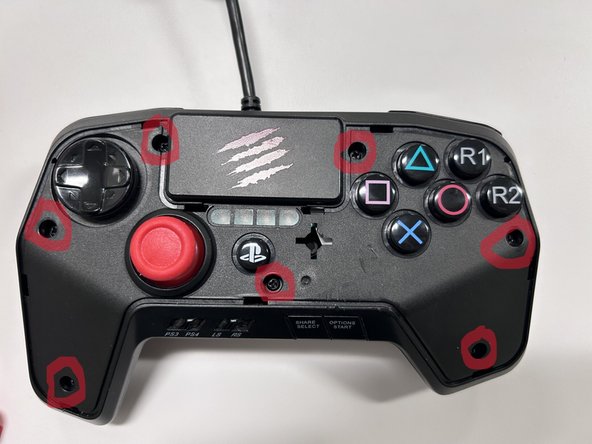
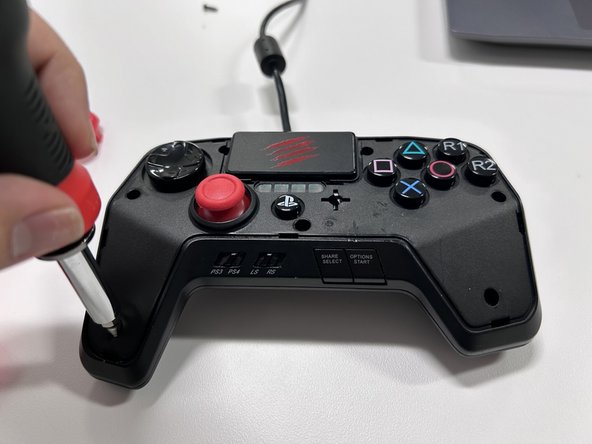
  1. Mad Catz FightPad PRO Joystick Replacement, Mad Catz FightPad PRO Joystick Replacement: 1 단계, 이미지 1/3 Mad Catz FightPad PRO Joystick Replacement, Mad Catz FightPad PRO Joystick Replacement: 1 단계, 이미지 2/3 Mad Catz FightPad PRO Joystick Replacement, Mad Catz FightPad PRO Joystick Replacement: 1 단계, 이미지 3/3
    • Remove the single 6 mm screw on the back shell of the controller using a Phillips #00 screwdriver.

  2. Mad Catz FightPad PRO Joystick Replacement, Step 2: 2 단계, 이미지 1/3 Mad Catz FightPad PRO Joystick Replacement, Step 2: 2 단계, 이미지 2/3 Mad Catz FightPad PRO Joystick Replacement, Step 2: 2 단계, 이미지 3/3
    • Remove the faceplate on the controller.

    • Be gentle as too much pressure can cause damage to the faceplate.

  3. Mad Catz FightPad PRO Joystick Replacement, Step 3: 3 단계, 이미지 1/3 Mad Catz FightPad PRO Joystick Replacement, Step 3: 3 단계, 이미지 2/3 Mad Catz FightPad PRO Joystick Replacement, Step 3: 3 단계, 이미지 3/3
    • Remove the seven screws using a Phillips #00 screwdriver.

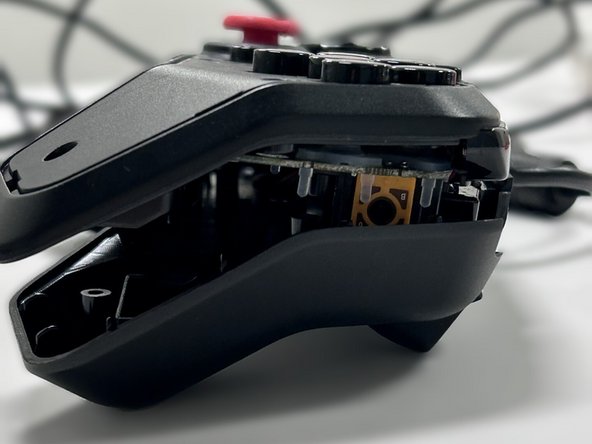
  4. Mad Catz FightPad PRO Joystick Replacement, Step 4: 4 단계, 이미지 1/2 Mad Catz FightPad PRO Joystick Replacement, Step 4: 4 단계, 이미지 2/2
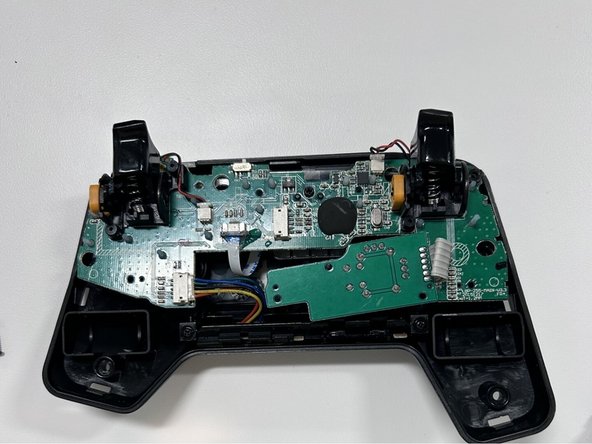
    • Detach the controller from the back shell.

    • Be gentle because you could damage the motherboard with too much pressure.

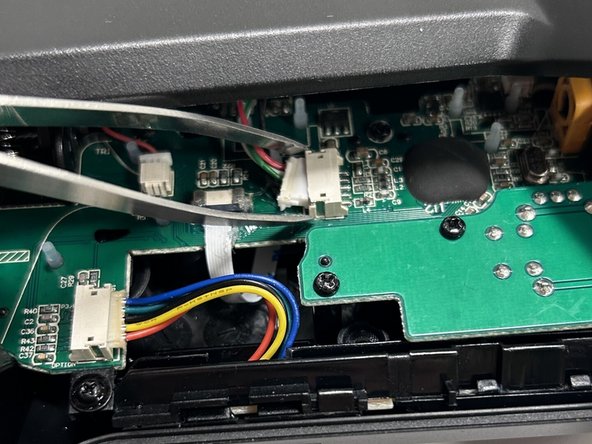
  5. Mad Catz FightPad PRO Joystick Replacement, Step 5: 5 단계, 이미지 1/3 Mad Catz FightPad PRO Joystick Replacement, Step 5: 5 단계, 이미지 2/3 Mad Catz FightPad PRO Joystick Replacement, Step 5: 5 단계, 이미지 3/3
    이 단계에 사용된 도구:
    Tweezers
    $4.99
    구매
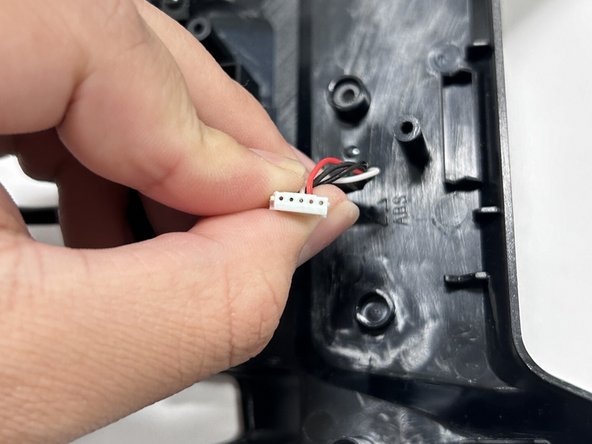
    • Using tweezers or your fingers, detach the wires connecting the motherboard to the rest of the controller.

  6. Mad Catz FightPad PRO Joystick Replacement, Step 6: 6 단계, 이미지 1/2 Mad Catz FightPad PRO Joystick Replacement, Step 6: 6 단계, 이미지 2/2
    • Remove the eight 6 mm screws from the motherboard using a Phillips #00 screwdriver.

    • Once the screws are removed, the inner parts of the controller will start to fall apart. Keeping the controller facedown will prevent any parts from falling out.

  7. Mad Catz FightPad PRO Joystick Replacement, Step 7: 7 단계, 이미지 1/2 Mad Catz FightPad PRO Joystick Replacement, Step 7: 7 단계, 이미지 2/2
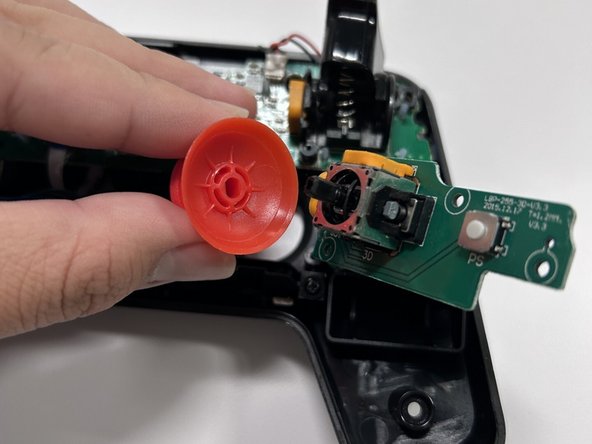
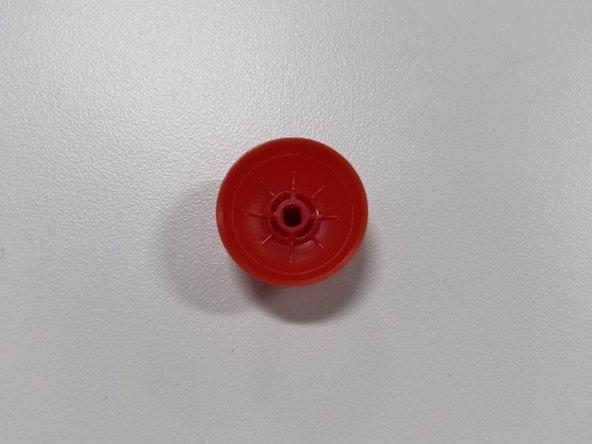
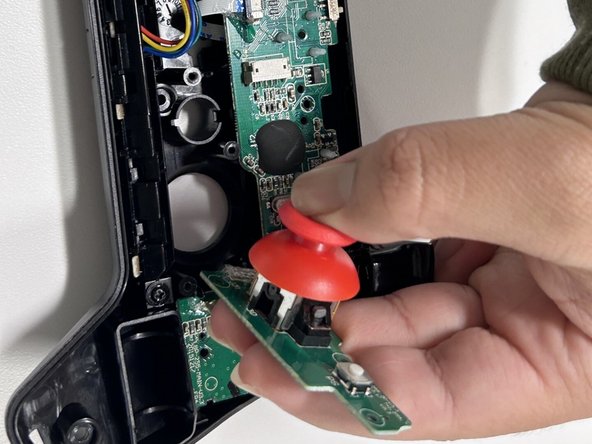
    • Using your fingers carefully remove the joystick until you hear a pop noise.

  8. Mad Catz FightPad PRO Joystick Replacement: 8 단계, 이미지 1/3 Mad Catz FightPad PRO Joystick Replacement: 8 단계, 이미지 2/3 Mad Catz FightPad PRO Joystick Replacement: 8 단계, 이미지 3/3
    • Make sure that the new joystick and motherboard pieces match before placing them together.

    • Hold down on the joystick until you hear a click noise.

결론

To reassemble your device, follow these instructions in reverse order.

다른 한 분이 해당 안내서를 완성하였습니다.

Ian Pimentel

회원 가입일: 10/24/23

217 평판

안내서 1개 작성함

댓글 한 개

شكرا افادني هذا 🐤🤍

King 444 - 답글

댓글 쓰기

조회 통계:

24 시간 전: 1

7일 전: 17

30일 전: 44

전체 시간: 147