이 버전에는 잘못된 편집 사항이 있을 수 있습니다. 최신 확인된 스냅샷으로 전환하십시오.
필요한 것
-
이 단계는 번역되지 않았습니다. 번역을 도와주십시오
-
Remove the four rubber caps from the back by using the Phillips #00 screwdriver.
-
-
이 단계는 번역되지 않았습니다. 번역을 도와주십시오
-
Remove the four screws holding the cover in place by using the Phillips #00 screwdriver.
-
-
-
이 단계는 번역되지 않았습니다. 번역을 도와주십시오
-
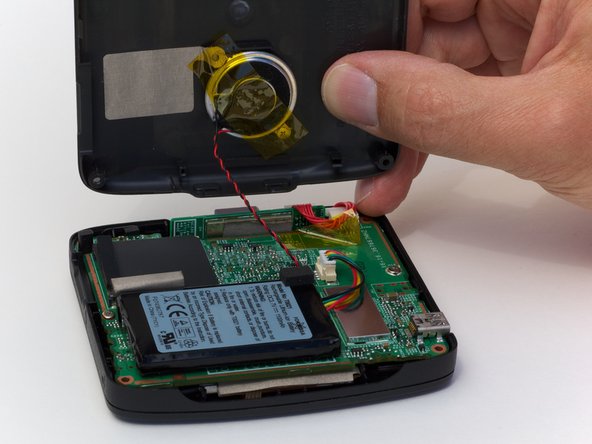
Remove the back cover from the device by separating the back cover along its seam.
-
-
이 단계는 번역되지 않았습니다. 번역을 도와주십시오
-
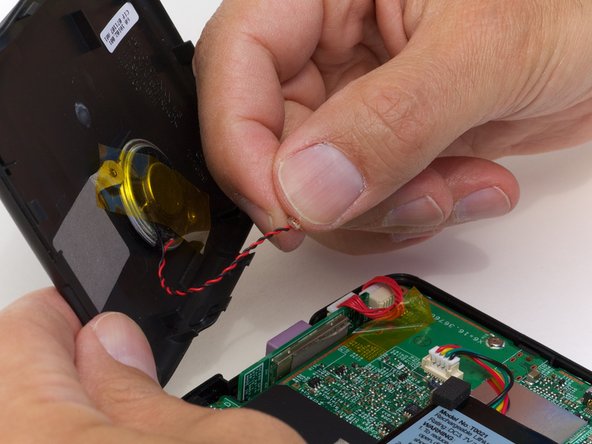
Pull the speaker cord, horizontally, by its base, away from the motherboard.
-
-
이 단계는 번역되지 않았습니다. 번역을 도와주십시오
-
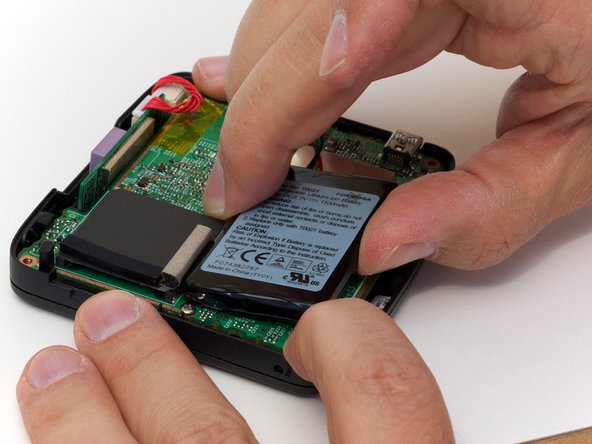
Disconnect the battery connector from the circuit board.
-
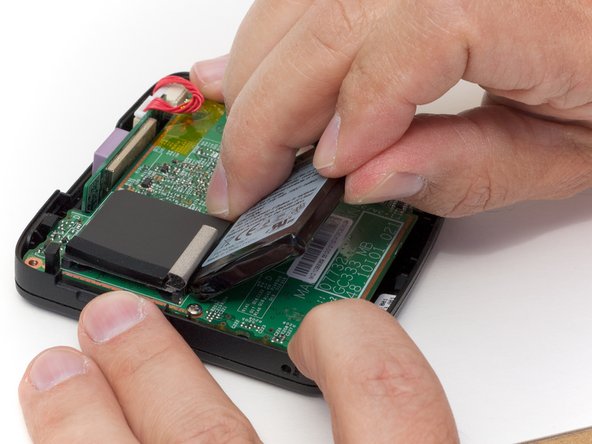
Pry the battery off the circuit board. The adhesive attaching it shouldn't require any other tools.
-


다른 4명이 해당 안내서를 완성하였습니다.
