이 버전에는 잘못된 편집 사항이 있을 수 있습니다. 최신 확인된 스냅샷으로 전환하십시오.
필요한 것
-
이 단계는 번역되지 않았습니다. 번역을 도와주십시오
-
Remove the four rubber caps from the back by using the Phillips #00 screwdriver.
-
-
이 단계는 번역되지 않았습니다. 번역을 도와주십시오
-
Remove the four screws holding the cover in place by using the Phillips #00 screwdriver.
-
-
-
이 단계는 번역되지 않았습니다. 번역을 도와주십시오
-
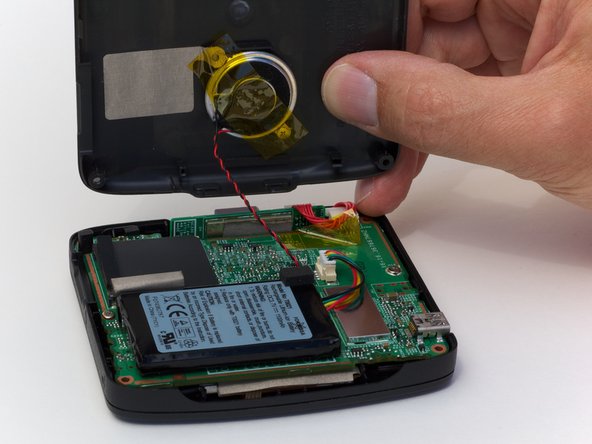
Remove the back cover from the device by separating the back cover along its seam.
-
-
이 단계는 번역되지 않았습니다. 번역을 도와주십시오
-
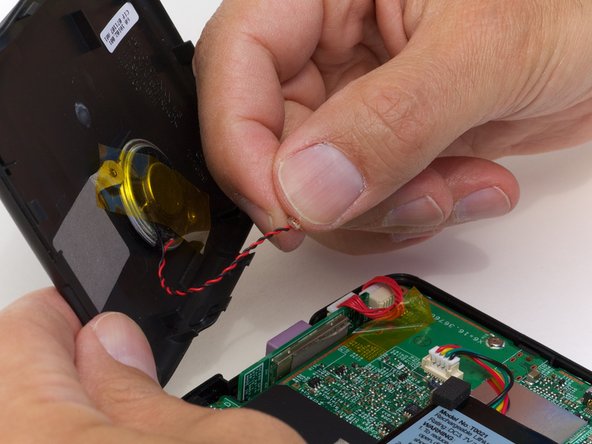
Pull the speaker cord, horizontally, by its base, away from the motherboard.
-
-
이 단계는 번역되지 않았습니다. 번역을 도와주십시오
-
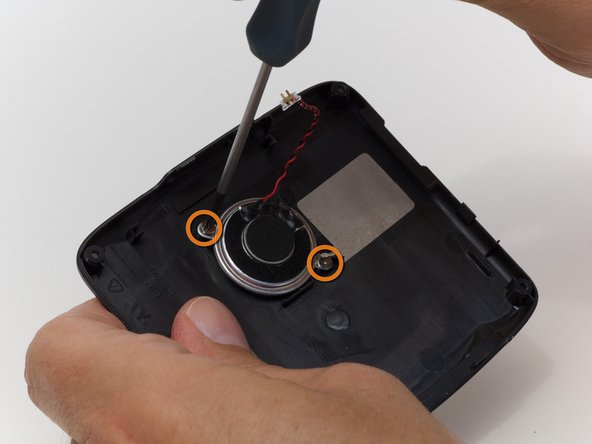
Once you pull off the back cover, remove the orange piece of tape on the speaker.
-
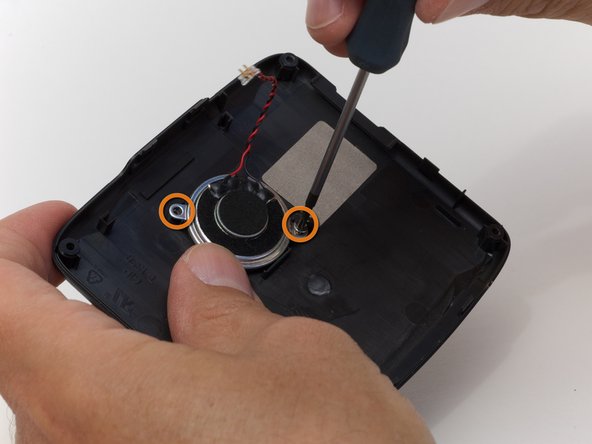
Use a Philips #00 screwdriver to remove the 2 screws holding the speaker to the back casing.
-
-
이 단계는 번역되지 않았습니다. 번역을 도와주십시오
-
Once the speaker has been unscrewed, remove the speaker from the back casing with your fingers.
-