소개
The trigger switch on an impact driver can wear out over time or break from a fall. Use this guide to get your trusted tool working again.
필요한 것
-
-
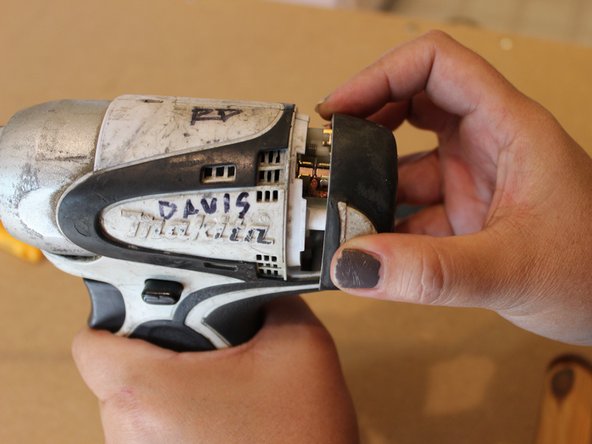
Remove the rubber bumper from the hammer case cover on the front of the impact driver. Grab the back edge of the bumper and pull it forward over the end of the impact driver.
-
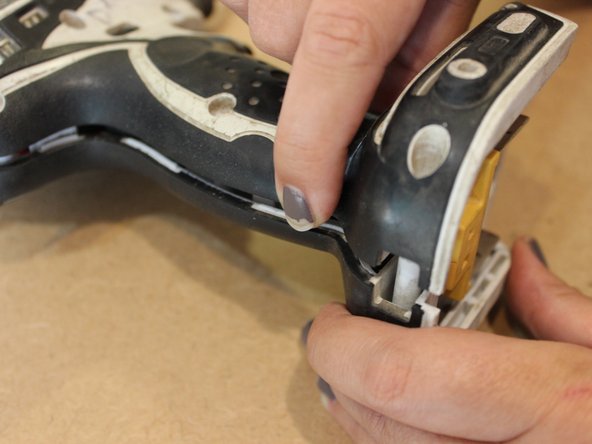
The hammer case cover has two large tabs that seat into the groove around the front of the hammer case. Using a prying tool or flat head screwdriver, gently pry each tab out of the groove while pulling forward on the cover. After both tabs have released, the cover should slide off the front of the hammer case.
-
-
-
Unscrew the two identical Phillips screws on the rear cover.
-
Pull back on the cover to remove it.
-
-
-
-
Turn the impact driver so that its right side faces up. Remove the eight identical Phillips screws that hold the two sides of the housing together.
-
Gently pull up on the side of the housing. Use a prying tool or flat head screwdriver to separate the two sides of the housing. Be sure to keep the yellow battery terminal seated in its slot on the lower housing.
-
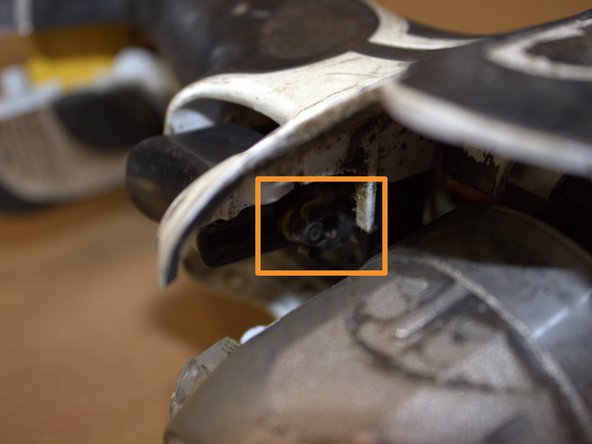
When the housing is almost open, the forward/reverse change lever will catch on a round tab at the top of the trigger switch. Gently lift up on the trigger while pulling the housing up and towards the rear of the impact driver, allowing it to come free.
-
-
-
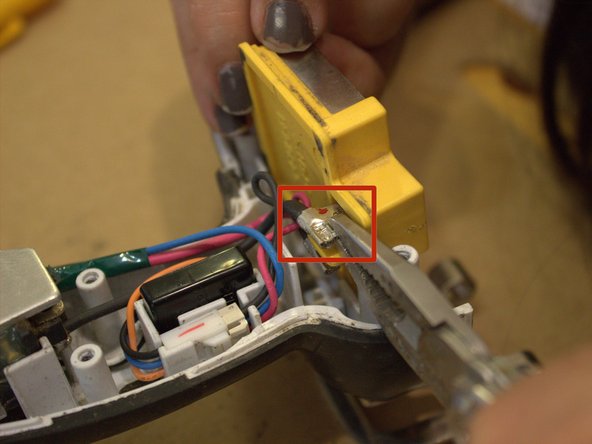
Lift the yellow battery terminal out of the housing.
-
Using a pair of thin-nose pliers, carefully remove the blade connectors from the positive and negative leads on the battery terminal.
-
-
-
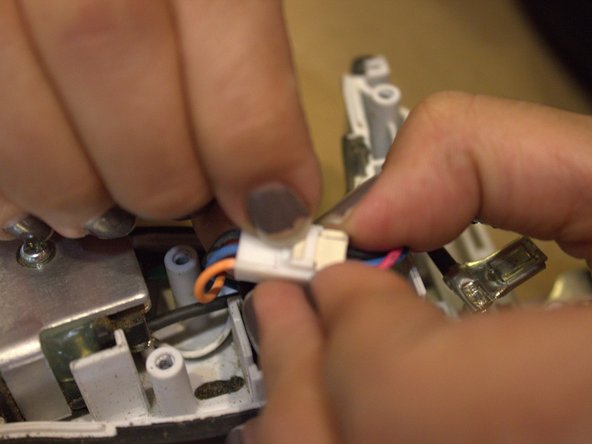
The wires of the trigger switch are connected to the lighting circuit with a small connector. Gently pry the connector out of the housing.
-
There’s a small tab on the back of the connector. Push down on the tab and pull apart the two sides of the connector. Remember to hold the connector by the plastic and not the wires.
-
-
-
Unscrew the Phillips screw connecting the ring terminal of the black wire to the trigger switch.
-
Pull up on the trigger switch, rotating the switch so that the trigger faces up.
-
Unscrew the Phillips screw connecting the ring terminal of the red wire to the trigger switch.
-
Lift the trigger switch up and out of the housing.
-


To reassemble your device, follow these instructions in reverse order.
To reassemble your device, follow these instructions in reverse order.
다른 3명이 해당 안내서를 완성하였습니다.