주요 콘텐츠로 건너뛰기

Maytag MVWX655DW1 Washer Basket Hub Replacement

필요한 것

  1. Maytag MVWX655DW1 Washer Basket Hub Replacement, Washer Basket Hub: 1 단계, 이미지 1/1
    • Use a 1/4-in Flathead screwdriver to remove the three 5mm screws behind the washing machine.

  2. Maytag MVWX655DW1 Washer Basket Hub Replacement: 2 단계, 이미지 1/3 Maytag MVWX655DW1 Washer Basket Hub Replacement: 2 단계, 이미지 2/3 Maytag MVWX655DW1 Washer Basket Hub Replacement: 2 단계, 이미지 3/3
    • Tape the lid down so it does not open when removing.

    • Pull the lid forward with your thumbs while pushing against the washer with your fingers.

    • Lift the lid up and place on the slots located where you removed the screws from the back.

  3. Maytag MVWX655DW1 Washer Basket Hub Replacement: 3 단계, 이미지 1/3 Maytag MVWX655DW1 Washer Basket Hub Replacement: 3 단계, 이미지 2/3 Maytag MVWX655DW1 Washer Basket Hub Replacement: 3 단계, 이미지 3/3
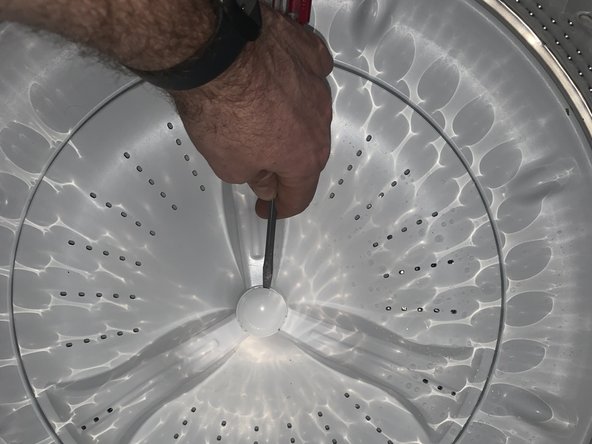
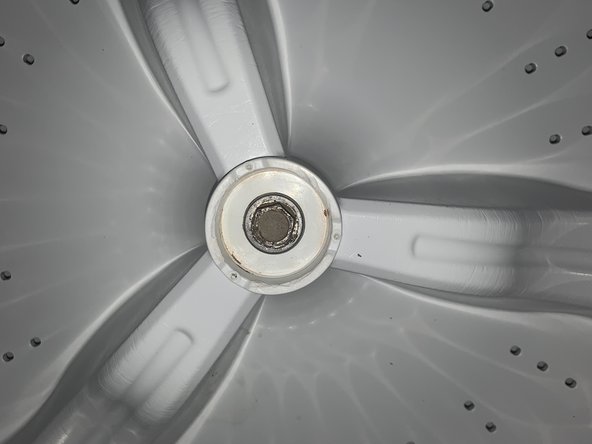
    • Remove the cap from the agitator with your flat head screwdriver. It should pop right off.

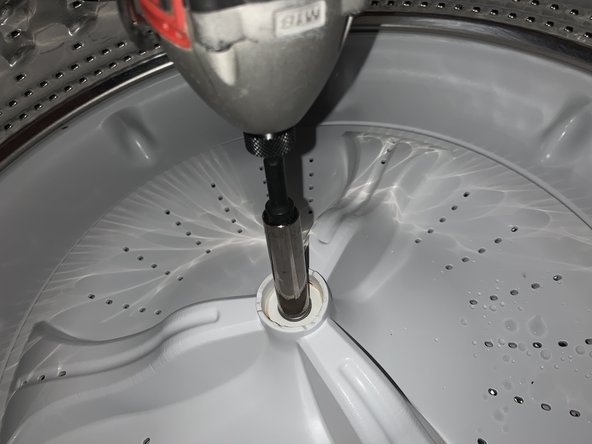
    • Using your 7/16 socket, unscrew the bolt attaching the agitator to the motor shaft.

  4. Maytag MVWX655DW1 Washer Basket Hub Replacement: 4 단계, 이미지 1/3 Maytag MVWX655DW1 Washer Basket Hub Replacement: 4 단계, 이미지 2/3 Maytag MVWX655DW1 Washer Basket Hub Replacement: 4 단계, 이미지 3/3
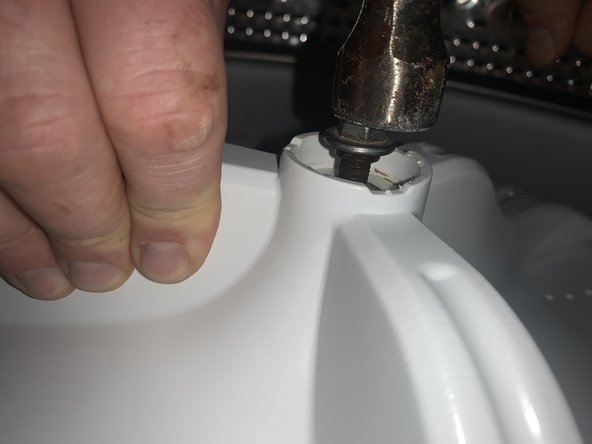
    • Lift up on the agitator and it should slide off the motor shaft exposing the washer hub underneath.

    • If it is stuck, put bolt back in halfway. Tap the bolt with a hammer while pulling up on the agitator to jog it loose.

  5. Maytag MVWX655DW1 Washer Basket Hub Replacement: 5 단계, 이미지 1/3 Maytag MVWX655DW1 Washer Basket Hub Replacement: 5 단계, 이미지 2/3 Maytag MVWX655DW1 Washer Basket Hub Replacement: 5 단계, 이미지 3/3
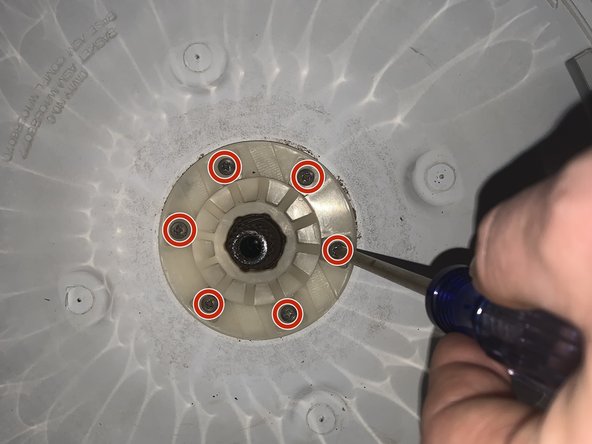
    • Use your Phillips #3 screwdriver to pull the retaining slip out.

    • Unscrew the six screws with the same Phillips #3 screwdriver to remove the hub.

  6. Maytag MVWX655DW1 Washer Basket Hub Replacement: 6 단계, 이미지 1/2 Maytag MVWX655DW1 Washer Basket Hub Replacement: 6 단계, 이미지 2/2
    • Take the new hub and slide it over the motor shaft.

    • Align the holes by only slightly screwing in each screw and turning the hub until all holes are aligned and screws are in.

    • Tighten all screws and then put new retaining clip into hub.

결론

To reassemble your device, follow these instructions in reverse order.

Kyle

회원 가입일: 02/18/21

133 평판

안내서 1개 작성함

댓글 0개

댓글 쓰기

조회 통계:

24 시간 전: 6

7일 전: 33

30일 전: 240

전체 시간: 8,258