이 안내서에는 최근 변경 사항이 더 있습니다. 최신 비검증 버전으로 전환하십시오.
소개
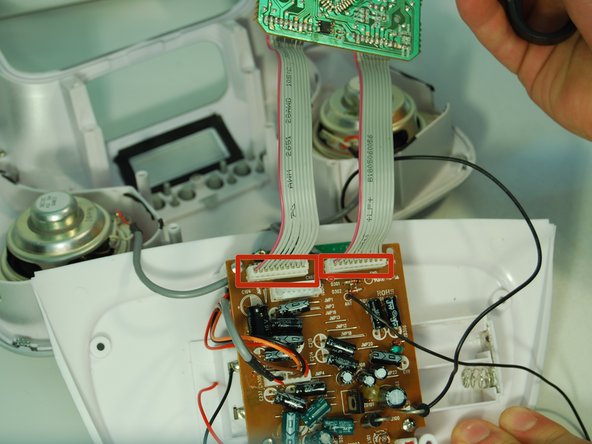
You may have broken the display to your Minimove boombox. This guide will direct you in removing the current display and re-installing a new one. The display is part of a daughterboard that must be replaced altogether if your display is not working. This guide will require extensive disassembly of the Minimove.
필요한 것
-
-
Remove the two plastic screw covers on the back of your Minimove by inserting the flat end of your plastic opening tool between the screw cover and the back panel and prying it out.
-
-
-
-
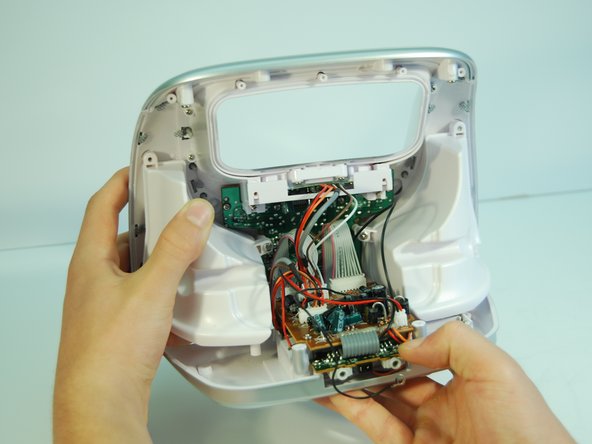
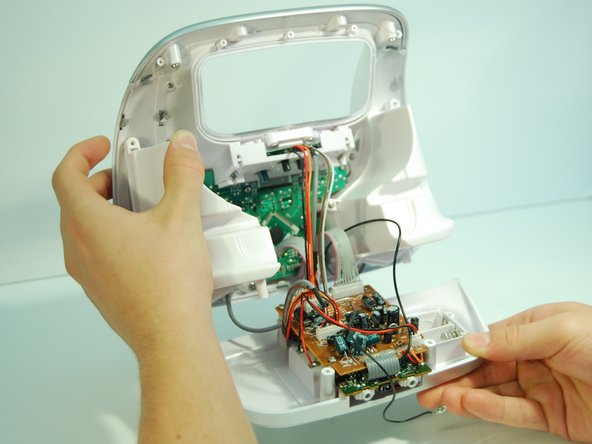
Remove the bottom panel of the boombox by carefully pulling the panel straight backwards from the boombox until the boards are free.
-
-
-
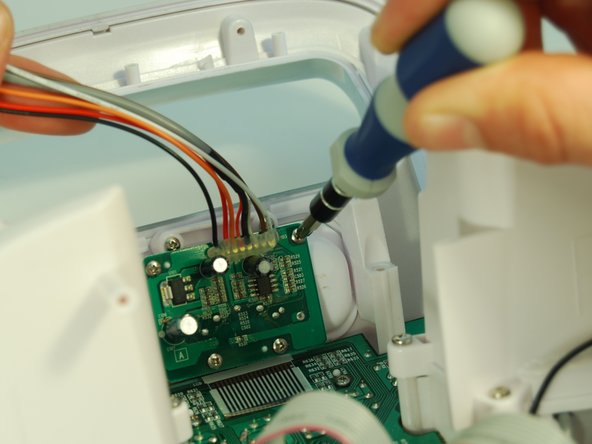
Locate and unscrew the four 8mm screws (in red) along the edge with a Phillips #1 screwdriver.
-
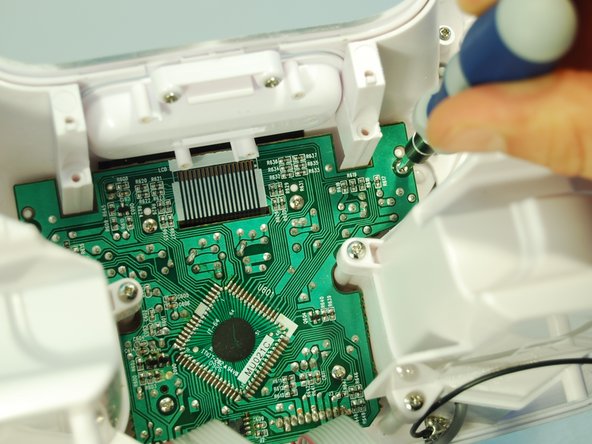
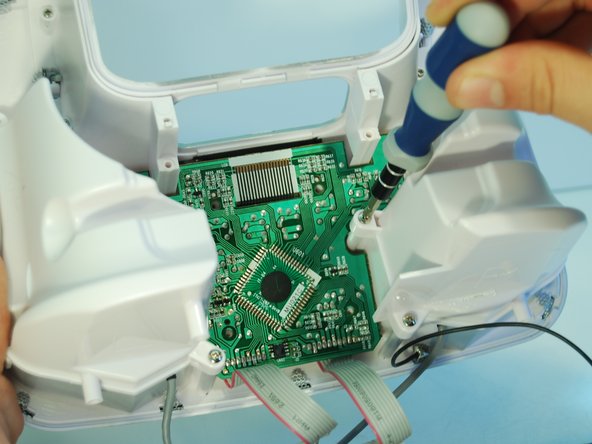
Unscrew the two 12mm screws (in orange) on the inside of the daughterboard.
-


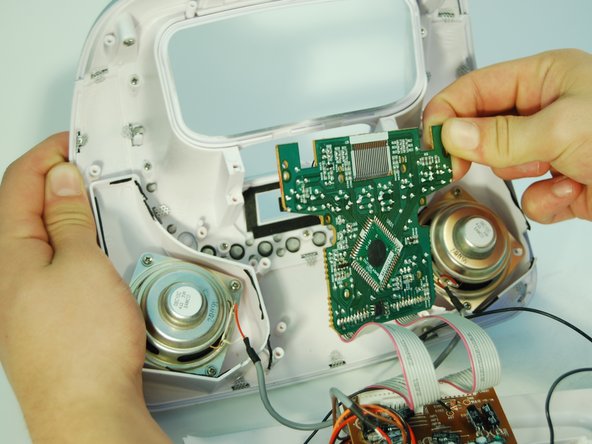

To reassemble your device, follow these instructions in reverse order.
To reassemble your device, follow these instructions in reverse order.
다른 2명이 해당 안내서를 완성하였습니다.
팀

Cal Poly, Team 2-9, Amido Winter 2014 Cal Poly, Team 2-9, Amido Winter 2014 회원
CPSU-AMIDO-W14S2G9
5 회원들
안내서 6개 작성하였습니다