소개
My old Xiaomi Mi 8 Explorer needed a new battery, and while trying to find a guide on here, I noticed that the nearest one I could find was for the Pro version, So I decided to make a guide to change said battery (about half way through the replacement, don't judge!)
필요한 것
-
-
As per usual, heat the glue to soften it, and use picks to cut.
-
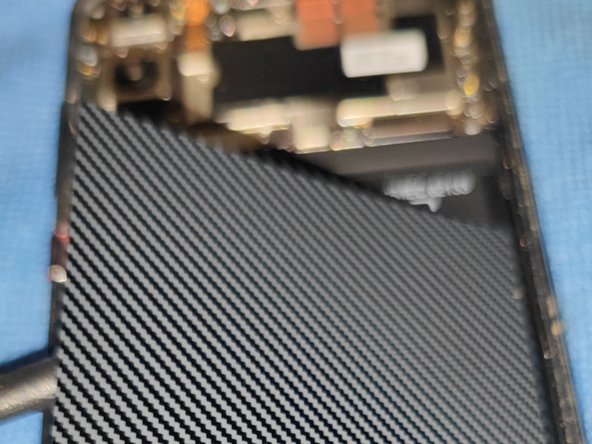
I found that it was pretty easy to get in there by using a suction cup with a small amount of pressure along with a Halberd spudger to get it started.
-
-
-
Next step is to remove the screws that keep the plastic back plate on. You'll find:
-
Pentalobe P2 screw (x9)
-
NFC Module
-
Use a spudger to remove the plastic plate, being careful with the NFC module (form what I saw, it doesn't detach form the plate, and even if it does, it's just easier to keep it together
-
-
-
-
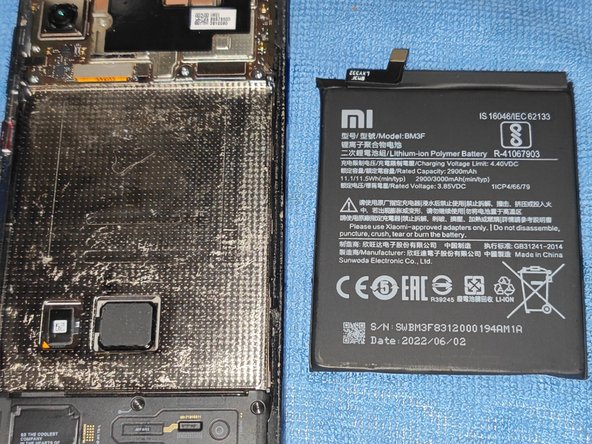
Remove the battery, unlike the Original Mi 8 Pro, I didn't find any glue tabs to remove the battery, so I used a mix of my Halberd Spudger, and a plastic card to remove the battery.
-
Insert the replacement battery, and test the phone.
-


Once ready, follow steps backwards as normal!
Once ready, follow steps backwards as normal!
다른 한 분이 해당 안내서를 완성하였습니다.