주요 콘텐츠로 건너뛰기

Microphone Duplicate Guide

보관된 가이드
해당 안내서는 단지 역사적인 목적으로 보관됩니다. 최신 버전 안내서를 사용하여 수리 하십시오.

필요한 것

  1. Microphone Duplicate Guide, Battery: 1 단계, 이미지 1/1
    • Before removing the battery, ensure that the phone is turned off.

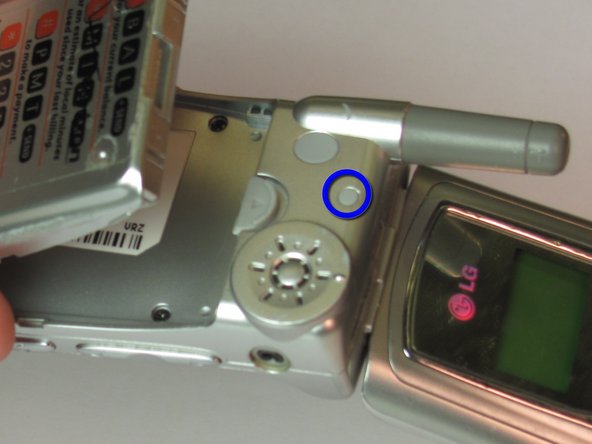
    • To remove the battery from your LG VX4500, turn the phone so that the back panel is showing.

  2. Microphone Duplicate Guide: 2 단계, 이미지 1/1
    • Pull back on the white release tab and lift up the the entire battery.

  3. Microphone Duplicate Guide: 3 단계, 이미지 1/1
    • The back panel should now be fully accessible.

  4. Microphone Duplicate Guide, LG VX4500 Disassembly: 4 단계, 이미지 1/2 Microphone Duplicate Guide, LG VX4500 Disassembly: 4 단계, 이미지 2/2
    • Using a paper clip, remove all 4 rubber screwcaps from the screw ports.

    • With a Phillips head screwdriver, remove all 4 screws from their ports.

    • Also remove the rubber screwcap in the upper part of the back panel along with the screw under it.

    • The fifth screw will be more difficult to get out because the plastic port has much higher sides.

  5. Microphone Duplicate Guide: 5 단계, 이미지 1/3 Microphone Duplicate Guide: 5 단계, 이미지 2/3 Microphone Duplicate Guide: 5 단계, 이미지 3/3
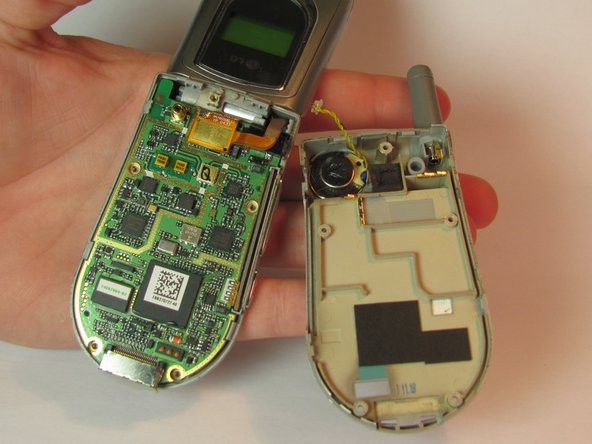
    • Run a plastic opening tool along the seam to seperate the keyboard cover and the back panel

    • Remove the back panel, now the logic board, keyboard and microphone are exposed.

  6. Microphone Duplicate Guide, Logic Board: 6 단계, 이미지 1/2 Microphone Duplicate Guide, Logic Board: 6 단계, 이미지 2/2
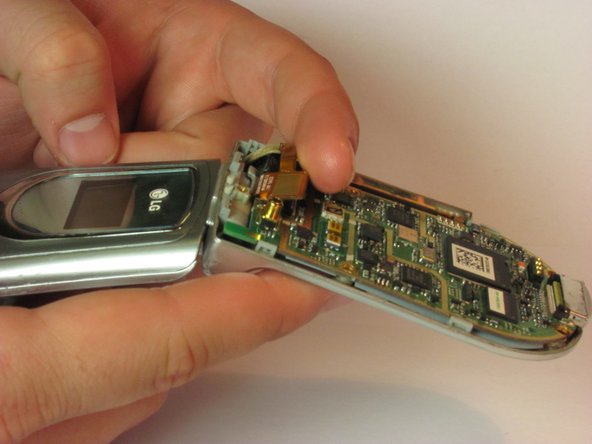
    • With your fingers, gently lift up the gold connector until it is completely disconnected.

  7. Microphone Duplicate Guide, Microphone: 7 단계, 이미지 1/1
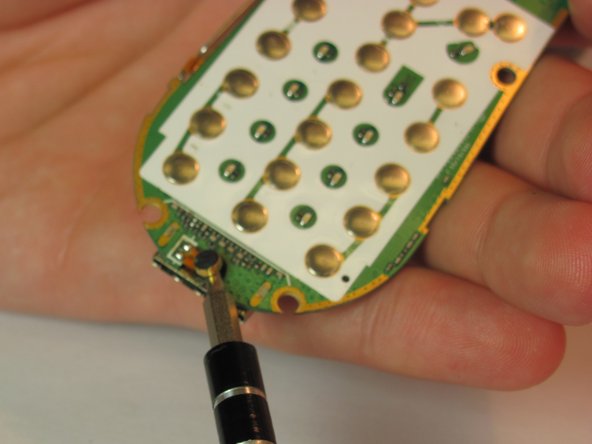
    • Desolder the microphone from the logic board

결론

To reassemble your device, follow these instructions in reverse order.

iDeleted

회원 가입일: 07/07/10

2,101 평판

안내서 39개 작성하였습니다

댓글 0개

댓글 쓰기

조회 통계:

24 시간 전: 0

7일 전: 1

30일 전: 1

전체 시간: 1,027