소개
This is a (pretty involved!) guide to completely removing & replacing your rubber strap, and repairing the power ribbon inside, to restore the connection to the battery. I don't think this guide is as good as the one I posted at https://band2repair.wordpress.com/, which has more room for commentary and images.
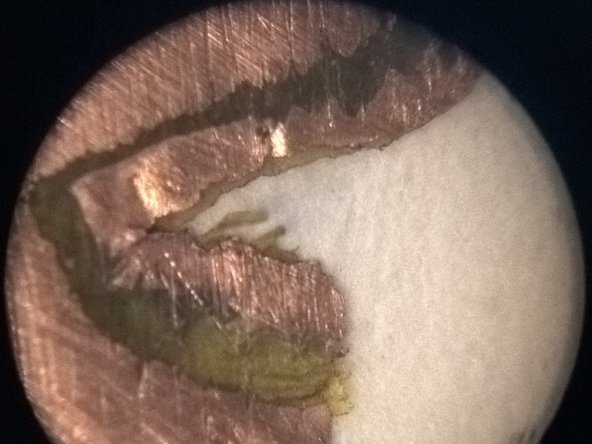
This repair is RISKY; it could ruin your Band 2. I only did it because my Band was unusable/ruined already, and there are no replacements available so it would be junk anyways.
필요한 것
-
-
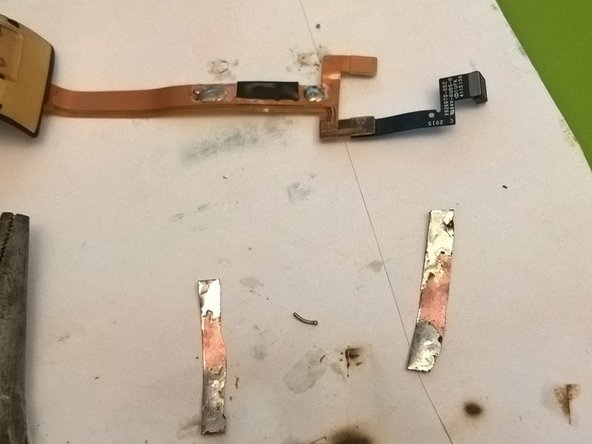
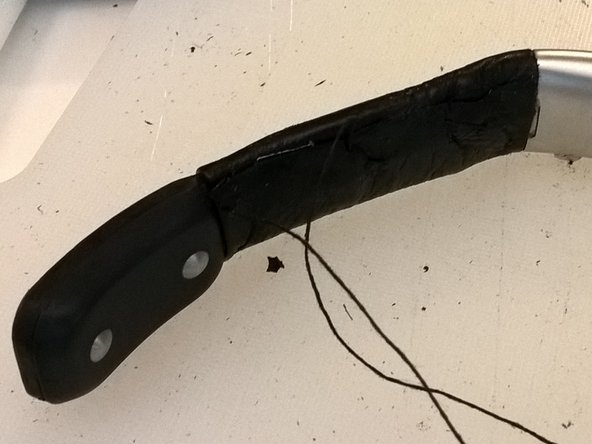
Carve away *almost* all of the rubber of the straps. (Leave the rubber surrounding the battery/heart rate clasp end.)
-
-


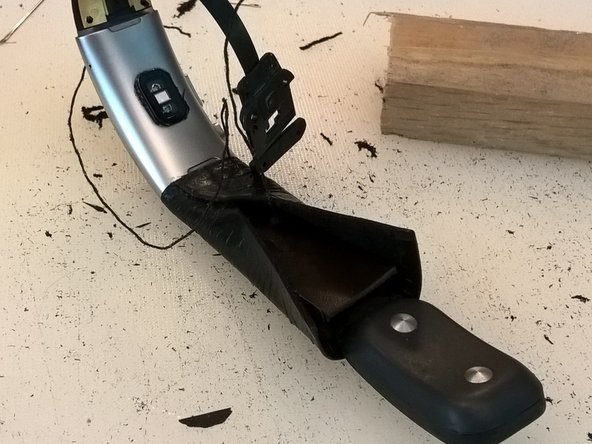
Your Rand 2 should (!) hold a charge now. Not sure how durable this repair is.
Your Rand 2 should (!) hold a charge now. Not sure how durable this repair is.
다른 2명이 해당 안내서를 완성하였습니다.