주요 콘텐츠로 건너뛰기

Microsoft Surface Pro 11 SSD Replacement

필요한 것

  1. Microsoft Surface Pro 11 SSD Replacement, Before you begin: 1 단계, 이미지 3개 중 1개 Microsoft Surface Pro 11 SSD Replacement, Before you begin: 1 단계, 이미지 3개 중 2개 Microsoft Surface Pro 11 SSD Replacement, Before you begin: 1 단계, 이미지 3개 중 3개
    • Before starting this repair, allow your laptop's battery to drain below 25%. A charged battery may catch fire if damaged.

    • Unplug all cables and fully shut down your laptop.

  2. Microsoft Surface Pro 11 SSD Replacement, Open the kickstand: 2 단계, 이미지 3개 중 1개 Microsoft Surface Pro 11 SSD Replacement, Open the kickstand: 2 단계, 이미지 3개 중 2개 Microsoft Surface Pro 11 SSD Replacement, Open the kickstand: 2 단계, 이미지 3개 중 3개
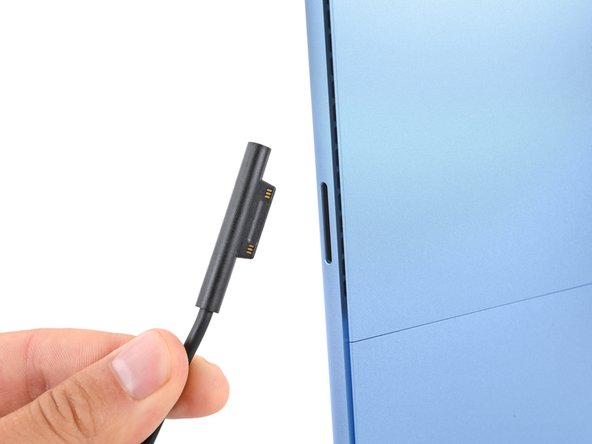
    • Lay your Surface Pro screen side down and open the kickstand to about a 90‑degree angle.

  3. Microsoft Surface Pro 11 SSD Replacement, Remove the SSD door: 3 단계, 이미지 3개 중 1개 Microsoft Surface Pro 11 SSD Replacement, Remove the SSD door: 3 단계, 이미지 3개 중 2개 Microsoft Surface Pro 11 SSD Replacement, Remove the SSD door: 3 단계, 이미지 3개 중 3개
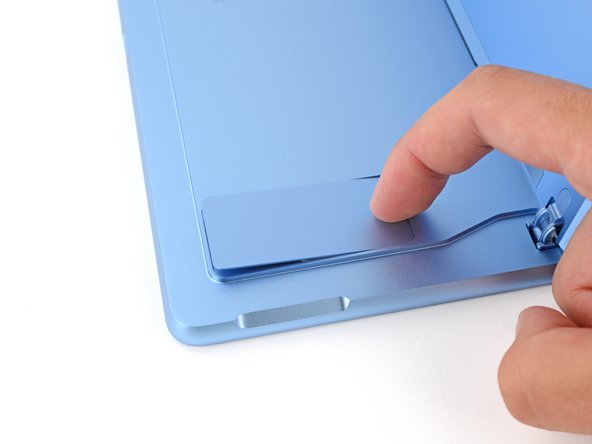
    • Use your finger to firmly press down on the SSD door indent until the door pops up.

    • Remove the SSD door.

  4. Microsoft Surface Pro 11 SSD Replacement, Remove the SSD screw: 4 단계, 이미지 2개 중 1개 Microsoft Surface Pro 11 SSD Replacement, Remove the SSD screw: 4 단계, 이미지 2개 중 2개
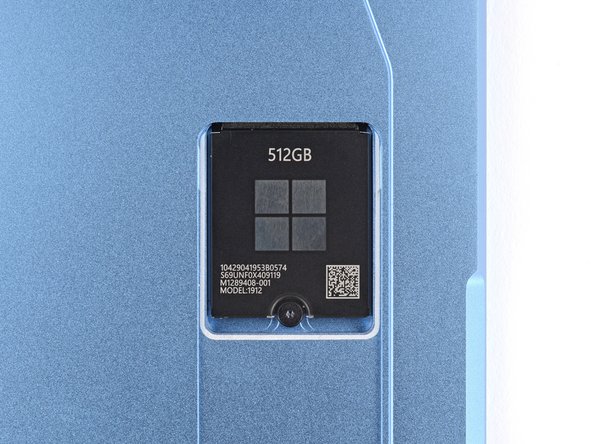
    • Use a Torx Plus 3IP screwdriver to remove the 2.4 mm‑long screw securing the SSD.

    • Removing the SSD also functions as a battery disconnect and should be done before all major repairs.

  5. Microsoft Surface Pro 11 SSD Replacement, Remove the SSD: 5 단계, 이미지 3개 중 1개 Microsoft Surface Pro 11 SSD Replacement, Remove the SSD: 5 단계, 이미지 3개 중 2개 Microsoft Surface Pro 11 SSD Replacement, Remove the SSD: 5 단계, 이미지 3개 중 3개
    • Don't pull up at a sharp angle, or you may damage the SSD and its socket.

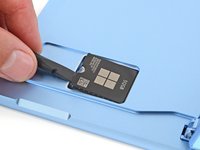
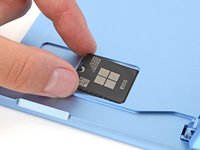
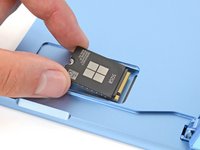
    • Use the flat end of a spudger to gently lift the notched edge of the SSD enough that you can grip the bottom corners with your fingers.

    • Use your fingers or tweezers to pull the SSD straight out of its socket and remove it.

    • During reassembly, getting the SSD fully inserted in its socket can be tricky. If you're having trouble, hold the SSD in place and use the flat end of a spudger to push on the notched edge.

결론

To reassemble your device, follow these instructions in reverse order.

Once your laptop is reassembled, follow Microsoft's post SSD replacement guide.

Take your e-waste to an R2 or e-Stewards certified recycler.

Repair didn’t go as planned? Try some basic troubleshooting, or ask our Answers community for help.

다른 3명이 해당 안내서를 완성하였습니다.

작성자

1다른 기여자 명과 함께

Spencer Day

회원 가입일: 09/14/22

150,284 평판

안내서 995개를 작성함

iFixit iFixit 회원

Staff

123 회원들

안내서 23,649개를 작성함

0가이드 댓글

댓글 쓰기

조회 통계:

지난 24시간: 21

지난 7일: 138

지난 30일: 730

전체 시간: 3,573