주요 콘텐츠로 건너뛰기

Mio MiVue 698 Disassembly

필요한 것

  1. Mio MiVue 698 Disassembly, Remove screws from the top: 1 단계, 이미지 1/3 Mio MiVue 698 Disassembly, Remove screws from the top: 1 단계, 이미지 2/3 Mio MiVue 698 Disassembly, Remove screws from the top: 1 단계, 이미지 3/3
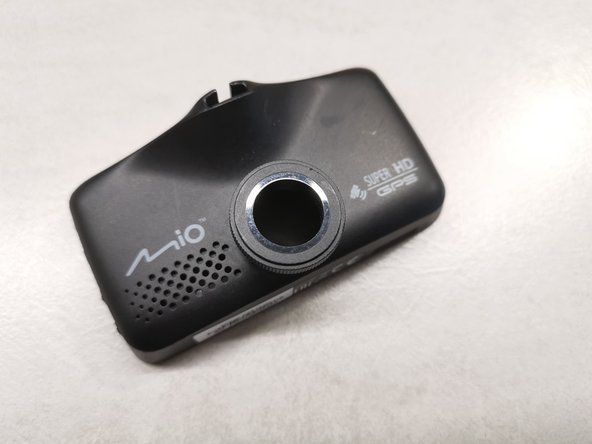
    • We will disassemble Mio MiVue 698 (Dual) car camera in this guide.

    • On the top of the unit, under the two caps, there are two Philips screws. Remove those caps and use Philips 0 screwdriver.

  2. Mio MiVue 698 Disassembly, Open it up: 2 단계, 이미지 1/3 Mio MiVue 698 Disassembly, Open it up: 2 단계, 이미지 2/3 Mio MiVue 698 Disassembly, Open it up: 2 단계, 이미지 3/3
    • Now use a prying tool and gently pry all four sides of the display assembly.

    • Be careful not to damage the wire strip on the bottom.

  3. Mio MiVue 698 Disassembly, Remove wires: 3 단계, 이미지 1/3 Mio MiVue 698 Disassembly, Remove wires: 3 단계, 이미지 2/3 Mio MiVue 698 Disassembly, Remove wires: 3 단계, 이미지 3/3
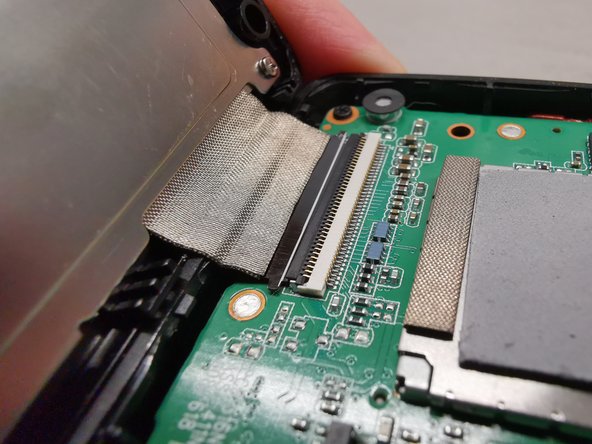
    • Remove black adhesive tape from the contacts.

    • Use a plastic tweezers to gently unlock wire strip from the contacts. You will end up with a disconnected display assembly.

  4. Mio MiVue 698 Disassembly, Remove board from the case: 4 단계, 이미지 1/3 Mio MiVue 698 Disassembly, Remove board from the case: 4 단계, 이미지 2/3 Mio MiVue 698 Disassembly, Remove board from the case: 4 단계, 이미지 3/3
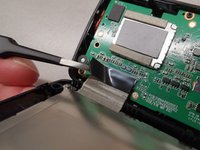
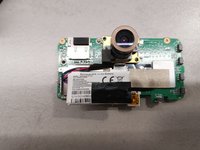
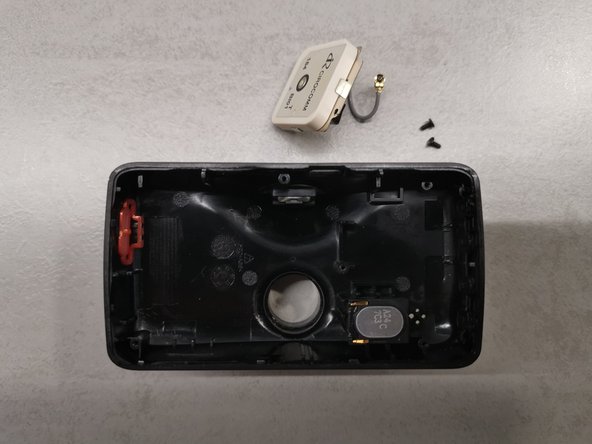
    • Disconnect the grey wire, which leads to GPS module.

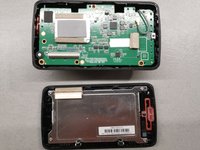
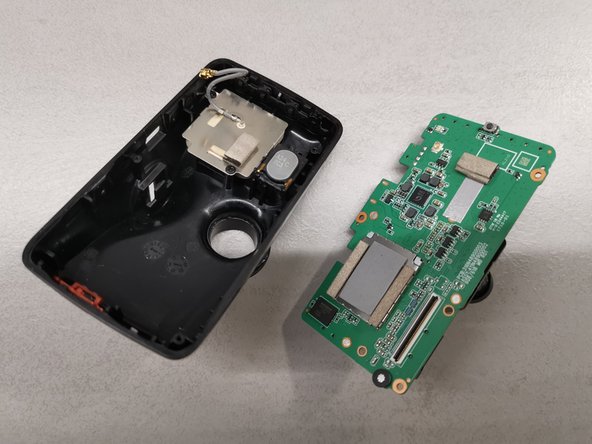
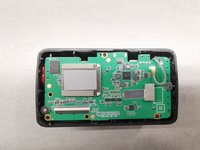
    • Remove three screws that hold the PCB.

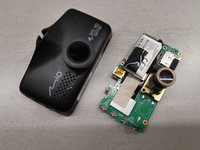
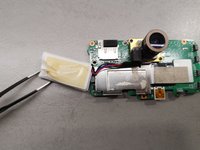
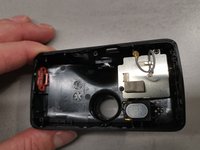
    • Remove the microSD card from the unit. Now you have to use a finger to carefully push against the lens from the front of the car camera, so the board will pop out.

  5. Mio MiVue 698 Disassembly, Remove battery: 5 단계, 이미지 1/2 Mio MiVue 698 Disassembly, Remove battery: 5 단계, 이미지 2/2
    • The battery is attached to the board with a small piece of tape.

  6. Mio MiVue 698 Disassembly, Remove GPS module: 6 단계, 이미지 1/3 Mio MiVue 698 Disassembly, Remove GPS module: 6 단계, 이미지 2/3 Mio MiVue 698 Disassembly, Remove GPS module: 6 단계, 이미지 3/3
    • Remove two screws so you can remove the GPS module.

결론

To reassemble your device, follow these instructions in reverse order.

다른 한 분이 해당 안내서를 완성하였습니다.

Peter

회원 가입일: 01/23/22

163 평판

안내서 1개 작성함

댓글 0개

댓글 쓰기

조회 통계:

24 시간 전: 0

7일 전: 8

30일 전: 26

전체 시간: 463