주요 콘텐츠로 건너뛰기

Moen Posi-Temp Cartridge Part #1112b Replacement

필요한 것

  1. Moen Posi-Temp Cartridge Part #1112b Replacement, Moen Posi-Temp Cartridge Part #1112b: 1 단계, 이미지 1/1
    • Turn the water shutoff valve counter-clockwise to the "off" position.

  2. Moen Posi-Temp Cartridge Part #1112b Replacement: 2 단계, 이미지 1/1
    • Open both the hot and cold taps of a nearby faucet or shower until the water no longer flows.

  3. Moen Posi-Temp Cartridge Part #1112b Replacement: 3 단계, 이미지 1/2 Moen Posi-Temp Cartridge Part #1112b Replacement: 3 단계, 이미지 2/2
    • Turn the handle of the shower valve 180 degrees until it is in the "up" or "on" position.

  4. Moen Posi-Temp Cartridge Part #1112b Replacement: 4 단계, 이미지 1/2 Moen Posi-Temp Cartridge Part #1112b Replacement: 4 단계, 이미지 2/2
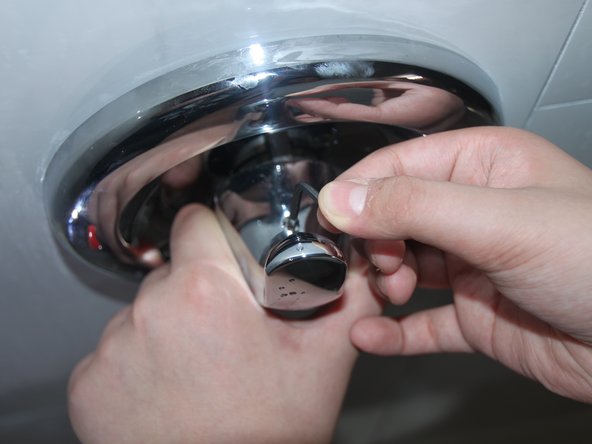
    • Unscrew the handle screw with an Allen wrench.

    • Remove the handle.

  5. Moen Posi-Temp Cartridge Part #1112b Replacement: 5 단계, 이미지 1/2 Moen Posi-Temp Cartridge Part #1112b Replacement: 5 단계, 이미지 2/2
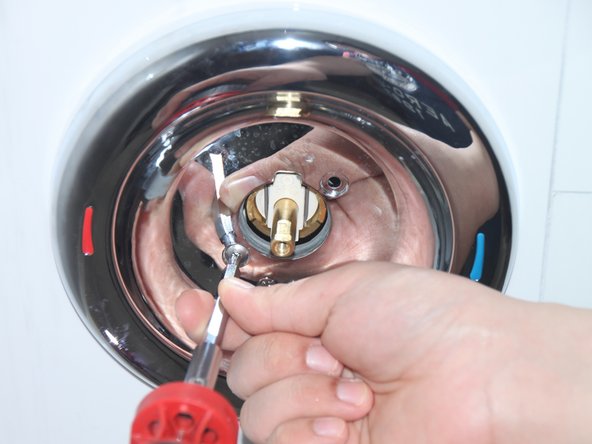
    • Remove the handle adaptor screw with a Phillips screwdriver.

    • Remove the handle adaptor simply by pulling it out.

  6. Moen Posi-Temp Cartridge Part #1112b Replacement: 6 단계, 이미지 1/1
    • Pull out the white key/adjustable limit stop.

  7. Moen Posi-Temp Cartridge Part #1112b Replacement: 7 단계, 이미지 1/3 Moen Posi-Temp Cartridge Part #1112b Replacement: 7 단계, 이미지 2/3 Moen Posi-Temp Cartridge Part #1112b Replacement: 7 단계, 이미지 3/3
    • Gently pull out the stop tube.

  8. Moen Posi-Temp Cartridge Part #1112b Replacement: 8 단계, 이미지 1/3 Moen Posi-Temp Cartridge Part #1112b Replacement: 8 단계, 이미지 2/3 Moen Posi-Temp Cartridge Part #1112b Replacement: 8 단계, 이미지 3/3
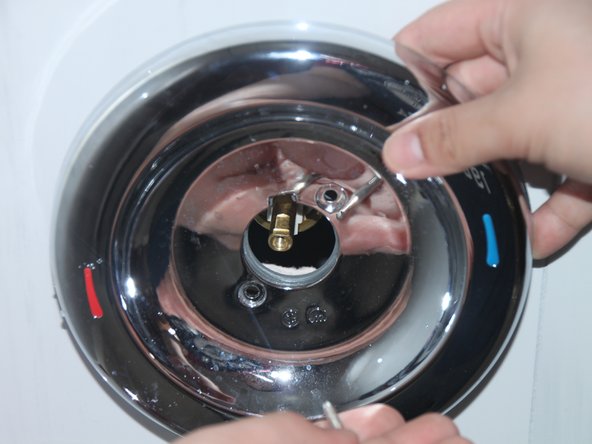
    • Using the Phillips head screwdriver, remove the two screws located at the top right corner and bottom left corner.

    • Remove the metal plate.

  9. Moen Posi-Temp Cartridge Part #1112b Replacement: 9 단계, 이미지 1/3 Moen Posi-Temp Cartridge Part #1112b Replacement: 9 단계, 이미지 2/3 Moen Posi-Temp Cartridge Part #1112b Replacement: 9 단계, 이미지 3/3
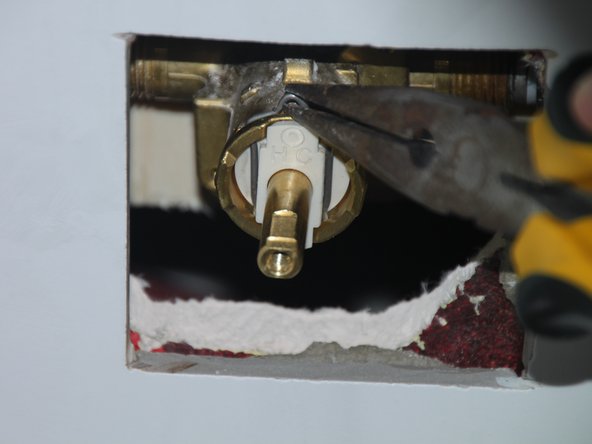
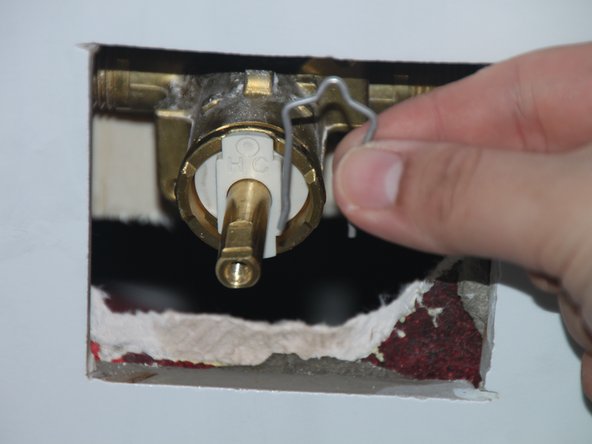
    • Slide the tip of needle-nose pliers under the notch of the retaining clip and pull the clip upwards.

  10. Moen Posi-Temp Cartridge Part #1112b Replacement: 10 단계, 이미지 1/3 Moen Posi-Temp Cartridge Part #1112b Replacement: 10 단계, 이미지 2/3 Moen Posi-Temp Cartridge Part #1112b Replacement: 10 단계, 이미지 3/3
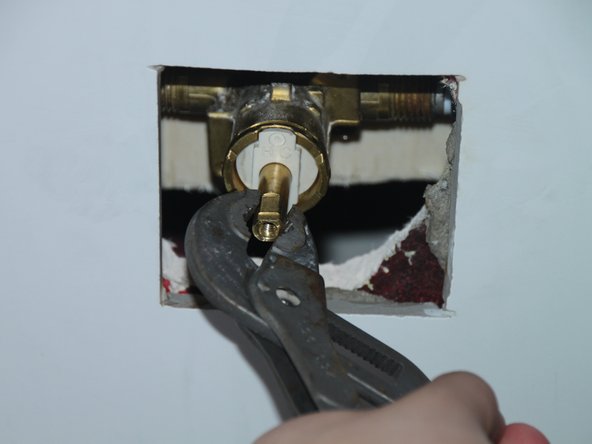
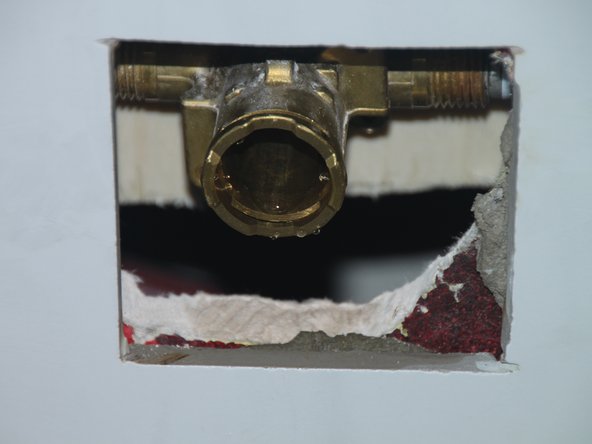
    • Clamp firmly onto the brass tube with a pair of vice grips and gently but firmly pull out the cartridge.

  11. Moen Posi-Temp Cartridge Part #1112b Replacement: 11 단계, 이미지 1/2 Moen Posi-Temp Cartridge Part #1112b Replacement: 11 단계, 이미지 2/2
    • Insert the new Moen Posi-Temp cartridge.

  12. Moen Posi-Temp Cartridge Part #1112b Replacement: 12 단계, 이미지 1/1
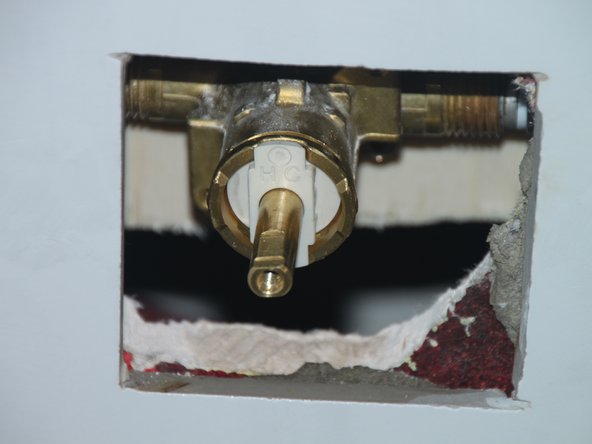
    • Insert the new cartridge into the valve assembly.

    • Ensure that the H/C symbols are facing up.

    • Ensure that the notch on the brass tube is also facing up.

결론

To reassemble your device, follow these instructions in reverse order.

John Mendoza

회원 가입일: 09/17/20

205 평판

안내서 1개 작성함

York University, Team S3-G57, Melo-Thaiss Fall 2020 York University, Team S3-G57, Melo-Thaiss Fall 2020 회원

YORK-MELO-THAISS-F20S3G57

1 회원

안내서 1개 작성하였습니다

댓글 0개

댓글 쓰기

조회 통계:

24 시간 전: 1

7일 전: 9

30일 전: 34

전체 시간: 1,104