주요 콘텐츠로 건너뛰기

Moto X Pure Edition Back Panel Removal

보관된 가이드
해당 안내서는 단지 역사적인 목적으로 보관됩니다. 최신 버전 안내서를 사용하여 수리 하십시오.
단지 전제 조건
이 안내서는 다른 가이드의 선행 작업으로 사용하기 위한 것입니다. 그 자체로는 불완전합니다.

필요한 것

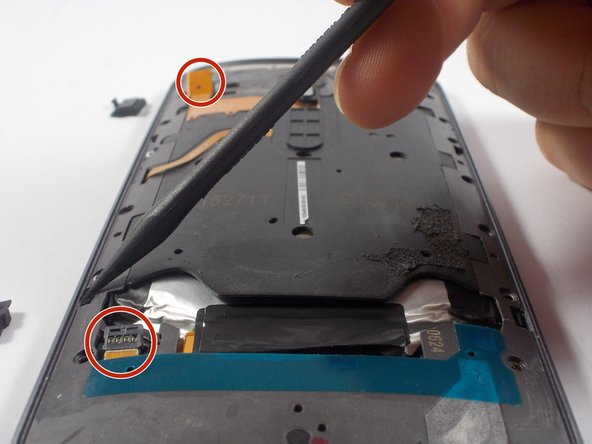
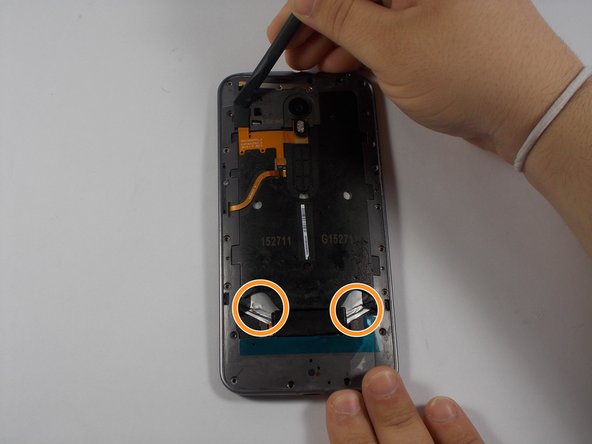
  1. Moto X Pure Edition Back Panel Removal, Back Panel: 1 단계, 이미지 1/3 Moto X Pure Edition Back Panel Removal, Back Panel: 1 단계, 이미지 2/3 Moto X Pure Edition Back Panel Removal, Back Panel: 1 단계, 이미지 3/3
    • Disconnect the two battery connections.

    • Remove the two parallel black tabs by pulling on them.

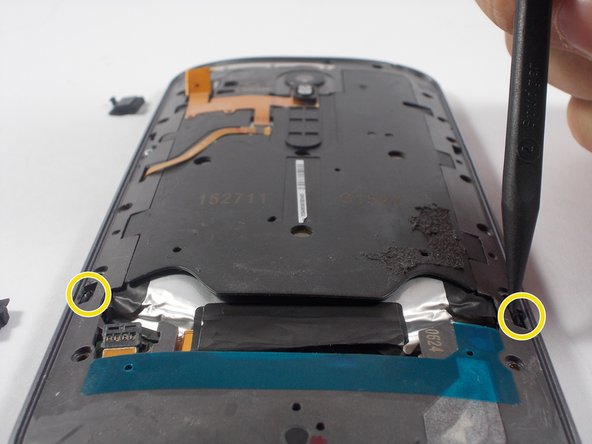
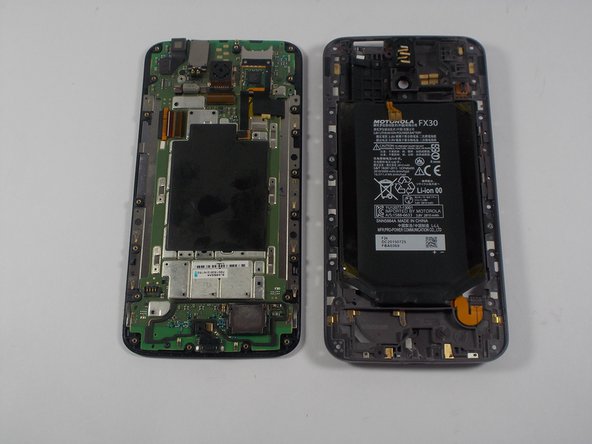
  2. Moto X Pure Edition Back Panel Removal: 2 단계, 이미지 1/3 Moto X Pure Edition Back Panel Removal: 2 단계, 이미지 2/3 Moto X Pure Edition Back Panel Removal: 2 단계, 이미지 3/3
    • All screw lengths are 2.5mm

    • Using the T3 screw driver, remove all 20 T3 screws.

    • Do NOT remove the silver screw circled in orange.

    • This holds in the Power/Volume buttons and is not necessary to remove. There are 2 very tiny springs behind the volume buttons that are easy to lose if you remove this screw.

    • Using the nylon spudger, remove the two clips holding the panel in place.

결론

To reassemble your device, follow these instructions in reverse order.

다른 2명이 해당 안내서를 완성하였습니다.

Lucas Dos Santos

회원 가입일: 03/06/16

1,053 평판

안내서 5개 작성하였습니다

UMass Dartmouth, Team 5-2, Landers Spring 2016 UMass Dartmouth, Team 5-2, Landers Spring 2016 회원

UMASSD-LANDERS-S16S5G2

3 회원들

안내서 15개 작성하였습니다

댓글 0개

댓글 쓰기

조회 통계:

24 시간 전: 0

7일 전: 0

30일 전: 0

전체 시간: 148