주요 콘텐츠로 건너뛰기

Motorola Defy LCD Replacement

필요한 것

  1. Motorola Defy LCD Replacement, Rear Case: 1 단계, 이미지 1/1
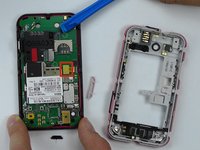
    • Using the screwdriver and the T-5 bit, unscrew the seven 5 mm screws around the outside of the phone.

  2. Motorola Defy LCD Replacement: 2 단계, 이미지 1/2 Motorola Defy LCD Replacement: 2 단계, 이미지 2/2
    • Remove the back cover of the phone by sliding the bottom black button to the unlock position and lifting it up.

  3. Motorola Defy LCD Replacement, Battery: 3 단계, 이미지 1/1
    • Use a plastic opening tool to pry the battery out of the phone.

  4. Motorola Defy LCD Replacement, Midframe: 4 단계, 이미지 1/1
    • Unscrew the two silver screws located at the top of the back of the phone.

  5. Motorola Defy LCD Replacement: 5 단계, 이미지 1/1
    • Use a plastic opening tool to gently pry the midframe from the rest of the phone.

  6. Motorola Defy LCD Replacement, Motherboard: 6 단계, 이미지 1/2 Motorola Defy LCD Replacement, Motherboard: 6 단계, 이미지 2/2
    • Use metal spudger to pry off the middle yellow flap carefully.

  7. Motorola Defy LCD Replacement: 7 단계, 이미지 1/3 Motorola Defy LCD Replacement: 7 단계, 이미지 2/3 Motorola Defy LCD Replacement: 7 단계, 이미지 3/3
    • Use tweezers again to pry off the second yellow flap carefully.

  8. Motorola Defy LCD Replacement: 8 단계, 이미지 1/1
    • The motherboard is the whole green board. Pry it off carefully with tweezers from the sides and place it aside.

  9. Motorola Defy LCD Replacement, Removing the LCD: 9 단계, 이미지 1/2 Motorola Defy LCD Replacement, Removing the LCD: 9 단계, 이미지 2/2
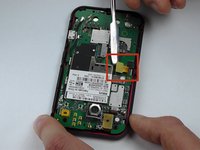
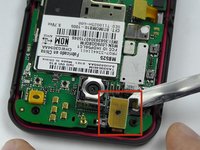
    • Stick the metal spudger in between the LCD screen and the case of the phone.

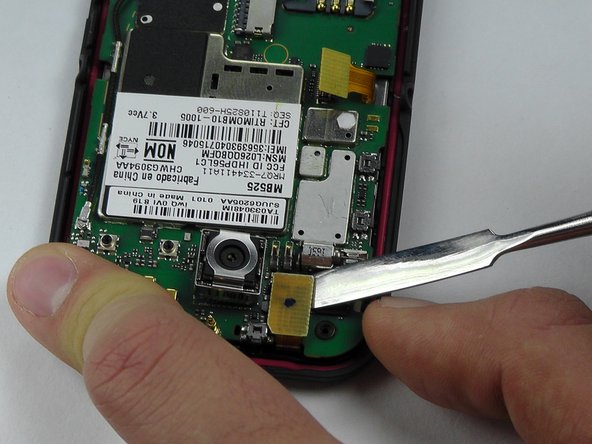
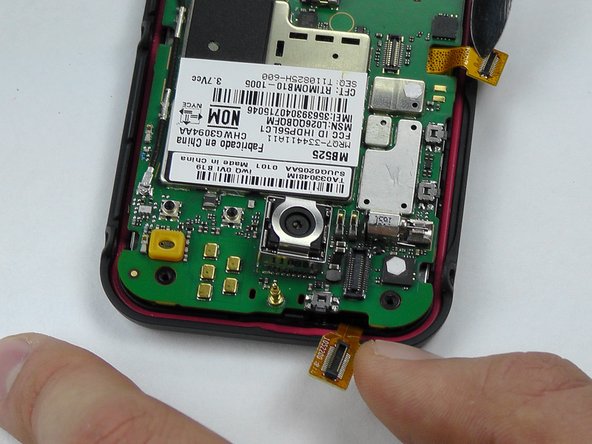
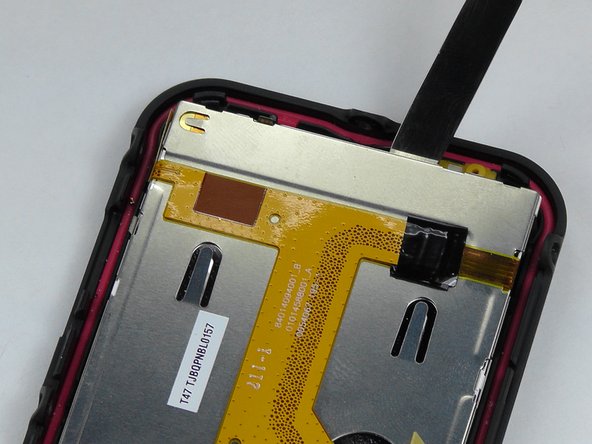
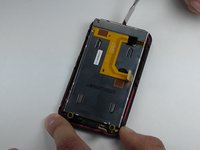
    • Remove the LCD screen and replace with a new one.

결론

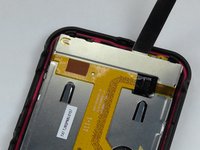
To reassemble your device, follow these instructions in reverse order.

다른 2명이 해당 안내서를 완성하였습니다.

Ebrahem AlRayes

회원 가입일: 10/08/14

183 평판

안내서 1개 작성함

USF Tampa, Team 14-2, Leahy Fall 2014 USF Tampa, Team 14-2, Leahy Fall 2014 회원

USFT-LEAHY-F14S14G2

4 회원들

안내서 6개 작성하였습니다

댓글 0개

댓글 쓰기

조회 통계:

24 시간 전: 0

7일 전: 0

30일 전: 1

전체 시간: 1,127